


3D Printed Night Guard utilizing KeySplint Soft Resin and the Asiga Max UV 3D printer
About the author
Dr Ahmad is a global leader in digital dentistry and intraoral scanners, carrying out lectures as a KOL for many companies and industry. He is one of the few in the world who owns and has tested all mainstream scanners and CAD/CAM systems in his clinic. Dr Ahmad Al-Hassiny is a full-time private dentist in New Zealand and the Director of The Institute of Digital Dentistry (iDD), a world-leading digital dentistry education provider. iDD offers live courses, masterclasses, and an online training platform, with a mission to ensure dentists globally have easy and affordable access to the best digital dentistry training possible.

3D printing is taking the dental industry by storm. In the past 5 years we have seen a huge increase in the adoption of intraoral scanners by dentists globally. In some leading markets it is estimated that digitisation is as high as 50% in dental practices.
After buying an intraoral scanner, the next logical step for many dentists is to integrate 3D printing technology for an array of reasons. Most dentists have a small ‘stone room’ in their practices where they can pour up physical impressions they used to take. This is to fabricate models for a variety of different reasons such as for thermoform appliances.
With intraoral scanners, you cannot pour up a digital impression, so at the very least a 3D printer gives the dentist a means to make a model out of a digital impression.
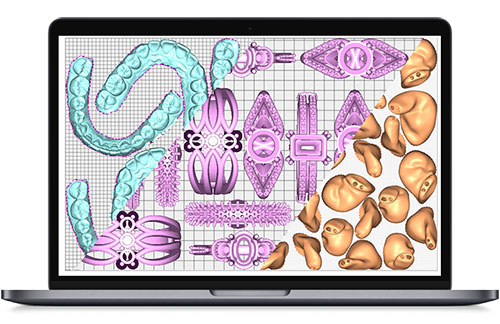
However, there are the variety of other uses for 3D printers in the dental office. These include the fabrication of restorations (of all forms), dentures, custom trays, surgical guides and splints / night guards, to name a few.
In this particular article I want to go over the entire 3D printing workflow to create a night guard / splint utilizing KeySplint Soft resin by Keystone Industries and the Asiga MAX UV printer

KeySplint Soft is considered by many as the gold-standard splint resin, and for good reason. Many splint resins are far too rigid and are quite uncomfortable to wear. KeySplint Soft is more malleable than most other occlusal device resins, but is not necessarily as ‘soft’ as a traditional thermoplastic appliance like the name implies. Rather it is still rigid but can be molded slightly especially when warmed either in the mouth or in warm water. This proves to be a huge advantage in the resin printing space and has made this particular resin the go-to for this indication.
3D printing occlusal appliances is not some early-adopter indication of 3D printing like one may consider ‘permanent crown restorations’. In fact, 3D printing these appliances has become common place in many labs and is considered a great alternative to thermoform appliances or milling. It is a practical and efficient way to implement 3D printing into the dental office.
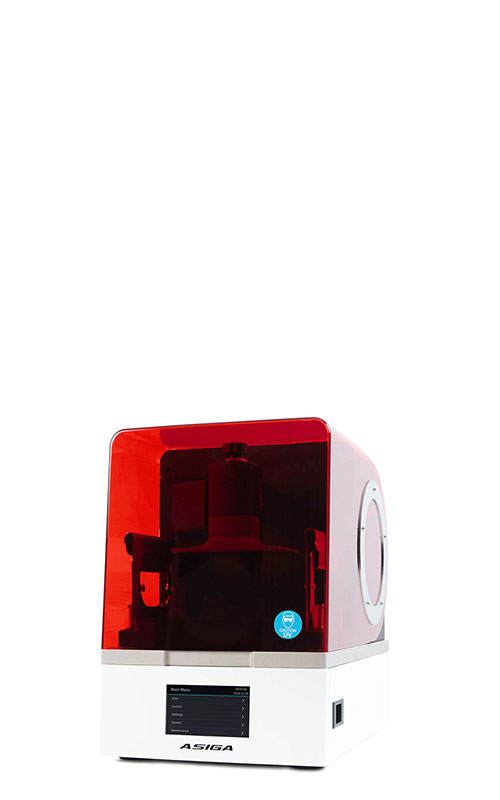
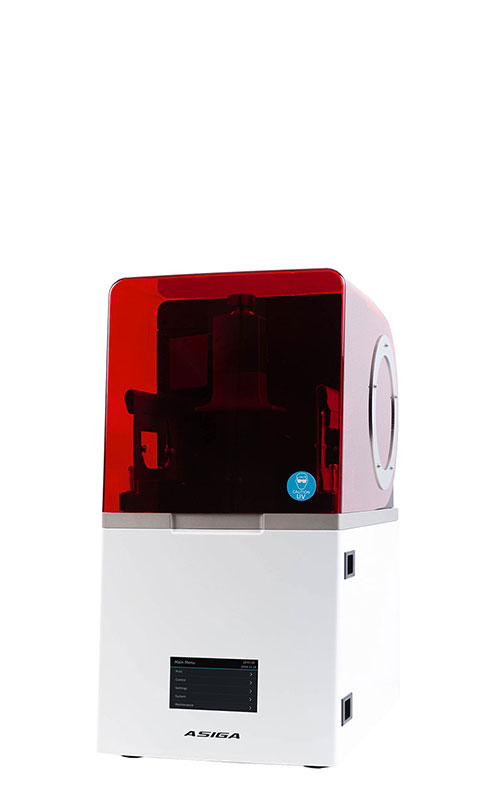
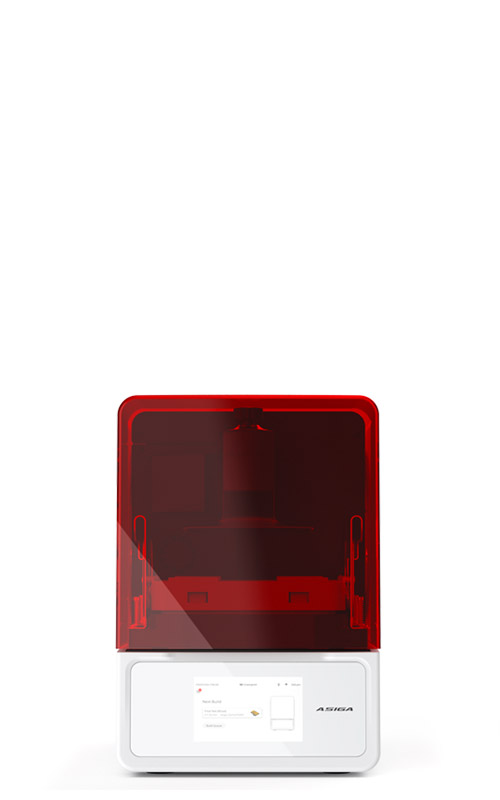
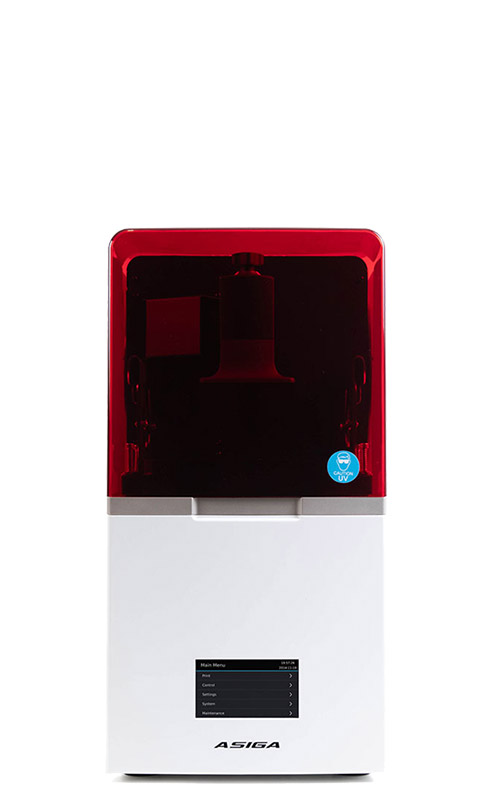
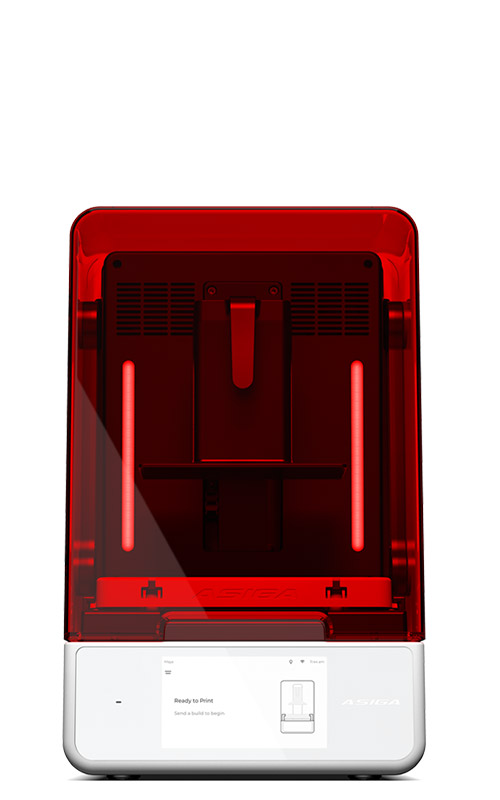
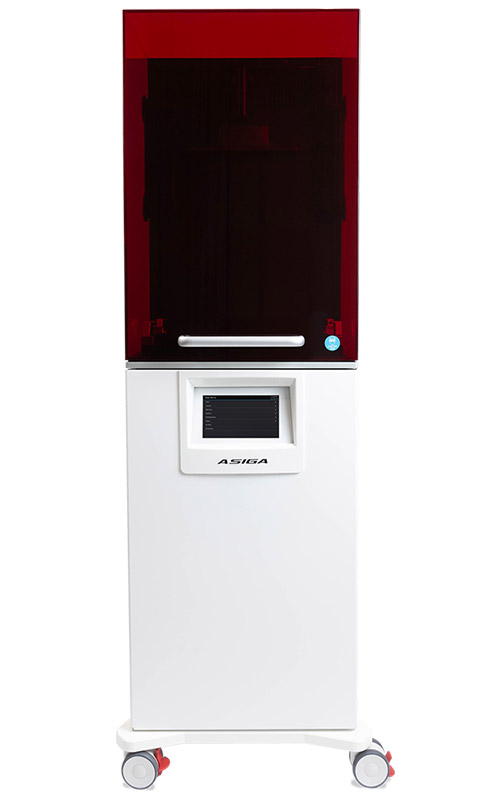
I use the Asiga MAX UV 3D printer for this application. This printer is a well-regarded 3D printer in the industry and its one of the stand-out options for those considering a chairside solution. There are a few key advantages. For one, it is a completely open materials system. Asiga boasts over 500 different resins that have been validated for the printer. This is more than any other printer on the market by a degree of magnitutde. It also has a very small foot print and can easily fit in most dental practices. For such a small printer it achieves much in terms of both versatility and production capacity. At a cost of 10,000 USD, it is also quite competitively priced in the market.
The Workflow
Firstly, it all begins with an intraoral scan. This is the best starting point of any prosthesis fabrication when using a 3D printer.
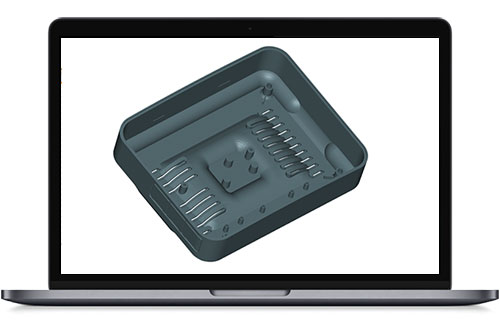
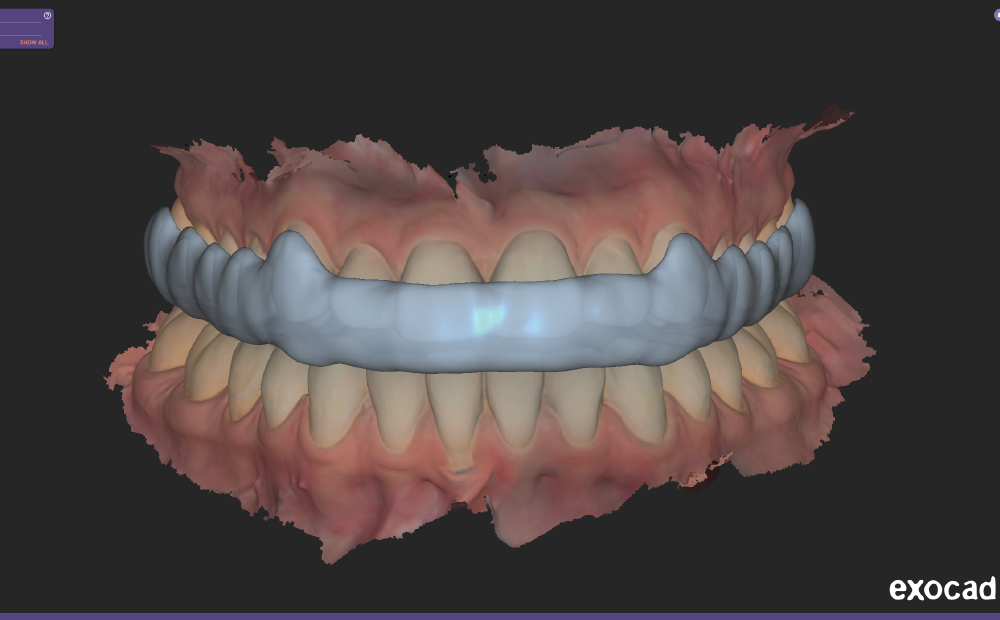
After taking an intraoral scan, the night guard is then designed using a CAD software. In this case, Exocad was used and a Michigan splint was designed.
After designing the splint, the digital file is then exported in STL format and imported into the Asiga printer software. All the different printers on the market have their own nesting/slicing software, and for the most part they all work in a similar way.

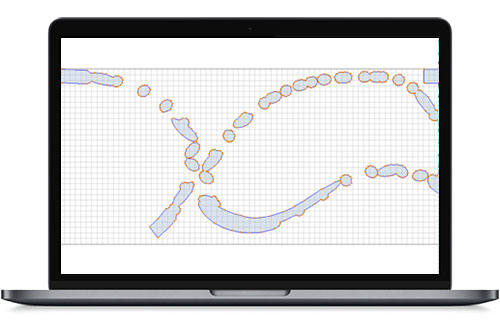
The printer software is used to orientate the object that you want to print and also add supports for the printing process to complete successfully. This can all be done very easily and with the click of a few buttons, the splint is ready to be sent to the Asiga printer.
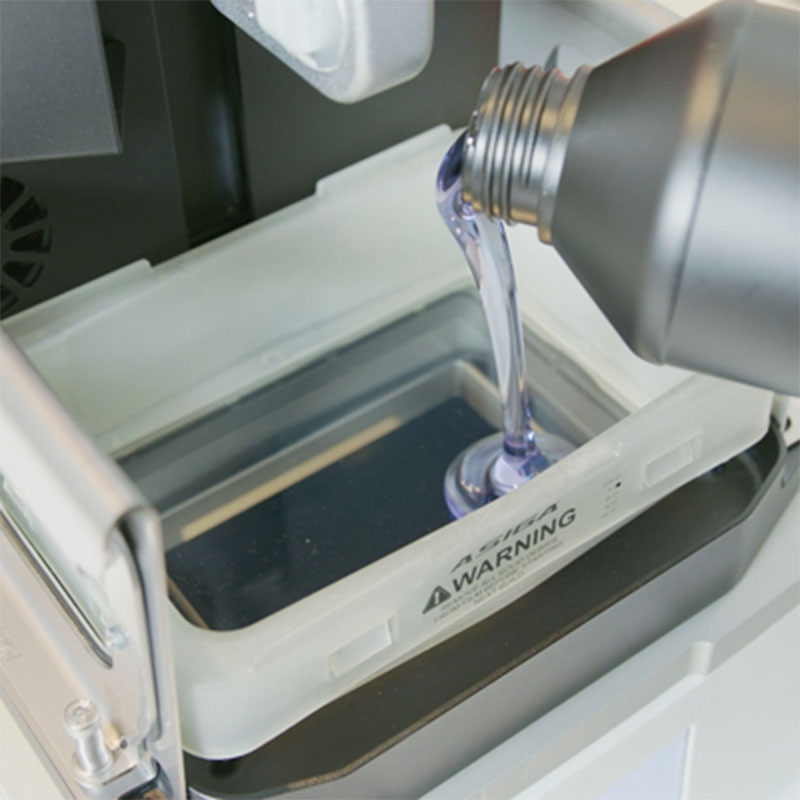
Once sent to the printer, we prepare the machine to begin the print job. This consists of adding the build platform after ensuring it is clean, and inserting a resin tray with the correct resin. The resin is poured in this tray manually after shaking.

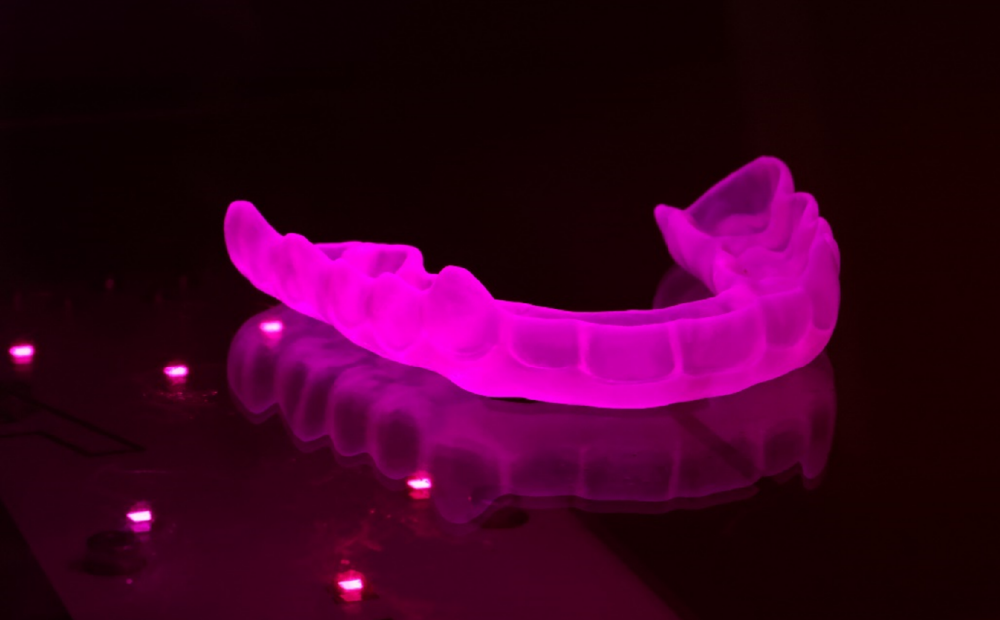
The job is then started by selecting it on the printer LCD screen. The build platform moves down into the tray and the printer starts fabricating the night guard each layer at a time. In this case the splint took x (need to confirm to complete) minutes to complete
Once the print is complete then begins the post-processing. This consist of 3 steps, wash, cure and polish.
First we remove the splint from the build plate. In the case of this particular resin it is very easy to carry out. The supports are also very easy to peel off.
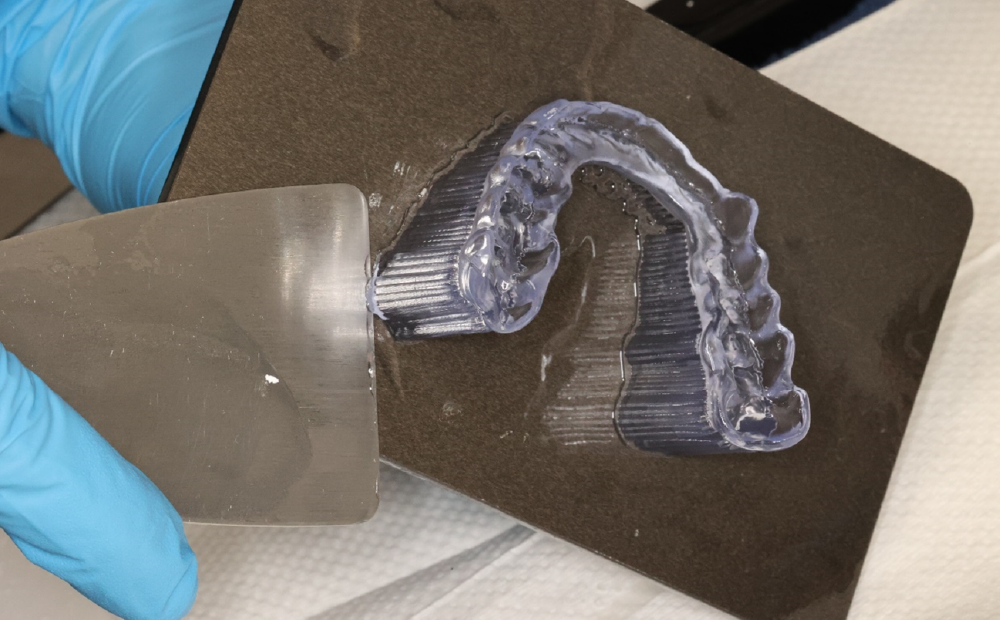

Next, we wash the splint in 98%+ isopropyl alcohol. First for a dirty wash for 3 minutes and then a clean wash for 2 minutes. Dirty and clean, denote that the first IPA container cleans the bulk of the resin and the second is a ‘finish’ wash. Once washed, it is important to let the printed object sit on the bench to air dry. Alternatively, compressed air can be used. Now dry, the splint is then cured. It is important to used a validated curing box with validated settings for the particular resin. Especially in the case of respecting biocompatibility.
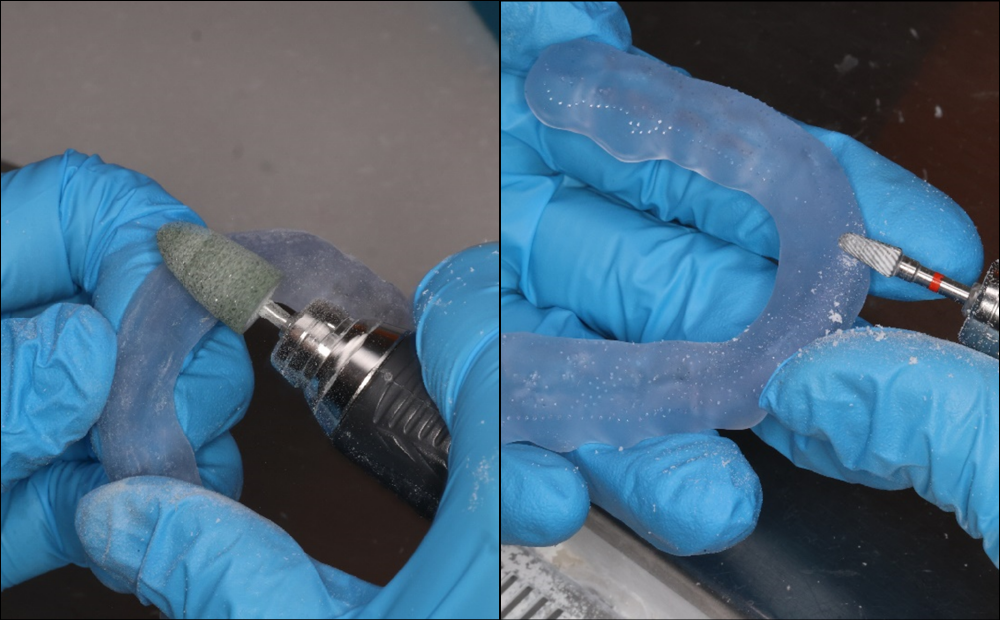
Once cured, the printed splint can now be polished. We used a number of different resin polishers in this case to remove all the small nodules left behind by the supports. Also a lathe can be used to give the splint a high gloss finish, or carry out candy coating.
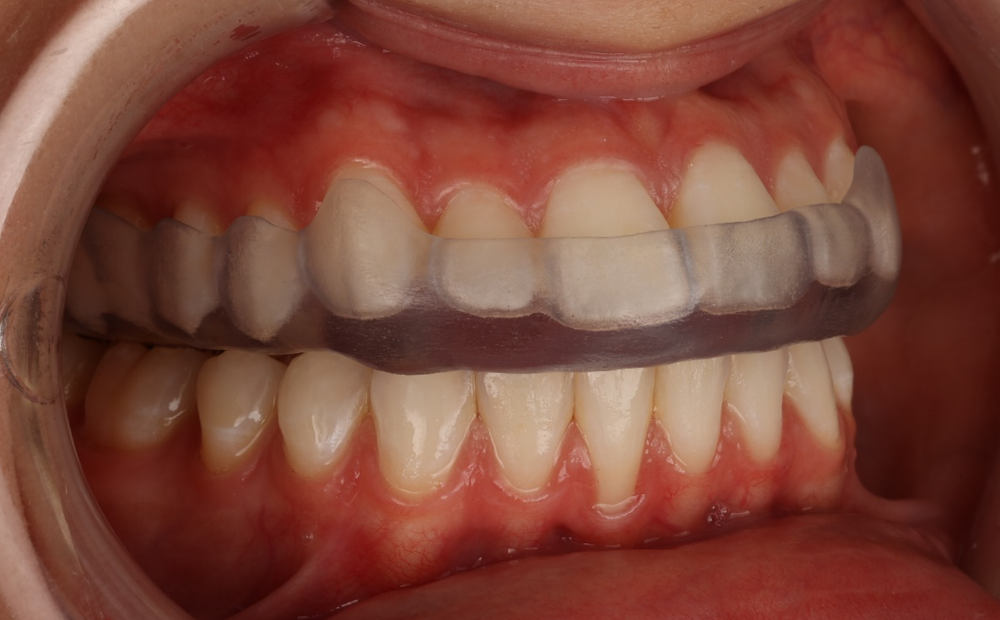
Here you can see the splint placed in the mouth and an excellent fit was achieved. This is a crash course of the splint making process. This is a well established workflow that works and when using time-tested printers and resins, you can be confident in the results. This is, in fact, how we make many of our splints at the Institute of Digital Dentistry Lab.
For more information about the CAD process, how to design splints and the entire post-processing steps, visit instituteofdigitaldentistry.com where you can find an entire library of online courses to teach you how to do this in-house.
Share:


