










Prosthetically Driven Planning Meets 3D Printed Custom Healing Abutments
By Dr. David Attia, Implantologist at Dural Dental
Background and Overview
A cracked molar that can’t be restored presents a familiar challenge. The clinician and patient must decide how to replace the tooth while preserving the surrounding tissues and keeping treatment predictable and comfortable. Digital workflows now make it possible to plan the surgical and restorative phases together before the patient ever sits in the chair. This case follows one such workflow, from extraction to final restoration, using 3D printed components from Asiga.
A patient presented with a cracked, non-restorable lower right second molar (tooth 47). After reviewing all of the available options (extraction and accepting the gap, extraction with a partial denture, or extraction with an implant-supported restoration), the patient chose a fixed solution: an implant-supported crown.
Clinical and radiographic examination confirmed that extraction with immediate implant placement was suitable, allowing the patient to be treated in a single surgery.
Prosthetically Driven Digital Planning
Treatment began with prosthetically driven surgical planning, in which the desired final restoration determines the ideal implant position rather than the other way around. Once the surgical and restorative plan was confirmed, a surgical guide was designed to deliver ideal 3D implant positioning.
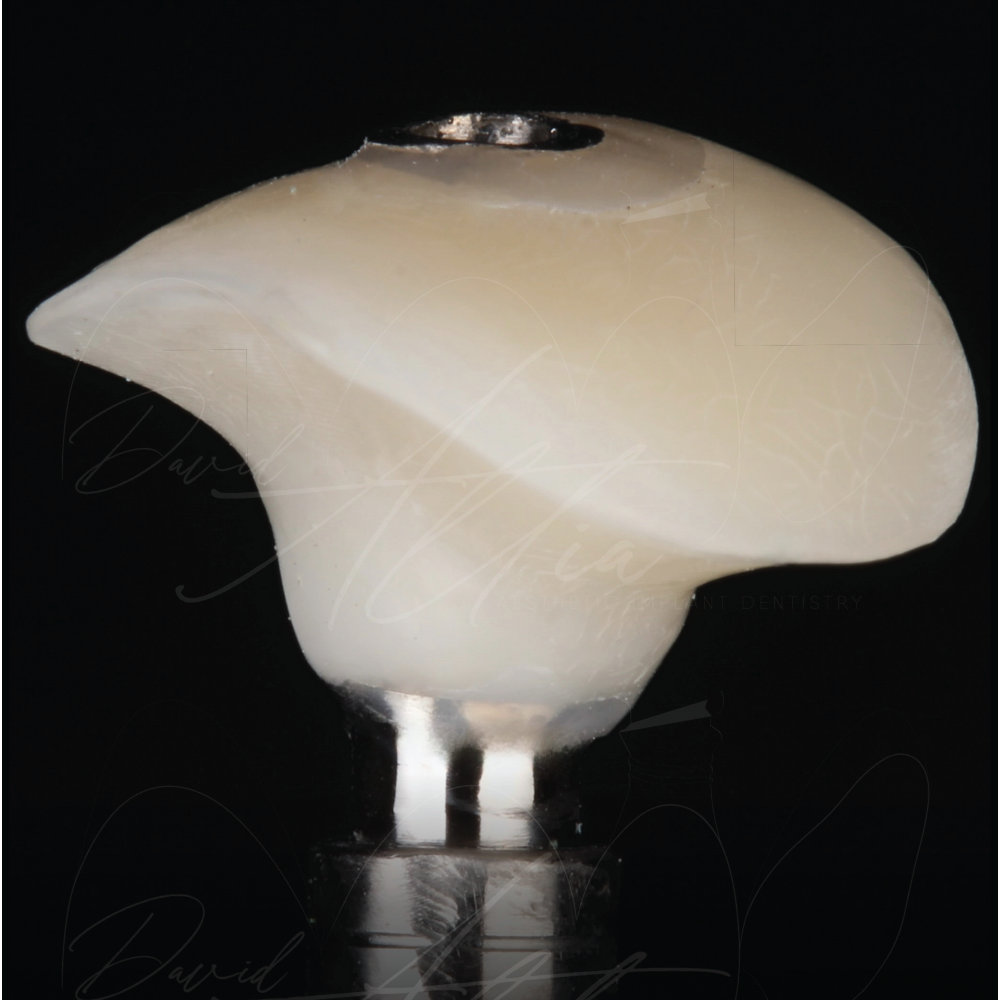
From this plan, a scan-body scan recording the final proposed implant position was exported from Co-DiagnostiX and imported into exocad. There, a custom healing abutment was designed to capture the critical and sub-critical contours needed to respect the biological parameters for long-term functional and aesthetic success.
Why a Custom Healing Abutment?
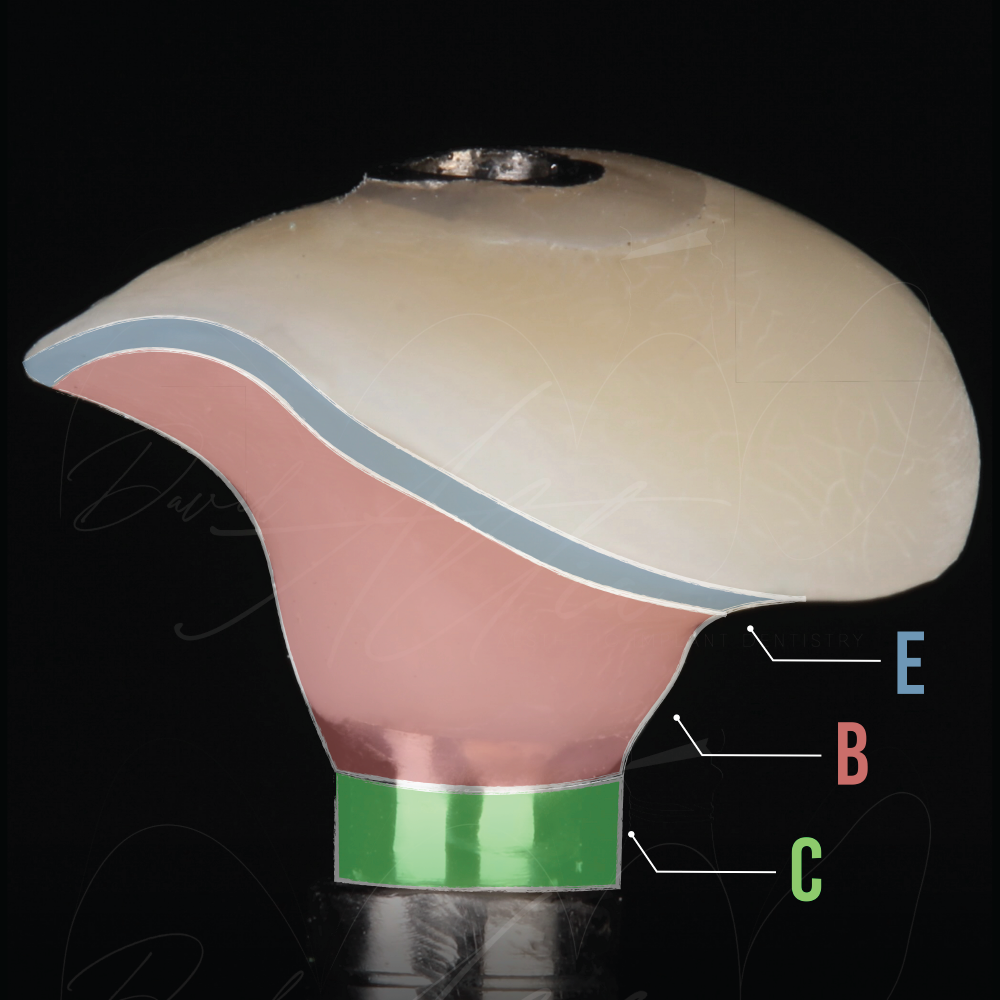
Pre-fabricating the healing abutment benefits the surgery itself and also guides the biological foundation for long-term implant success. Careful attention was given to the critical and sub-critical contours, and the proposed final gingival margin was outlined and captured through the design of the “Esthetic Zone,” or “E-Zone.”
The E-Zone serves two purposes. It maintains an ideal final tooth margin, or guides a less-than-ideal one toward a better position. It also supports a tight hemidesmosomal attachment seal against the prosthetic components, which limits bacterial infiltration that could otherwise compromise the final aesthetic and functional outcome.
Because the final emergence profile is designed and fabricated in advance, chair time is reduced. This improves the patient’s surgical experience and their overall journey, from extraction to final tooth.
Digital Fabrication and Surgical Protocol
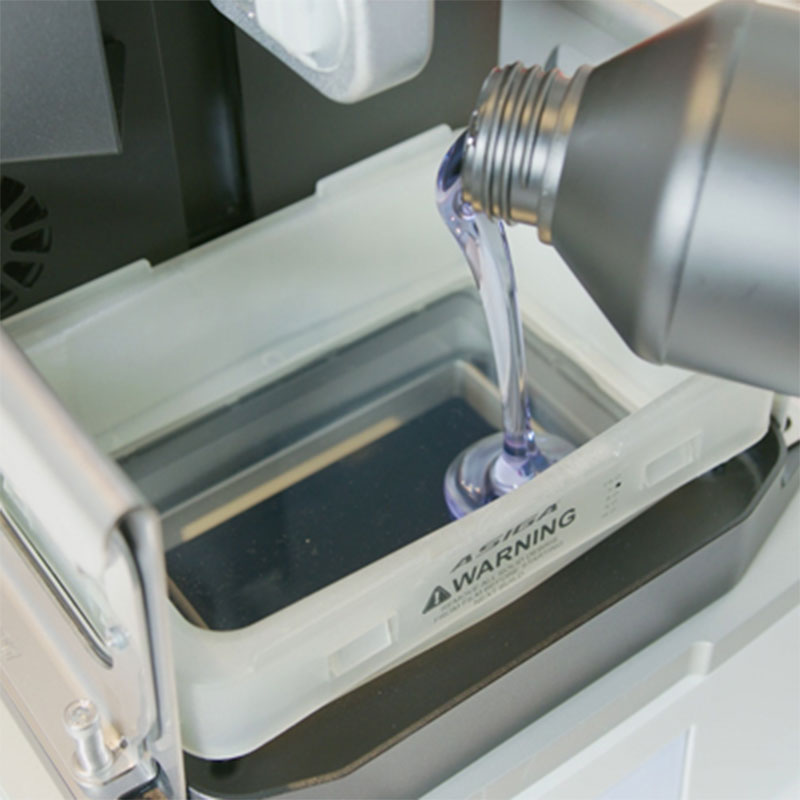
The surgical guide (Asiga DentaGUIDE) and the custom healing abutment (Asiga DentaTOOTH) were both 3D printed on the Asiga Ultra. With both components ready, the patient was scheduled for a 60-minute appointment covering extraction, immediate implant placement (Neodent Grand Morse Helix, 5.0 x 11 mm), and jump gap augmentation (Bio-Oss Collagen, 100 mg).
The crown was divided and the roots sectioned, so the mesial and distal roots could be delivered in their entirety. The remaining sockets were curetted to remove all infection and granulation tissue. The socket walls were then inspected and confirmed to be intact, giving the green light for immediate implant placement.
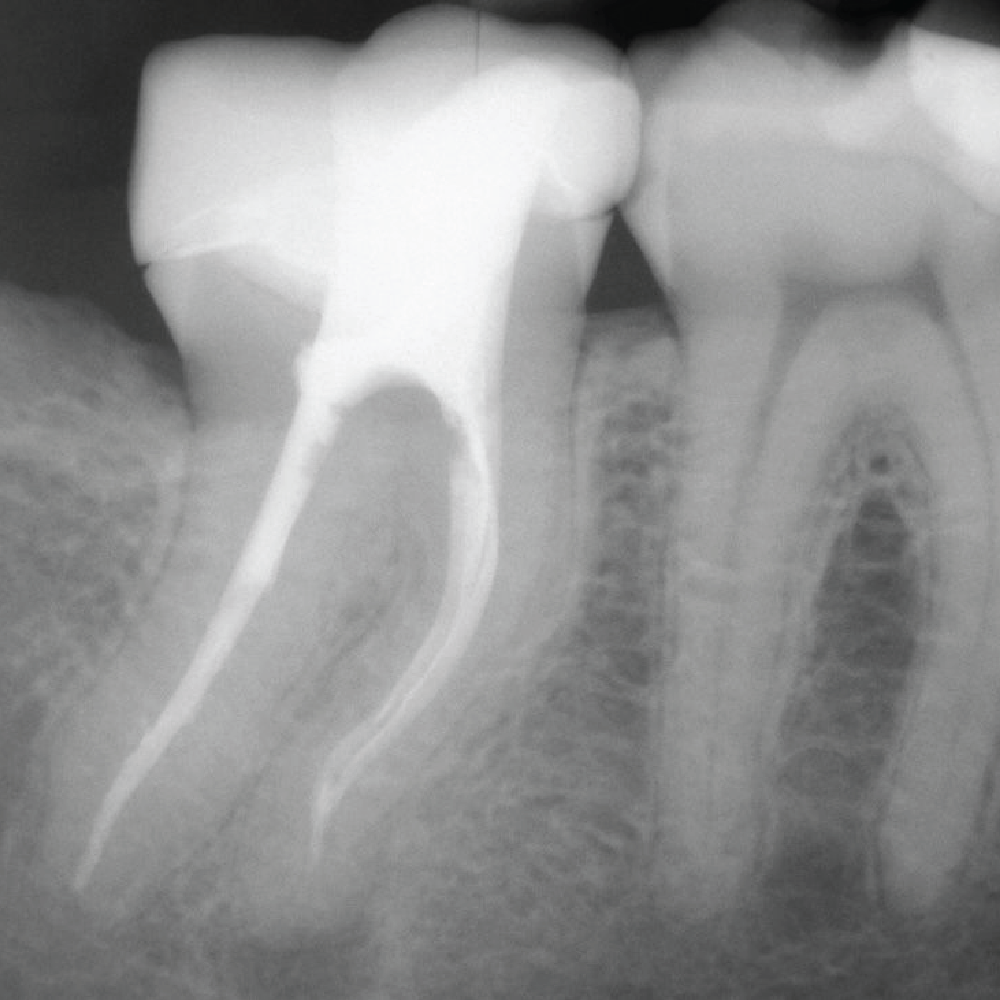
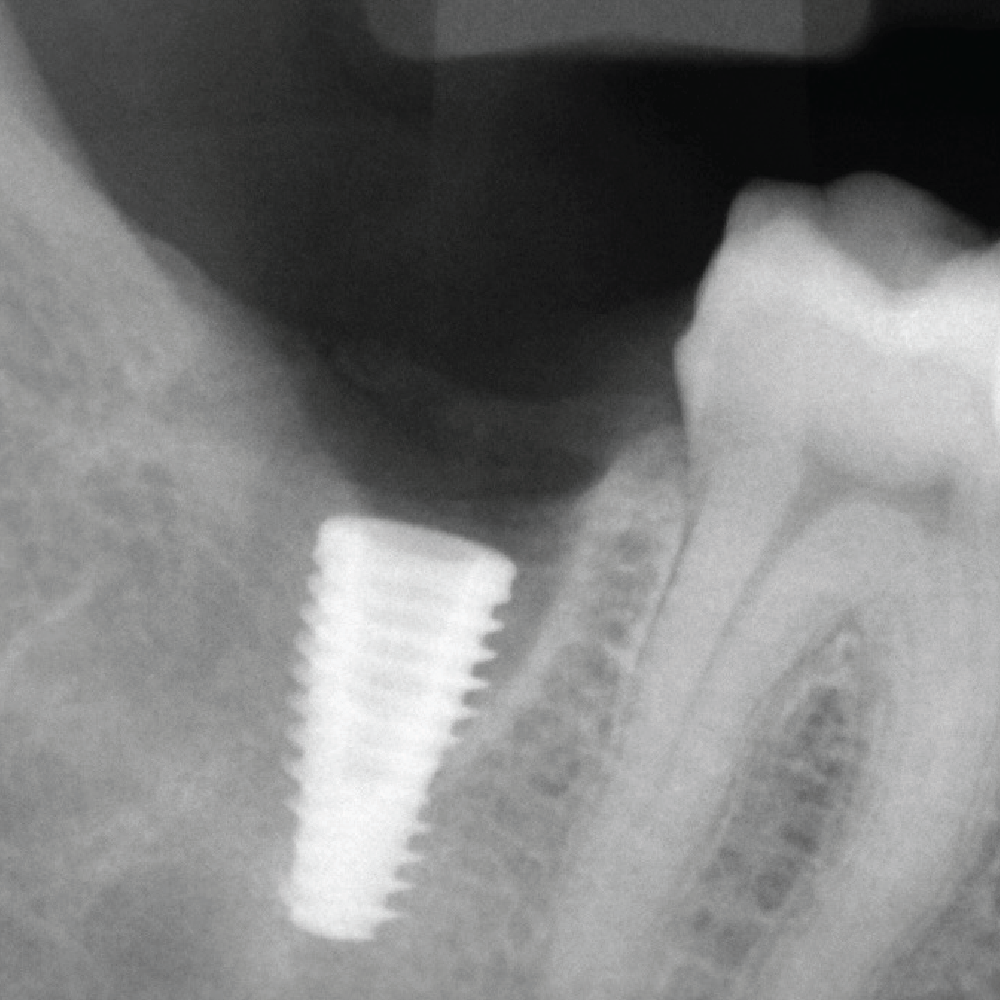
With the surgical guide seated and its fit confirmed, the 47 osteotomy was completed according to Neodent guidelines. The osteotomy was undersized by one drill to ensure sufficient primary stability, and an insertion torque of 50 Ncm was achieved. The final clinical position of the implant was then checked, both clinically and radiographically, against the planned surgical position.
Chairside Finishing of the Custom Abutment
Once the implant position was confirmed, the indexed custom healing abutment was seated to verify a passive fit. A provisional titanium cylinder (3.5 x 2.5 mm) was placed in the implant and the prosthetic screw hand-torqued. The abutment was then reseated to confirm positive, passive seating, ready for indexing with flowable composite. It was indexed onto the titanium cylinder using G-ænial Universal Injectable (A2) and removed for extra-oral finishing and polishing.
The provisional cylinder was placed in a laboratory analogue holder, and the final emergence profile was completed, finished, and polished. Because the abutment and its idealized emergence profile were entirely digitally designed, flowable composite was needed in only two places. The first was the occlusal opening, which was digitally widened by 1 to 1.5 mm to ensure passivity over the provisional cylinder. The second was the most apical aspect of the abutment, to create a smooth transition from the titanium cylinder to the custom healing abutment.
The abutment was then polished with the EVE Diapol system and cleaned in an alcohol bath to remove all debris.
Grafting, Placement and Final Restoration
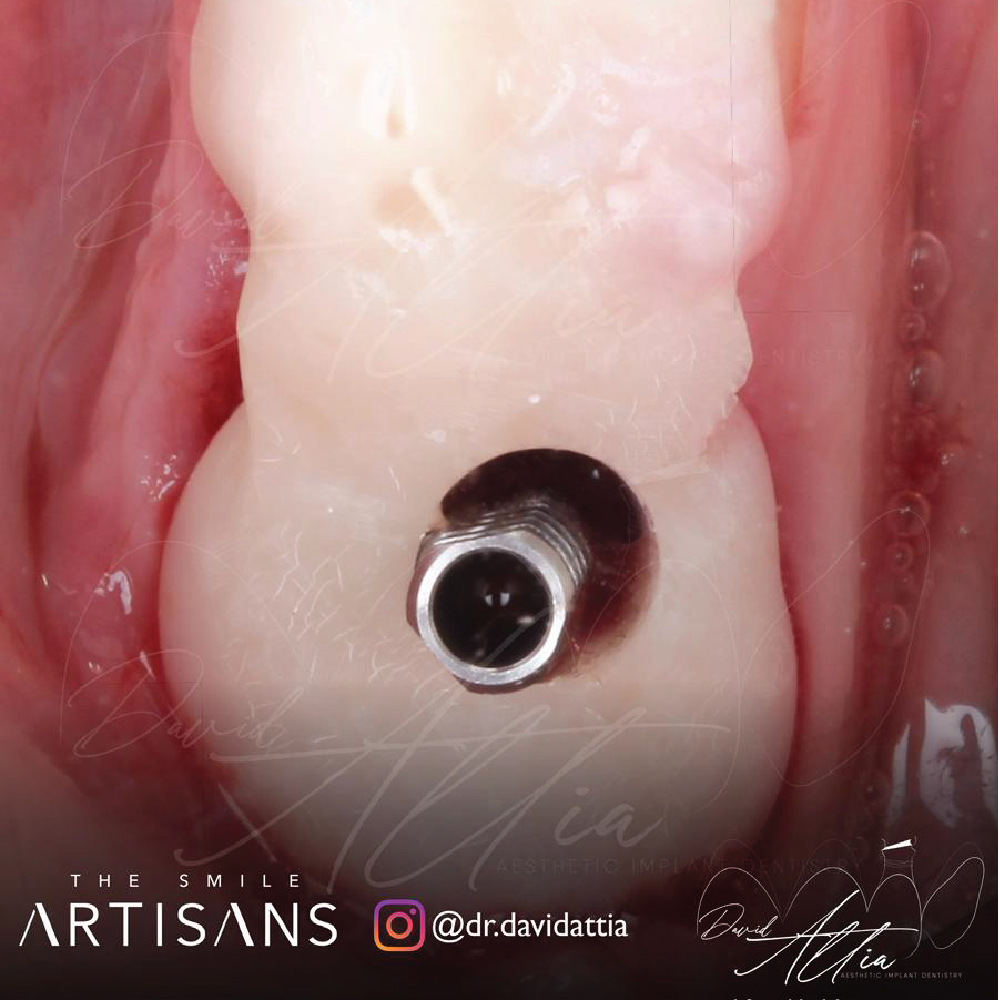
The jumping distance around the implant was grafted with 100 mg of Bio-Oss Collagen. The custom abutment was seated and the prosthetic screw tightened to 20 Ncm, in line with the manufacturer’s guidelines. The access hole was filled with PTFE tape and flowable composite, and a final periapical radiograph confirmed the seat.
After a three-month integration period, final implant scans were taken using the appropriate scan body. The patient then received a screw-retained implant restoration with an anodised custom titanium abutment and a monolithic zirconia crown.
For the patient, the workflow meant a single surgical appointment and a fixed outcome, supported by a plan that was resolved digitally before treatment began. For the clinician, it meant a more predictable surgery, with the guide, abutment, and emergence profile all prepared in advance rather than improvised at the chair.
About the Author
Dr. David Attia completed his undergraduate training at Griffith University, Queensland. Following graduation, Dr. Attia completed a Postgraduate Diploma in Orthodontics and Dentofacial Orthopedics through the City of London Dental School. Since graduation, Dr Attia has been in full time private practice and is currently the Director and Principal Dentist at The Smile Artisans in Sydney, Australia.
Share: