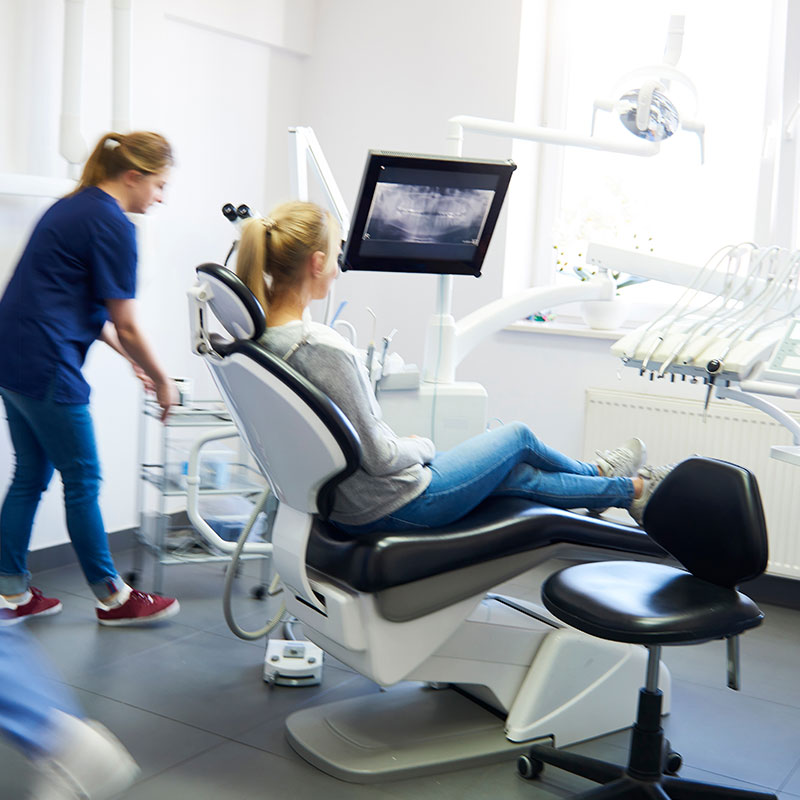


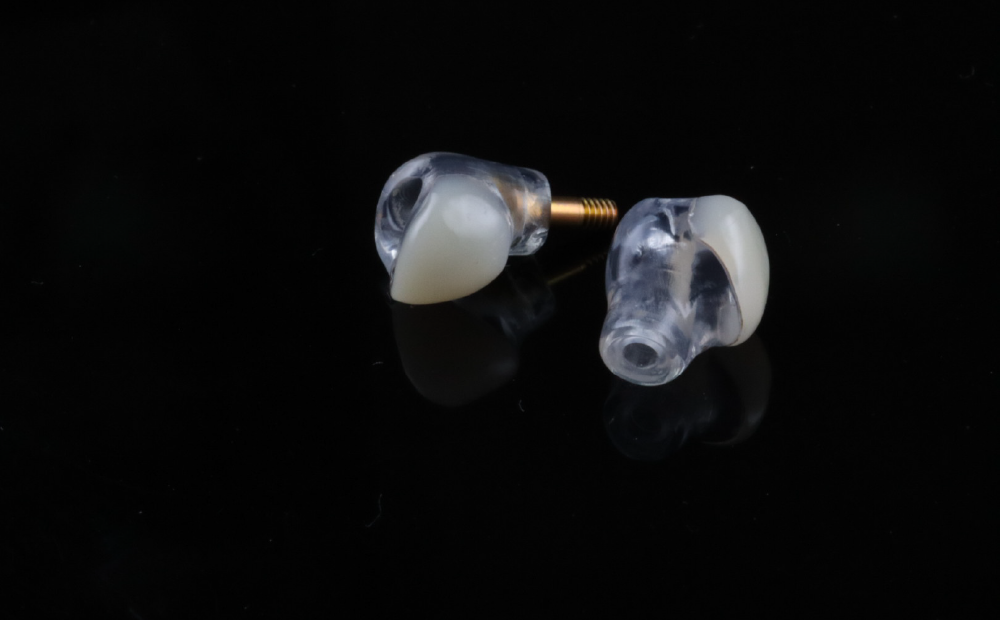
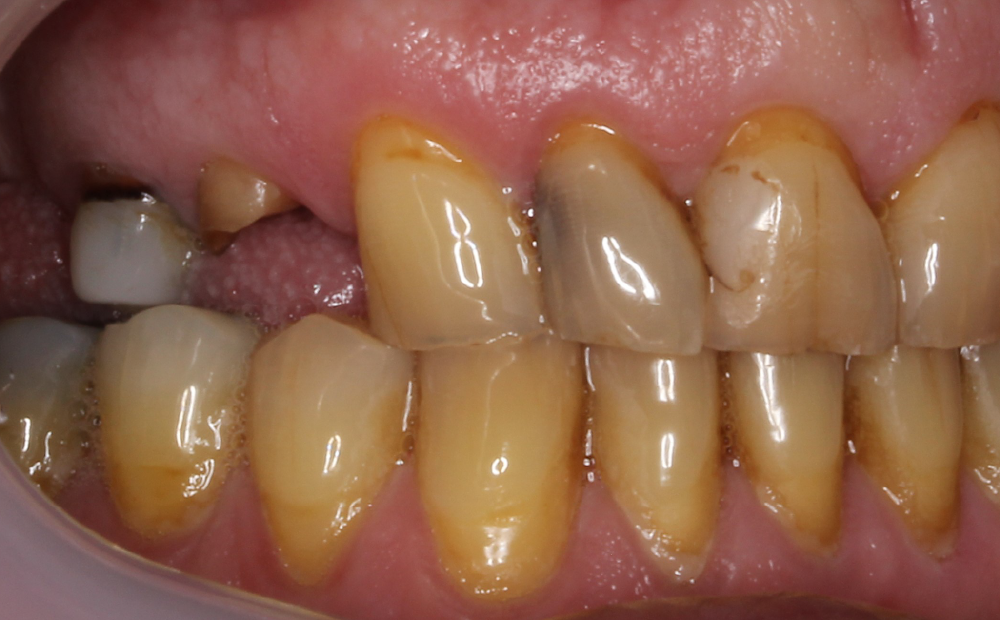
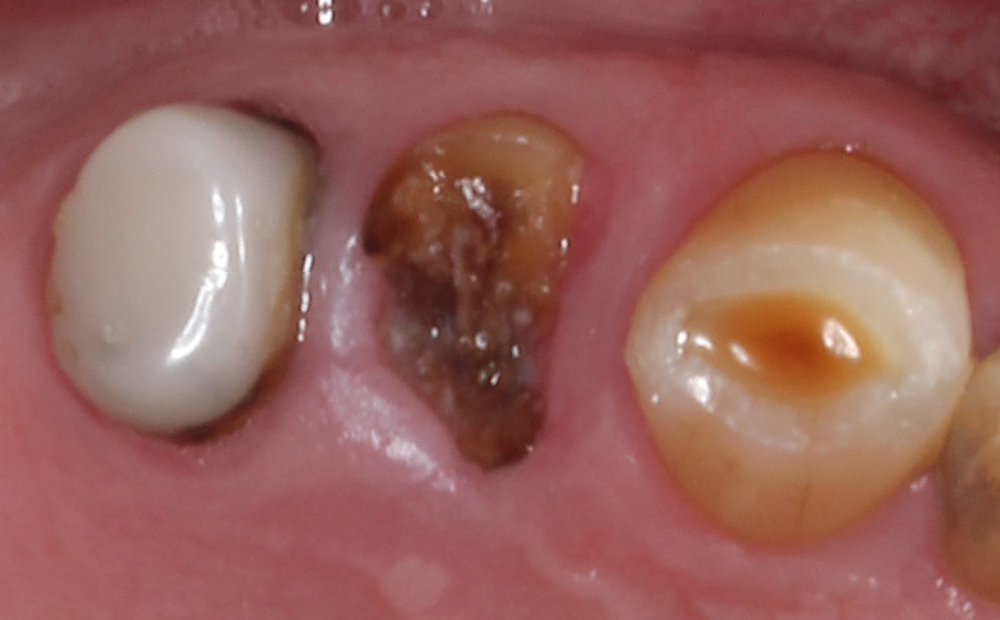
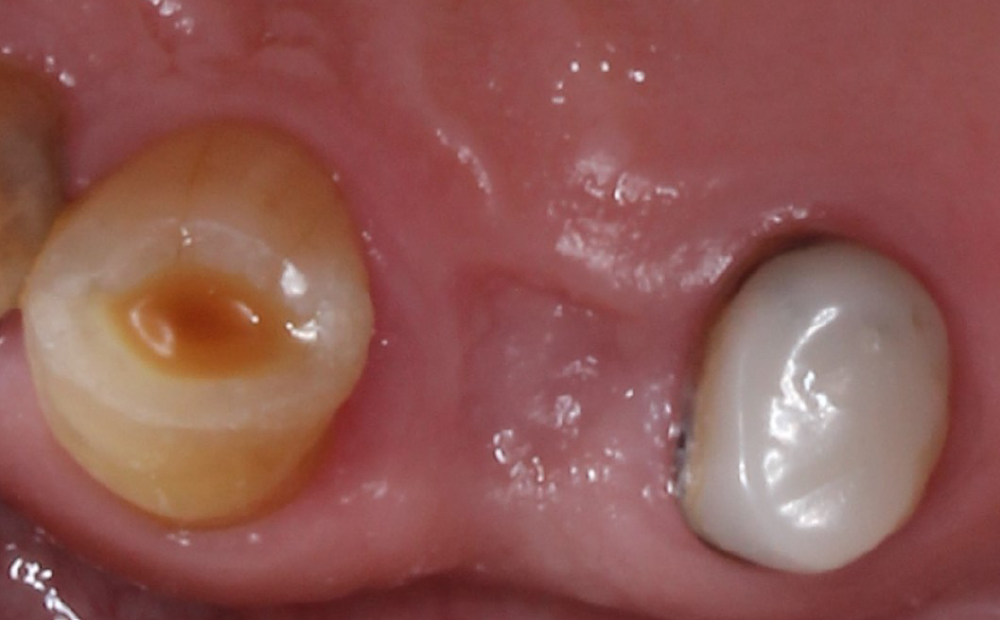
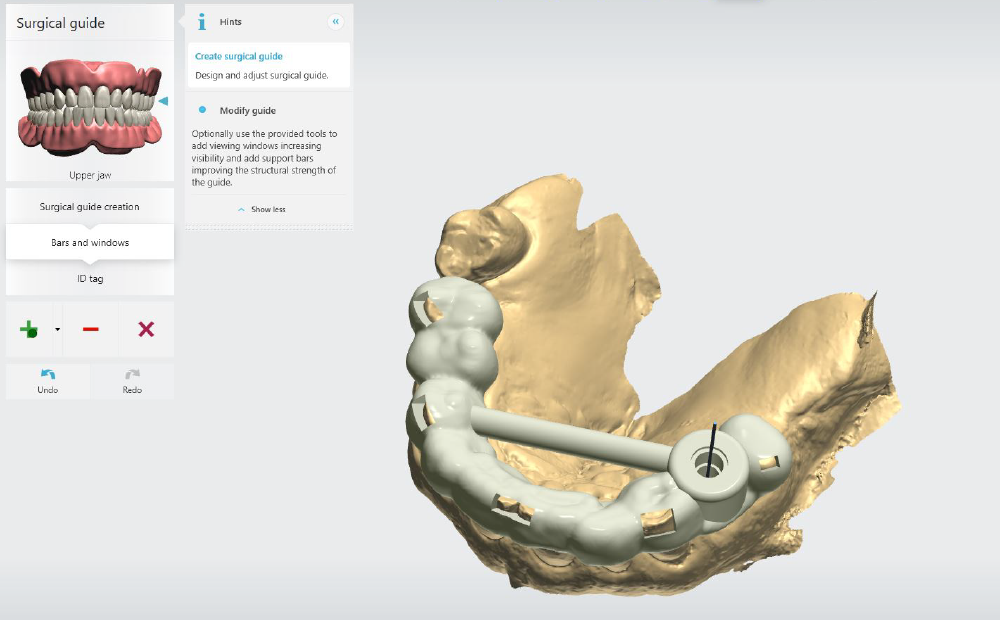


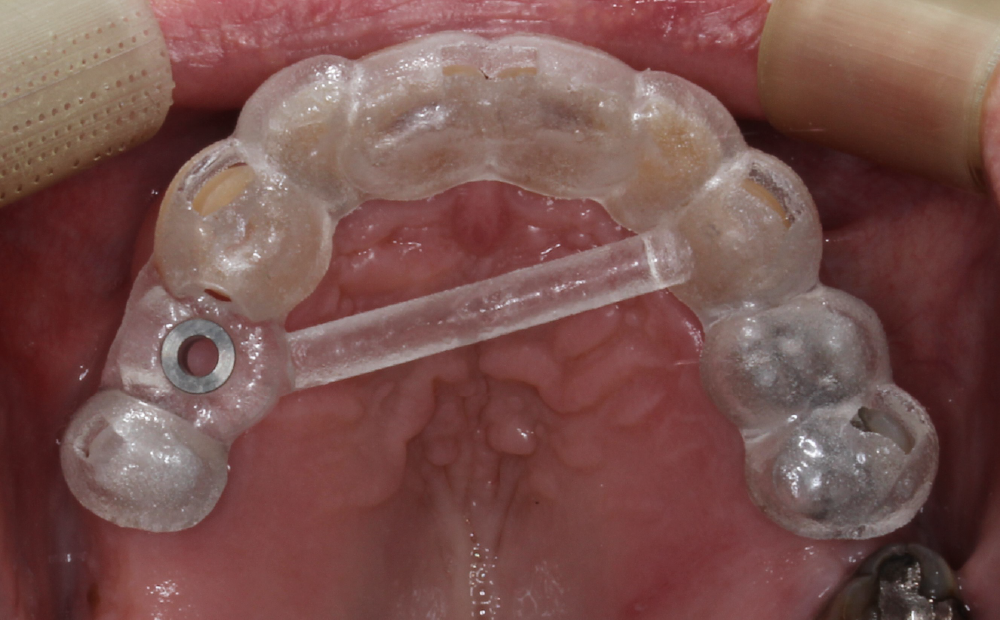
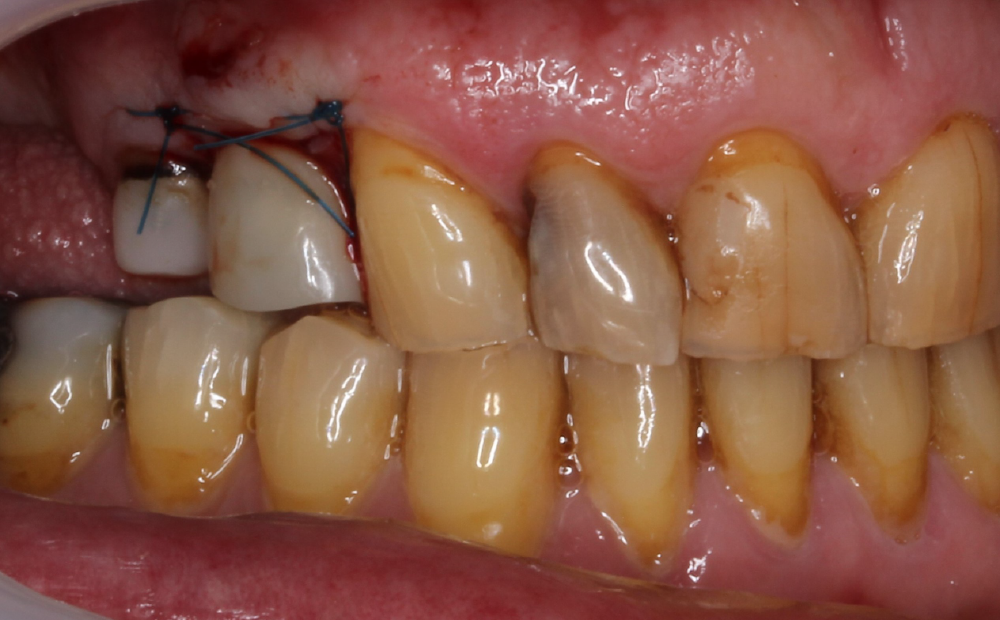
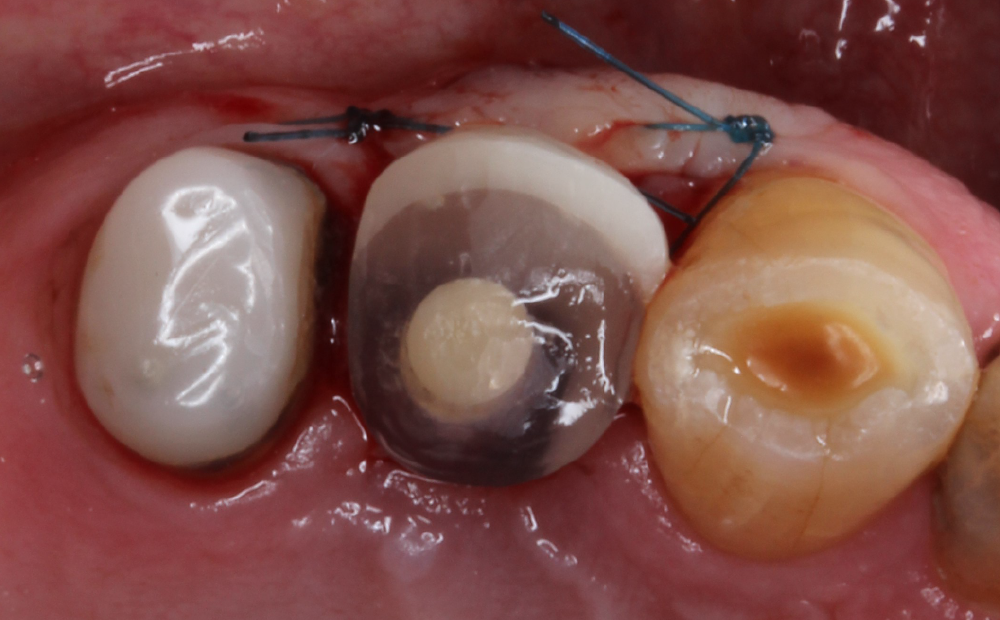
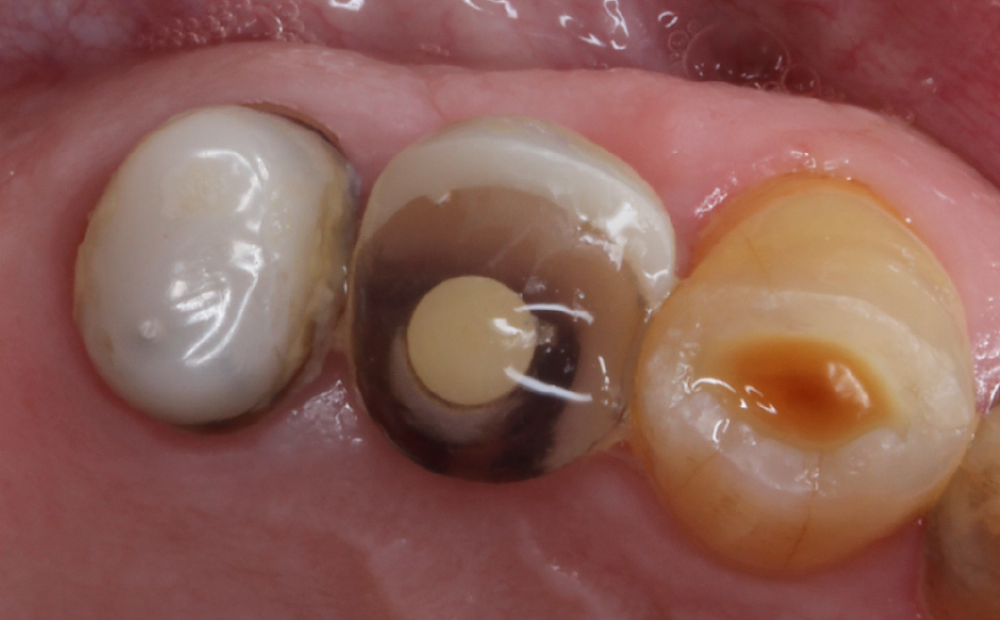
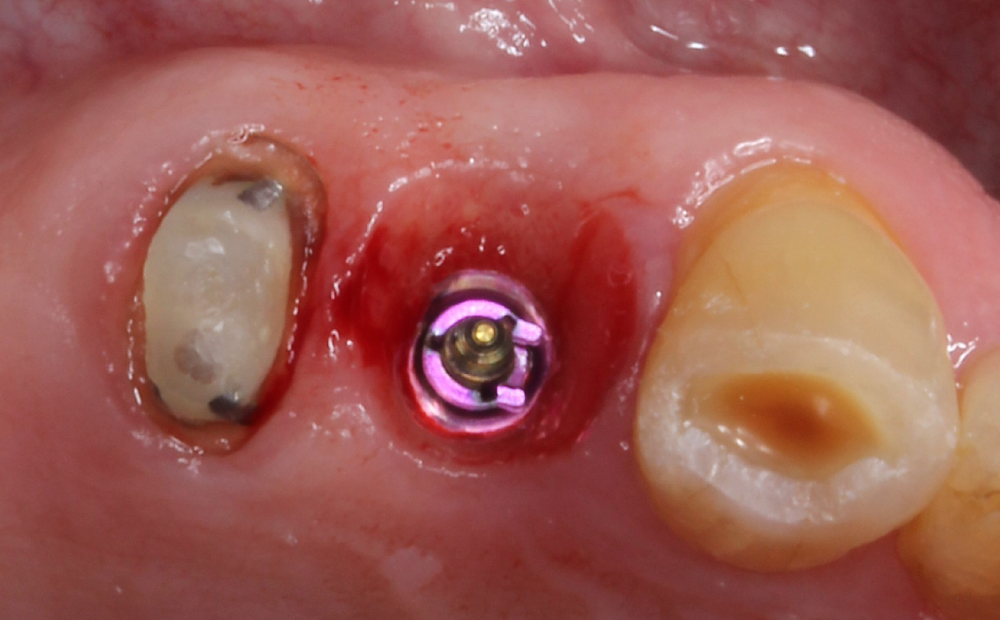
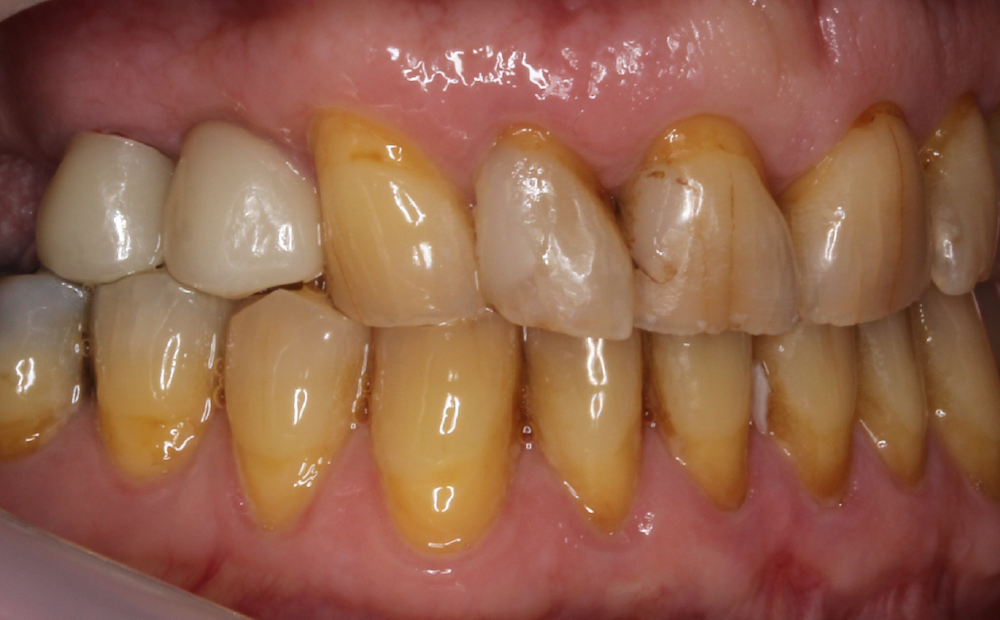
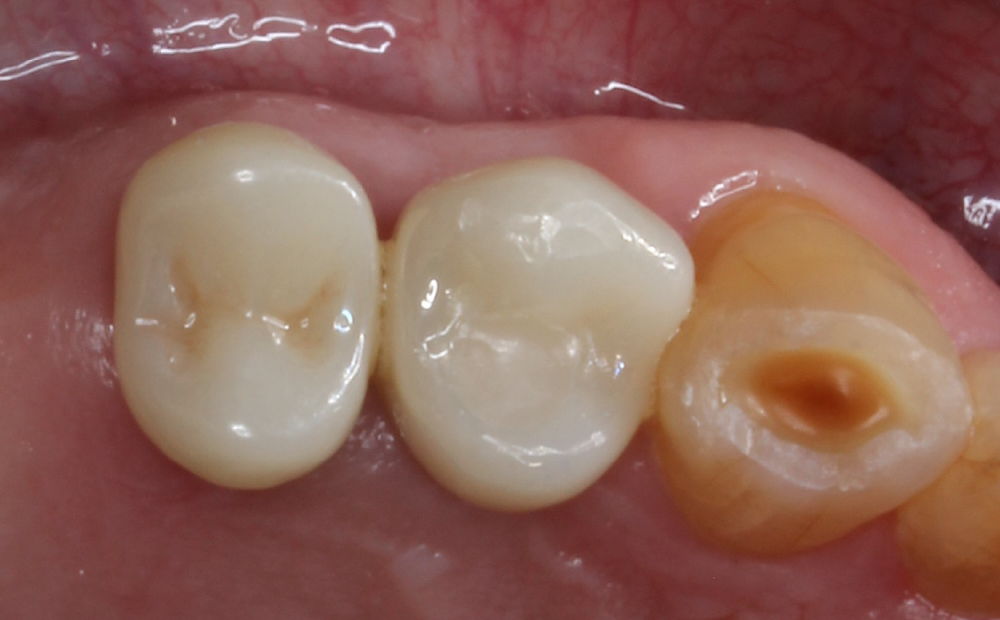

In this case study, Dr. Nulty delves into how digital technology, including Asiga 3D printers, has positively impacted his treatment protocol for implant restorations from guided surgery to final prothesis delivery.


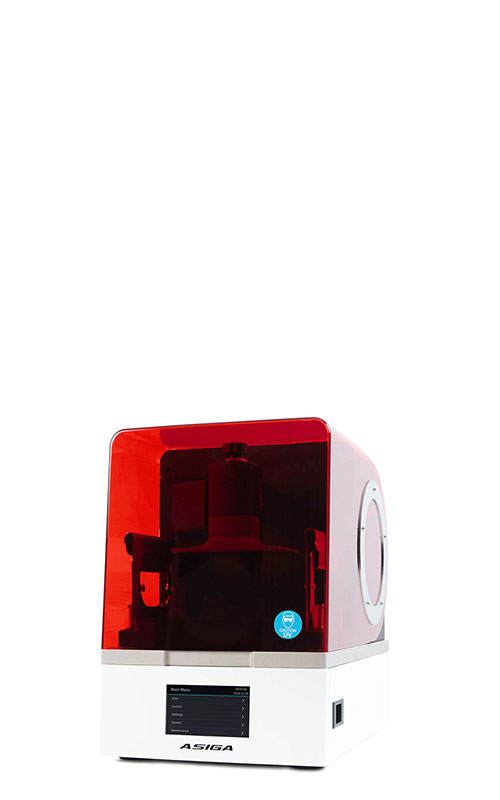
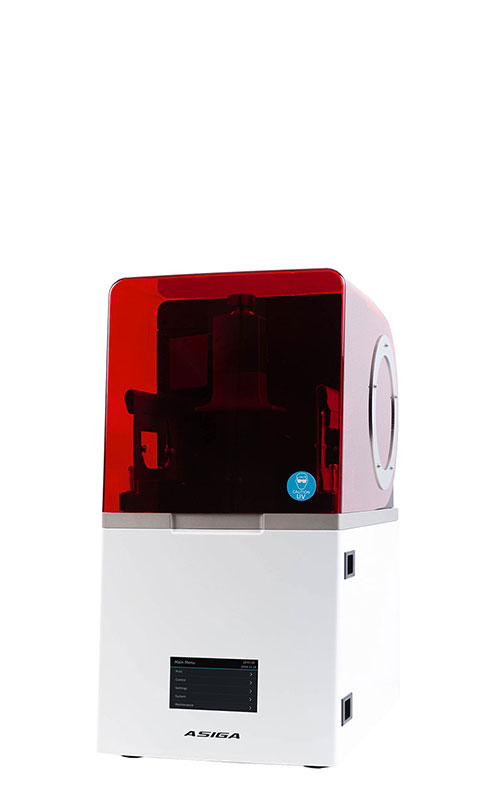
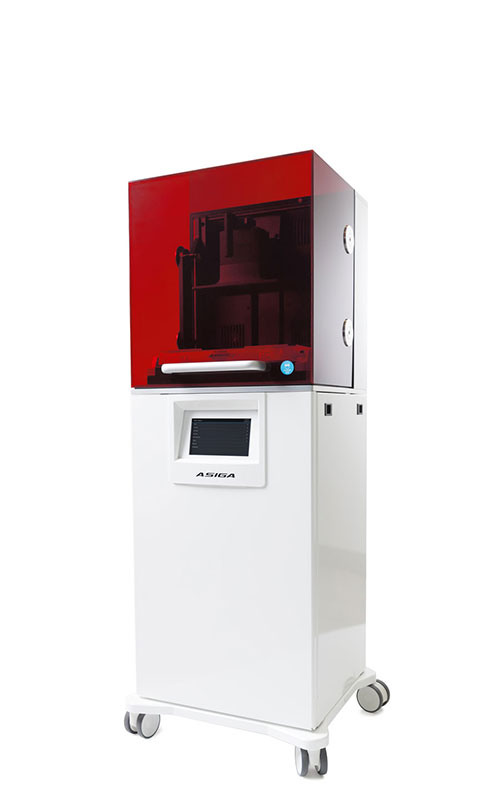
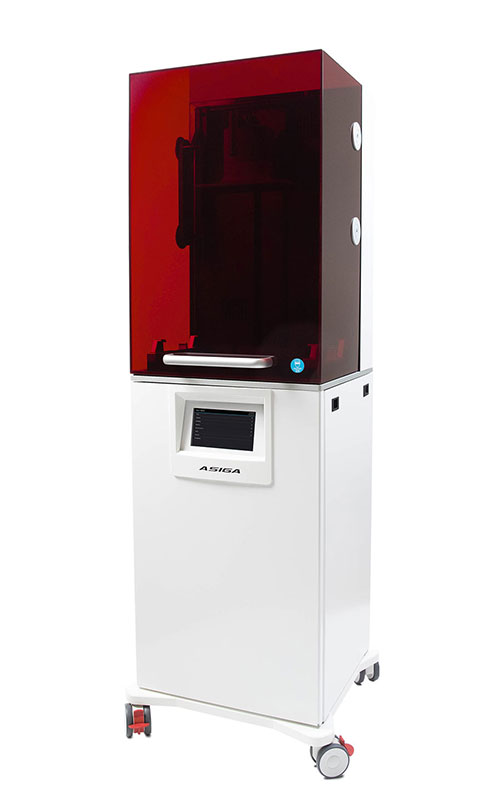
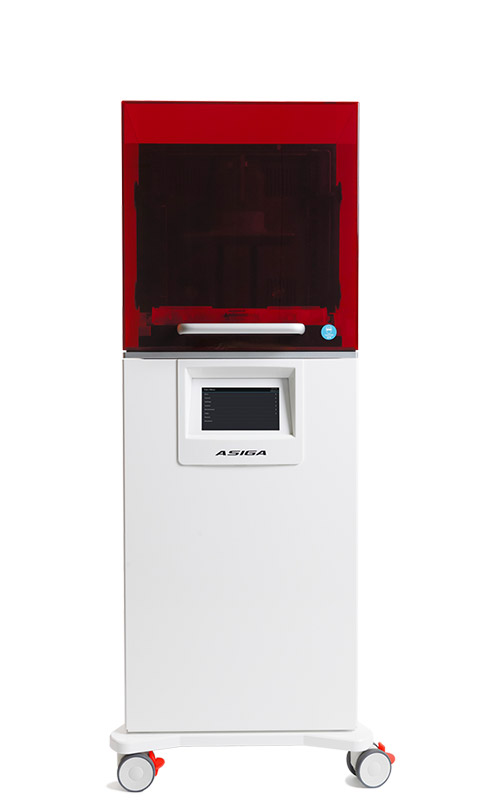
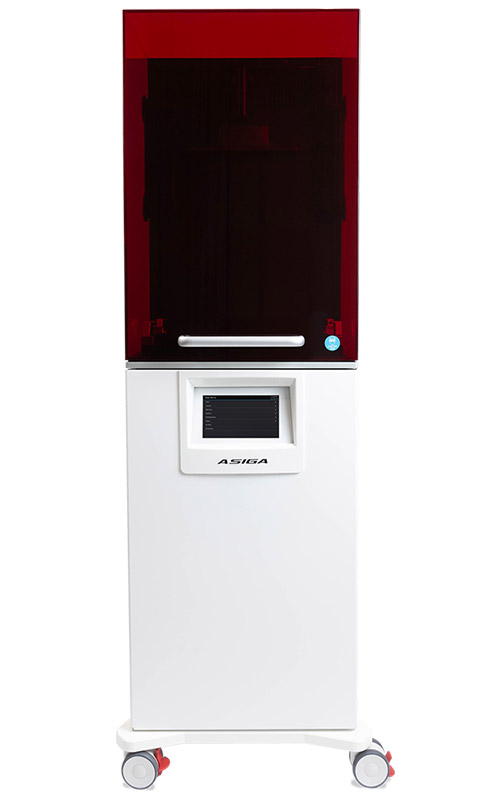
From small beginnings to a fleet of 5 Max. Including the Max 2.

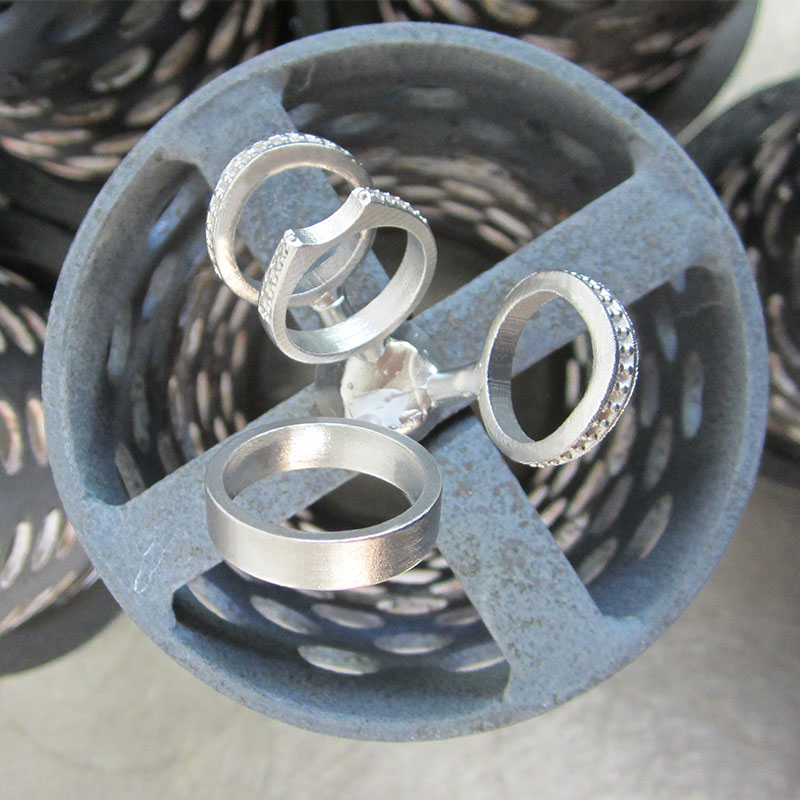
Since 2014, Anne Koelzer of AMK Dental Lab has led the charge to bring digital dentistry to amongst the most rural areas of the United States.


