








Digital All-On-X: Repurposing Analog Components in a Digital Workflow
By JT Roy
Introduction
At Roy Dental Lab, we’re always exploring ways to blend digital innovation with proven analog principles. Asiga’s family of 3D printers has become an essential part of that mission. Their ability to produce highly accurate and complex components, partnered with their unwavering commitment to maintaining material openness and flexibility, streamlines every stage of the restorative process—allowing us to deliver more precise, predictable results to our clinicians and their patients.
As dentistry continues to evolve with new technology, it is becoming clear that the future of full-arch restorative dentistry lies in a fully digital environment. The introduction of intraoral scanners opened the door to this future by giving clinicians and technicians access to completely digital clinical records.
The only problem? Accuracy.
Intraoral scanners still struggle to capture the exact spatial relationships of dental implants. They often come close, but in full-arch restorative work—where fractions of a millimeter can make or break a prosthesis—“close” simply isn’t good enough. Overcoming cross-arch distortion is critical to achieving the precision required for full-arch restorations while still leveraging the efficiency of digital workflows.
The workflow below has been proven to do exactly that— achieve precision without relying on additional equipment such as photogrammetry scanners.
The Patient
Our patient was a 75-year-old male who presented with a mandibular hybrid prosthesis and a mostly edentulous maxillary arch. Working with the prosthodontist, we planned a maxillary surgery that incorporated a digitally designed denture with an intaglio surface shaped to accommodate the expected osteoplasty. We also fabricated a clear, 3D-printed surgical guide derived from a duplicate of the denture, featuring a palatal channel for ridge visibility.
On the day of surgery, the clinician immediately loaded the new implants with the denture, converting it into an interim hybrid prosthesis.
After surgery, the patient wore his interim hybrid during the healing period while the implants integrated. Once healing was complete, he returned for the final restoration phase. The treatment plan was to fabricate a maxillary zirconia hybrid supported by a titanium bar, which the patient approved.
Records and Data Collection
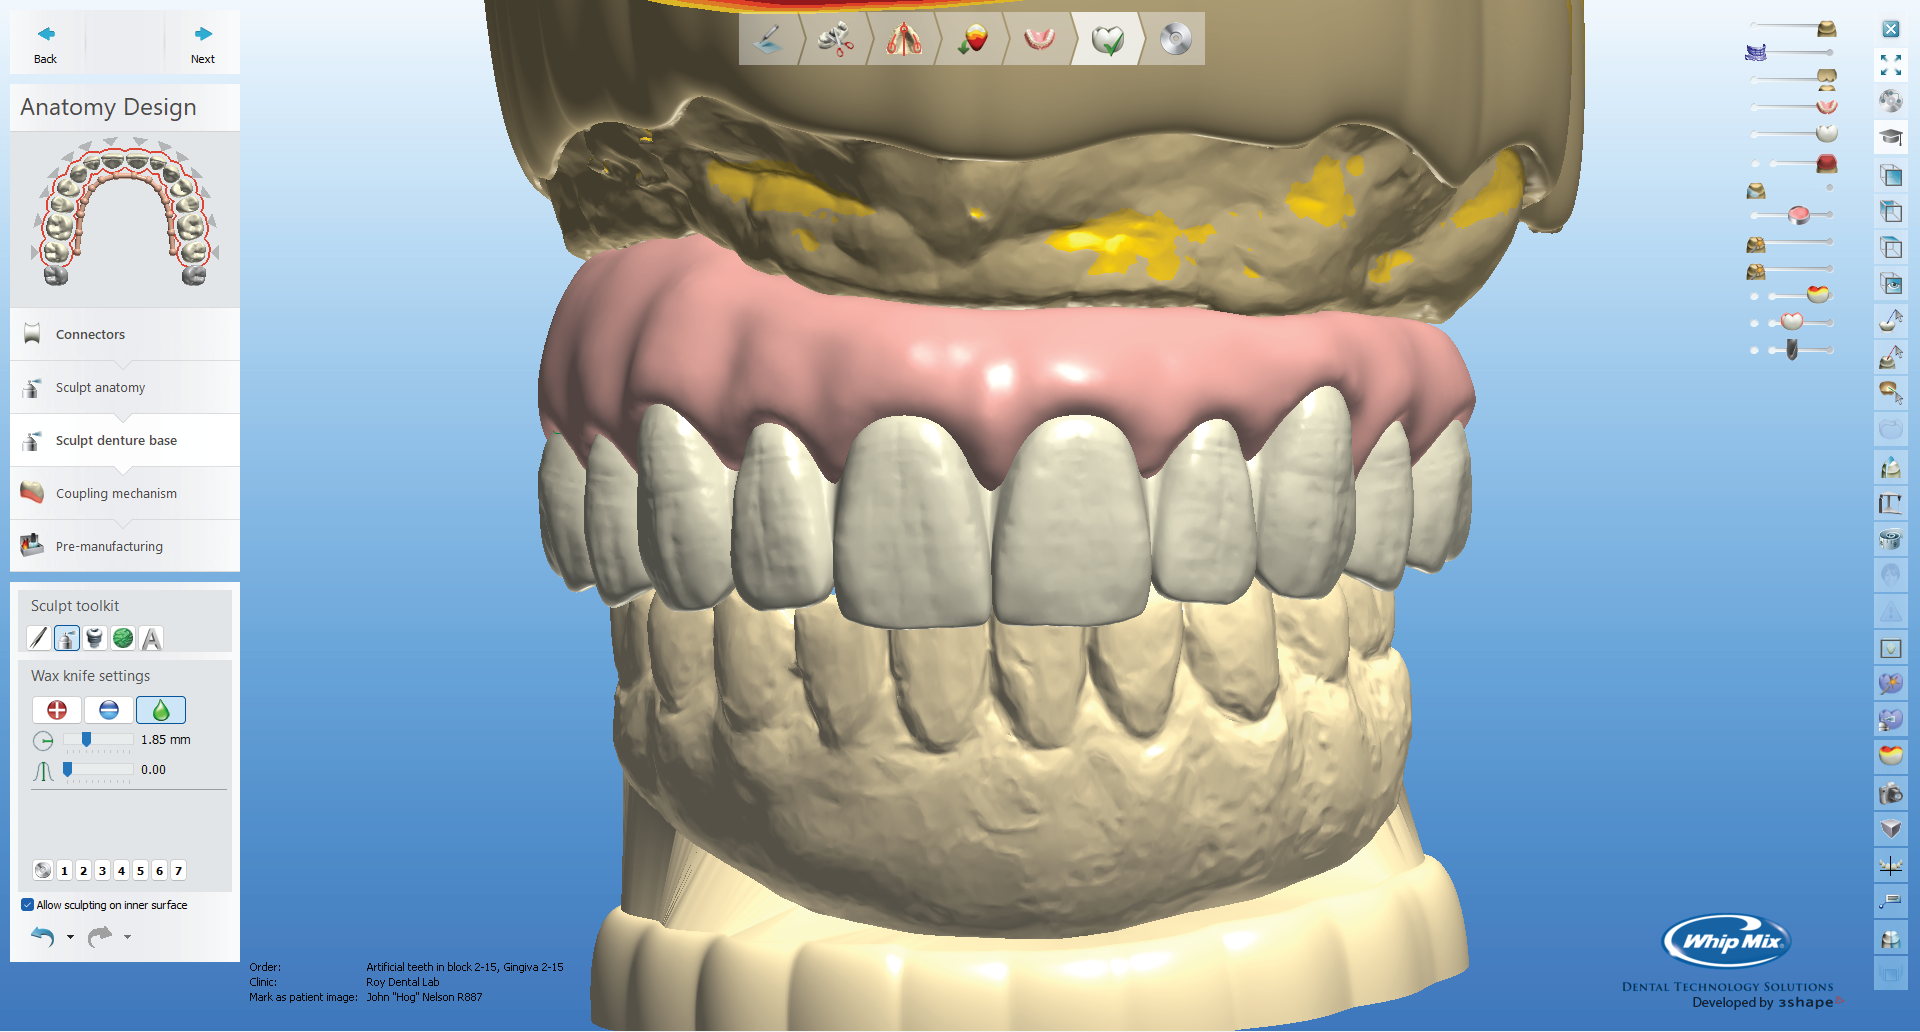
To ensure precise implant positioning, the clinician fabricated a verification jig directly in the mouth and poured a simple stone index model from it. This model didn’t capture tissue shape as its purpose was purely to record accurate implant positions for passivity verification.
The clinician also provided several intraoral scans:
– The patient’s conversion in the mouth, opposing the mandible
– The conversion seated on the verified model
– Healing caps seated on the verified model
– The maxillary soft tissue with the same healing caps in place
With these datasets, we had all the information needed to connect the pieces and move forward with the final design. Our first goal was to deliver a printed esthetic try-in prototype to verify occlusion and soft tissue compression.
Digital Alignment and Design
We began by importing the first scan set into exocad DentalCAD to establish case orientation. All scans had to be aligned into a unified 3D relationship—similar to cross-mounting analog casts. The initial bite record provided the foundation for this alignment.
We then aligned:
– The temporary hybrid on the stone index to the intraoral scan of the hybrid
– The tissue caps on the stone index to the hybrid on the index
– The tissue caps in the mouth to those on the index
We also scanned a set of MUA-level scan bodies on the index and aligned them within the same 3D space. Once alignment was complete, we exported all scans with their new coordinates and imported them into 3Shape to begin wax-up design.
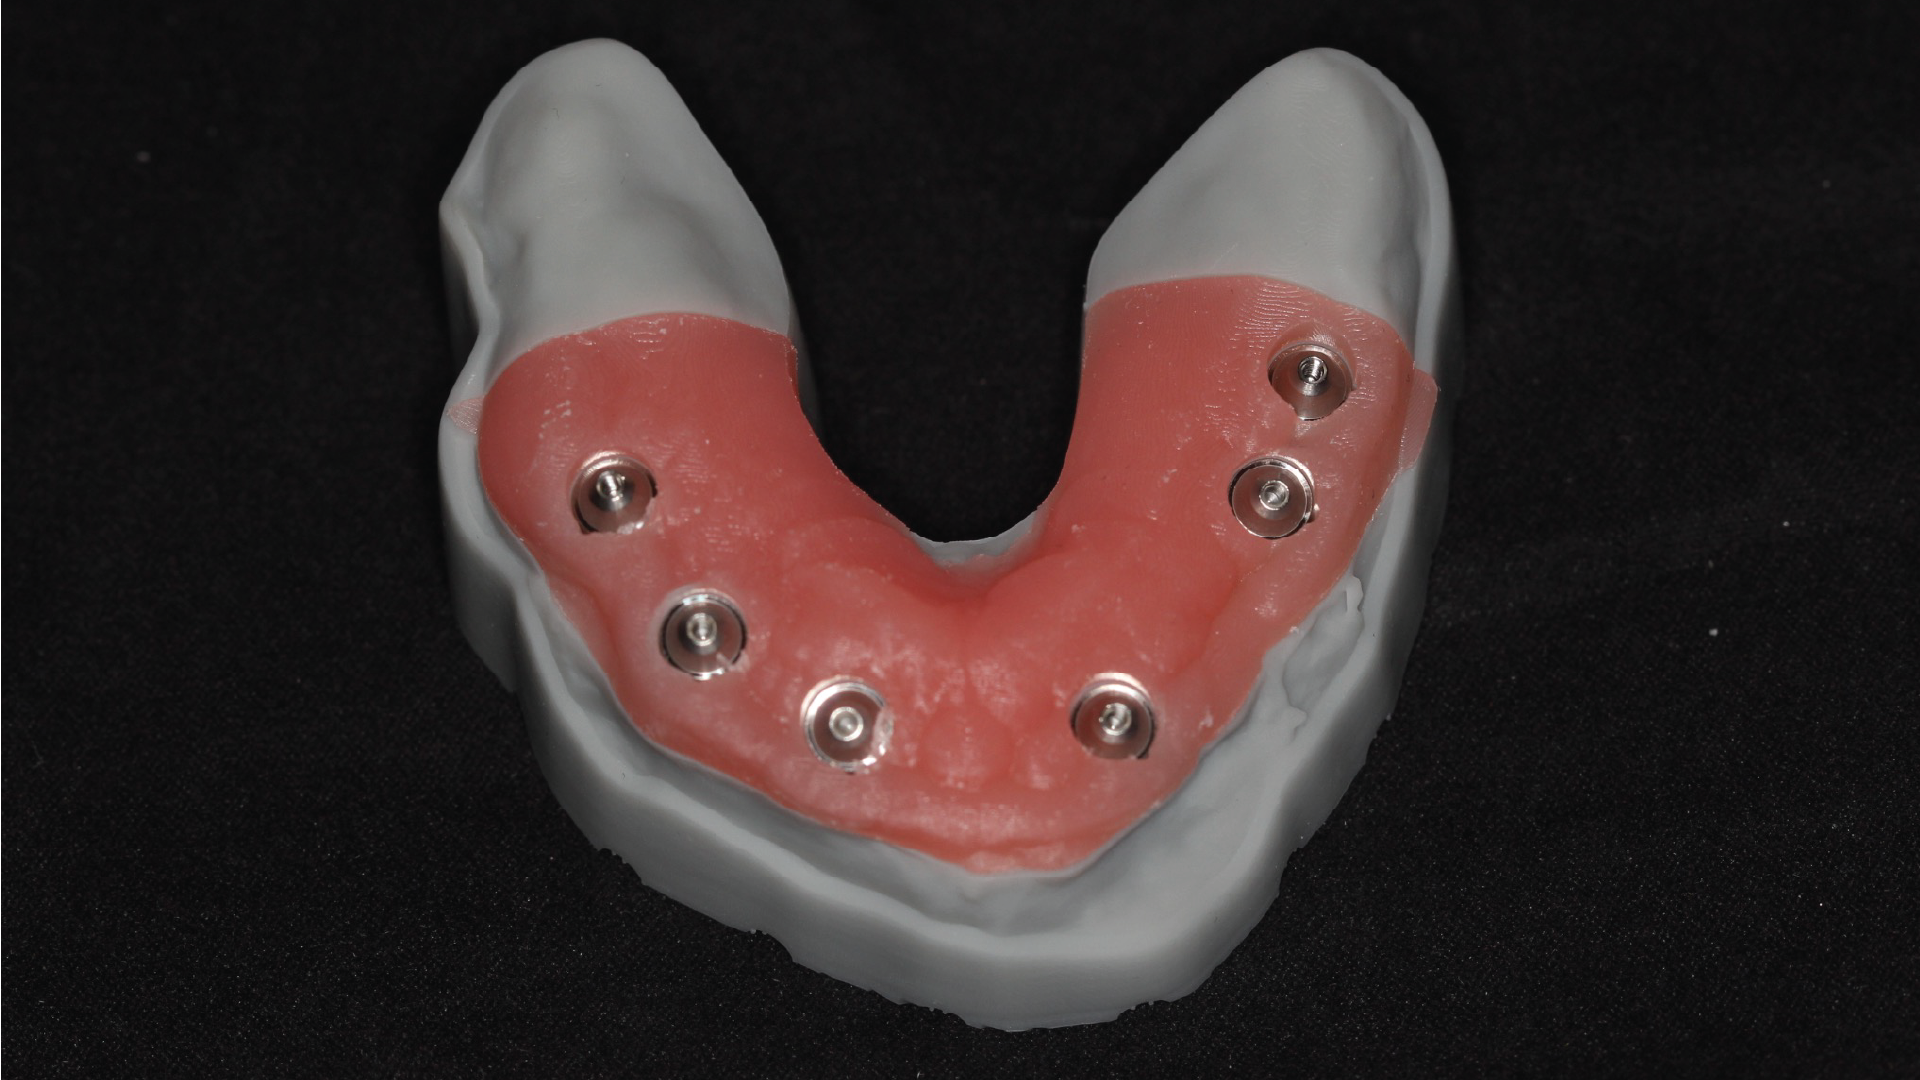
The patient was satisfied with the tooth position in his conversion, so we referenced our original digital denture design as the basis for the final hybrid. Using 3Shape’s denture module, we efficiently reset the same tooth arrangement and refined the gingival contours to resemble an All-On-X rather than a full denture.
From there, we exported the final wax-up STL—maintaining the established 3D relationship—and digitally applied direct-to-MUA interfaces using Rosen screws beneath the wax-up, referencing our MUA scanbody data.
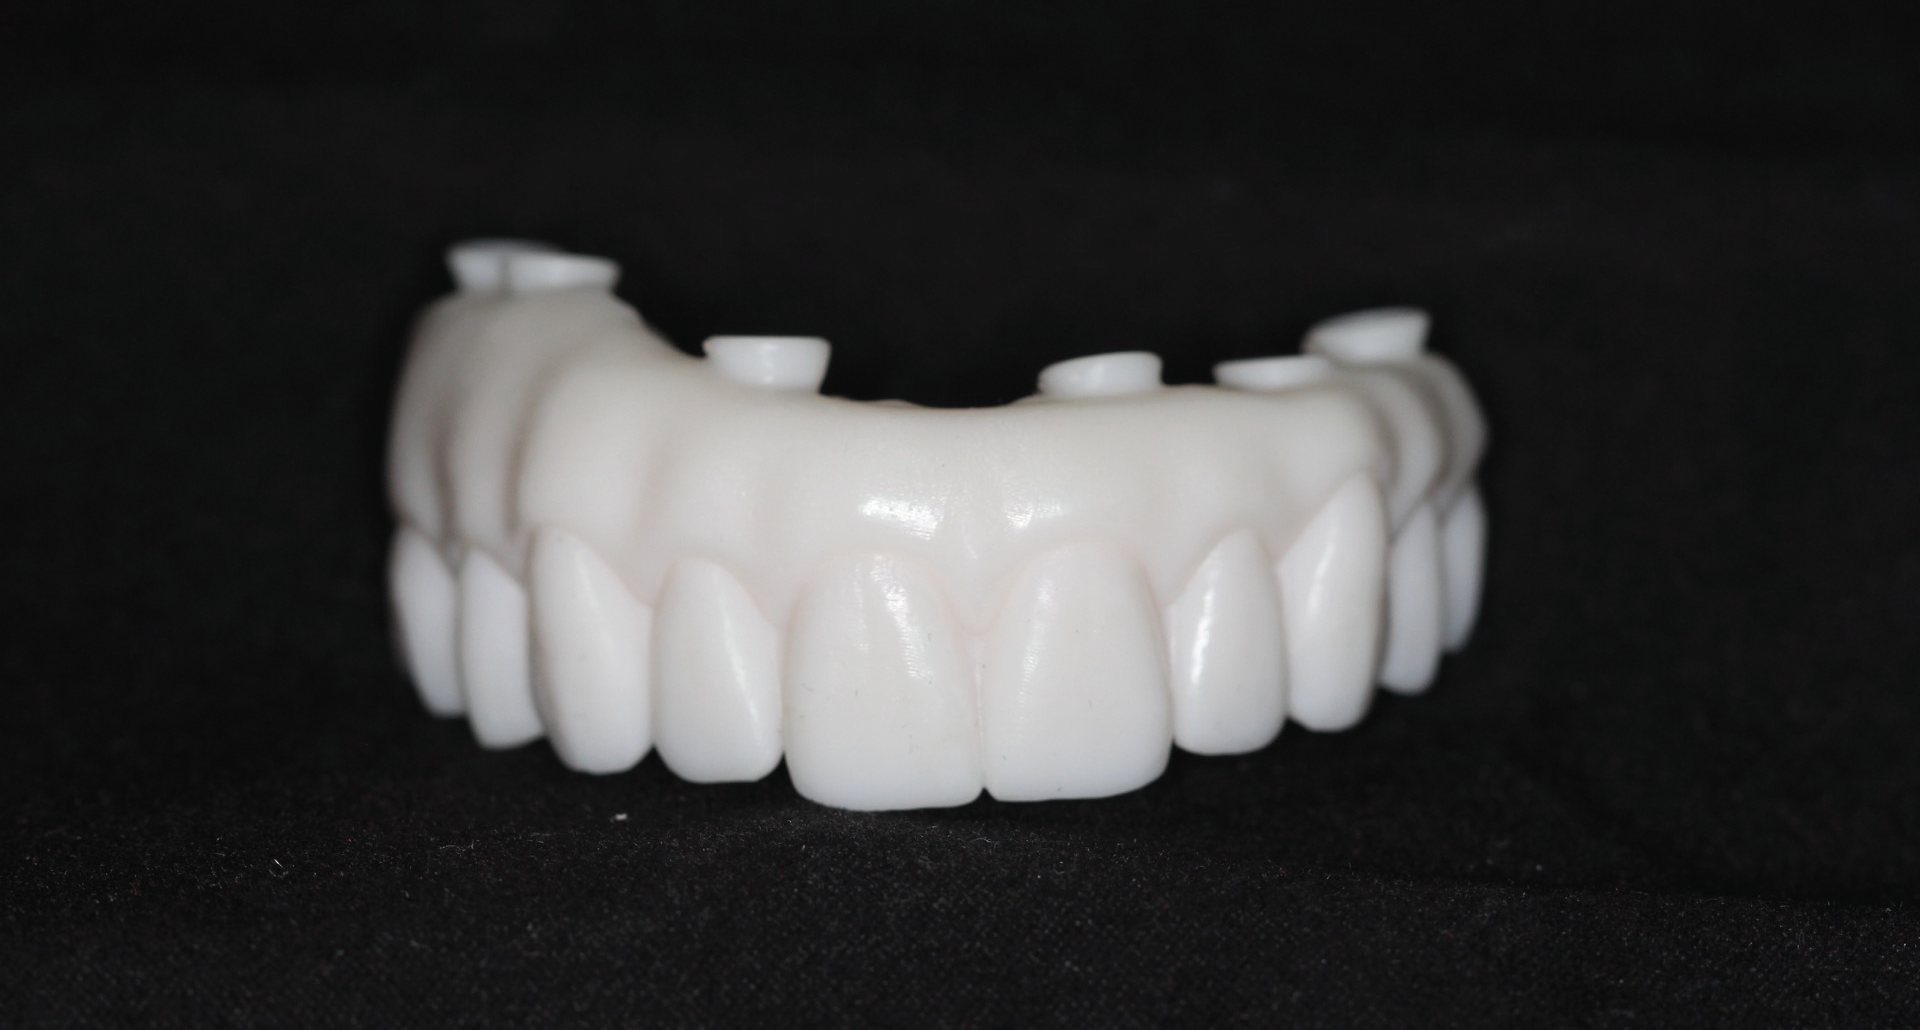
Printing and Model Verification
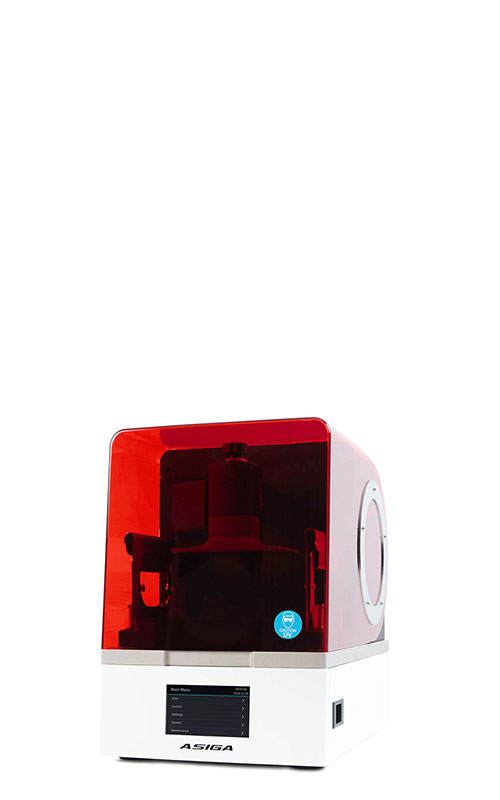
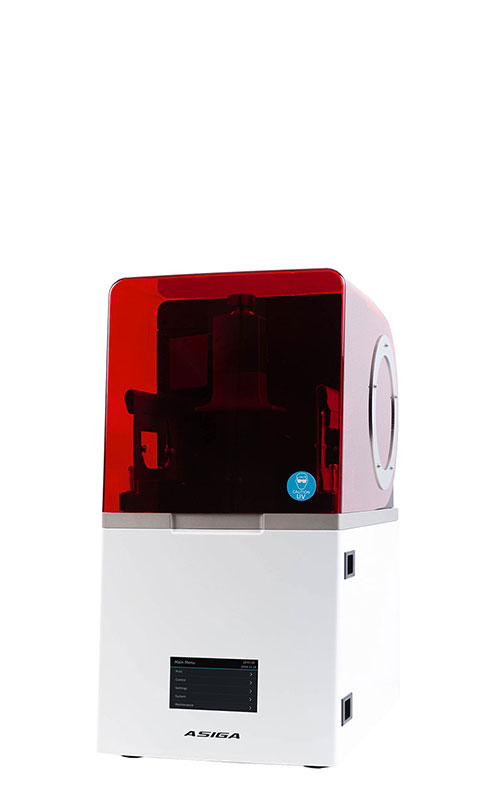
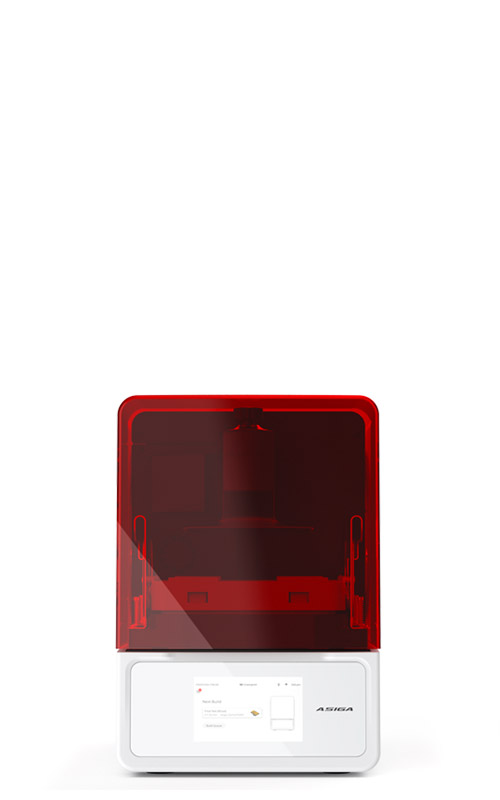
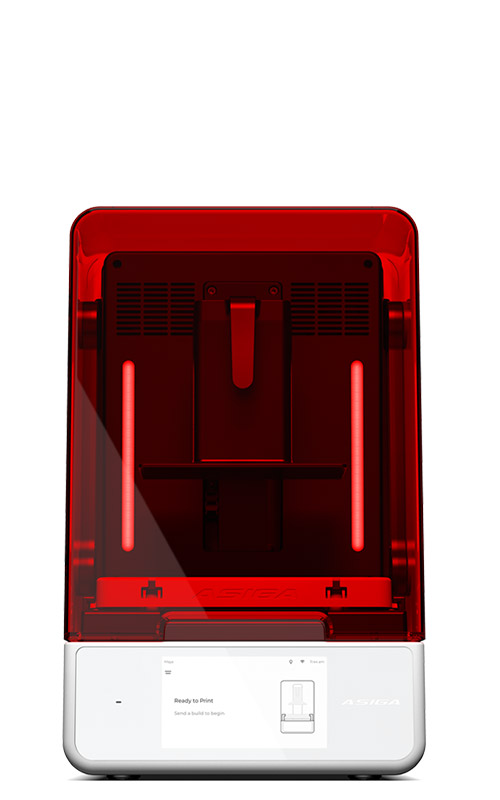
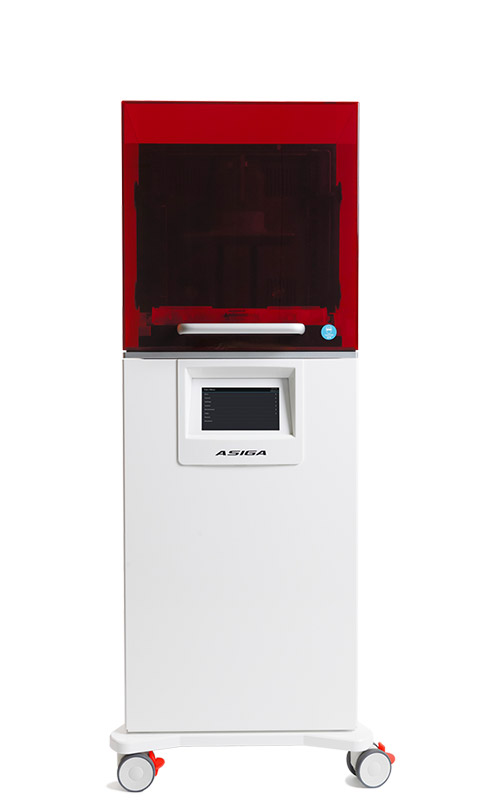
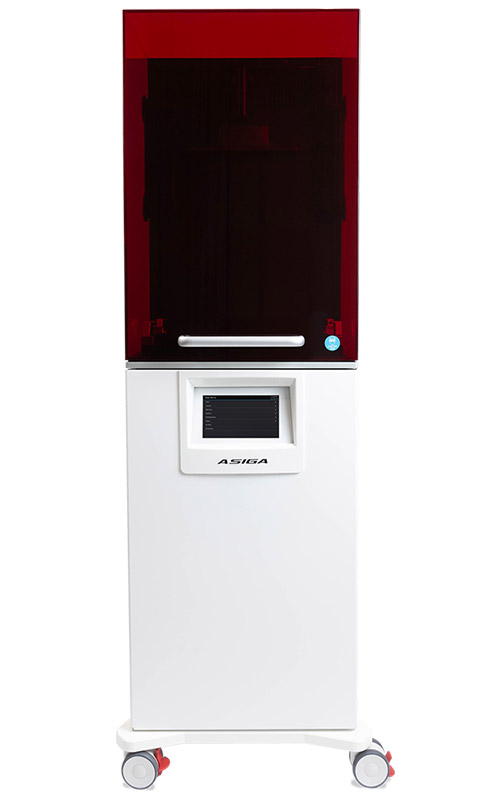
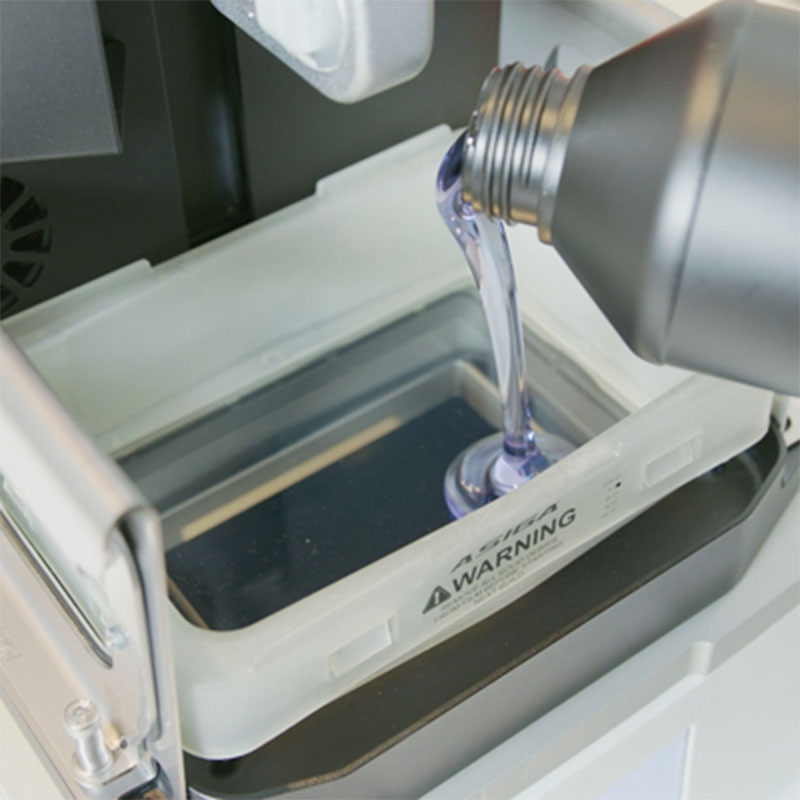
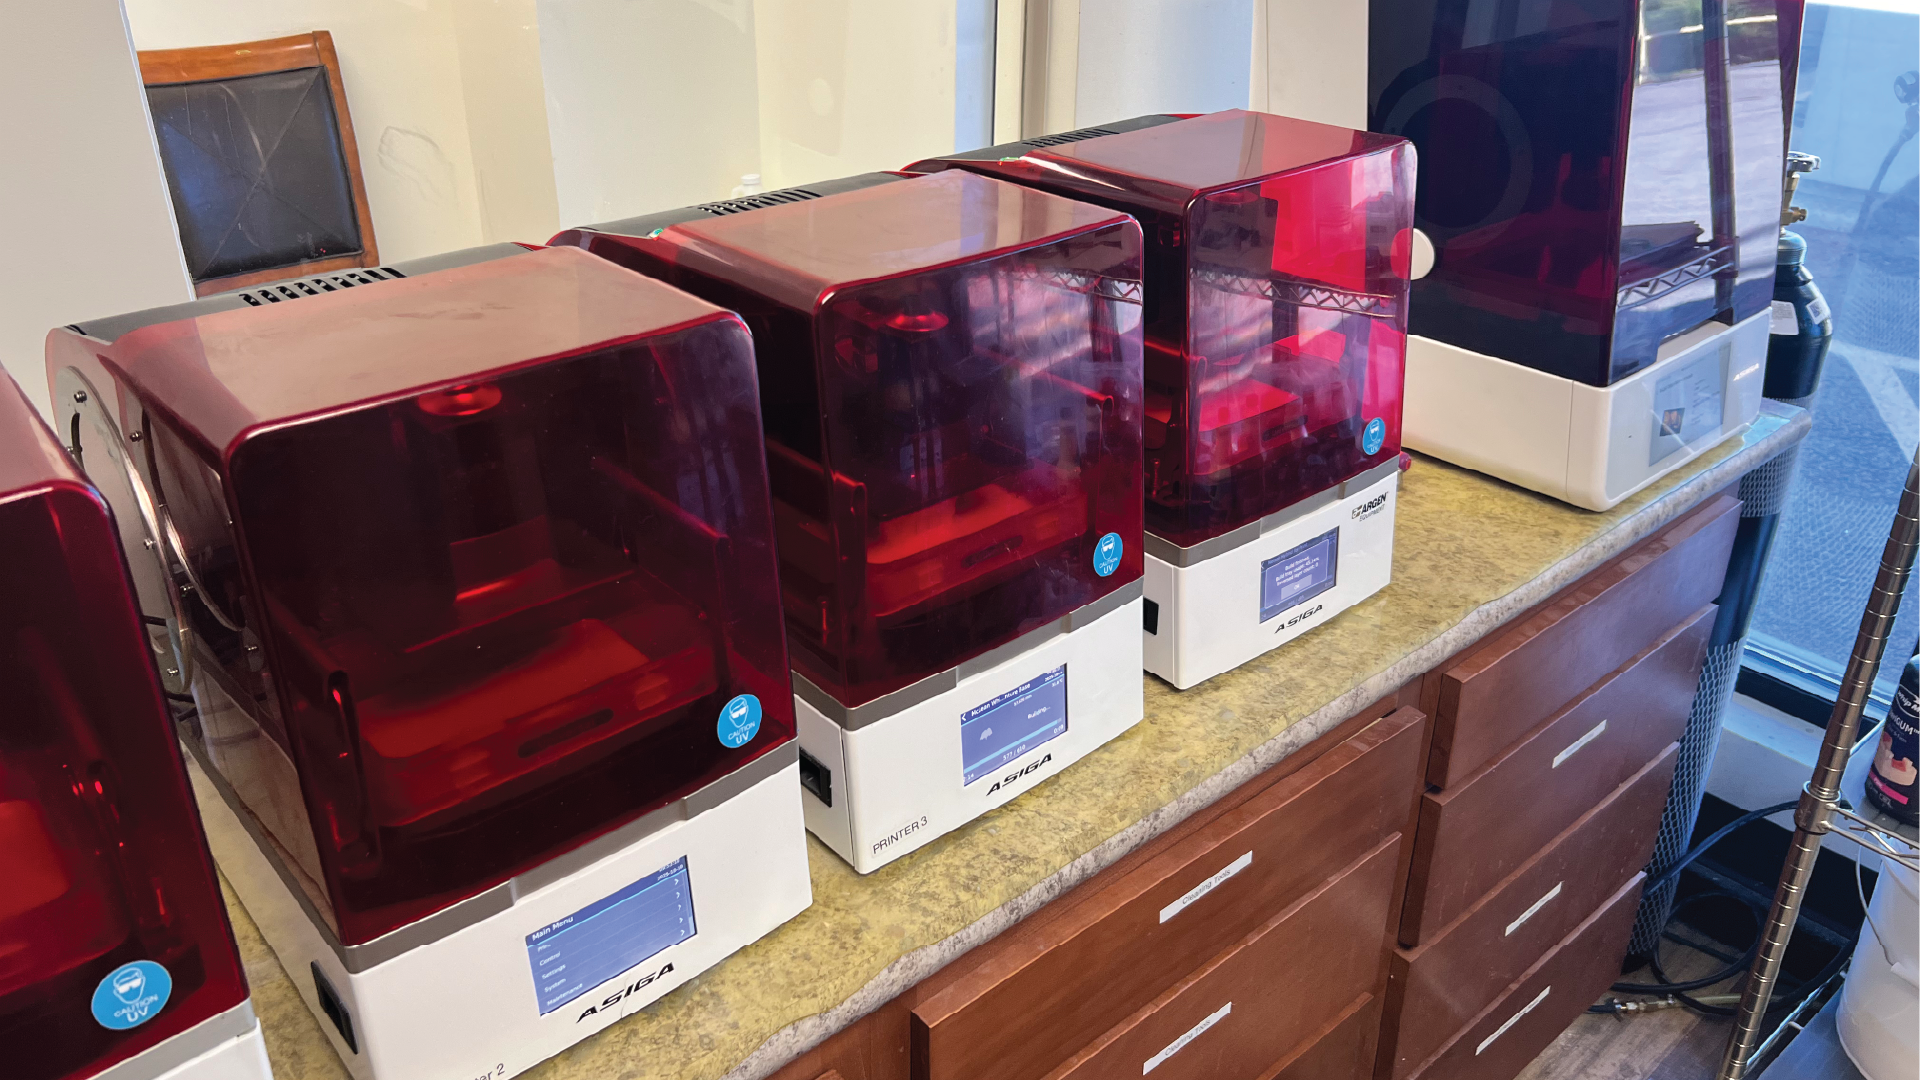
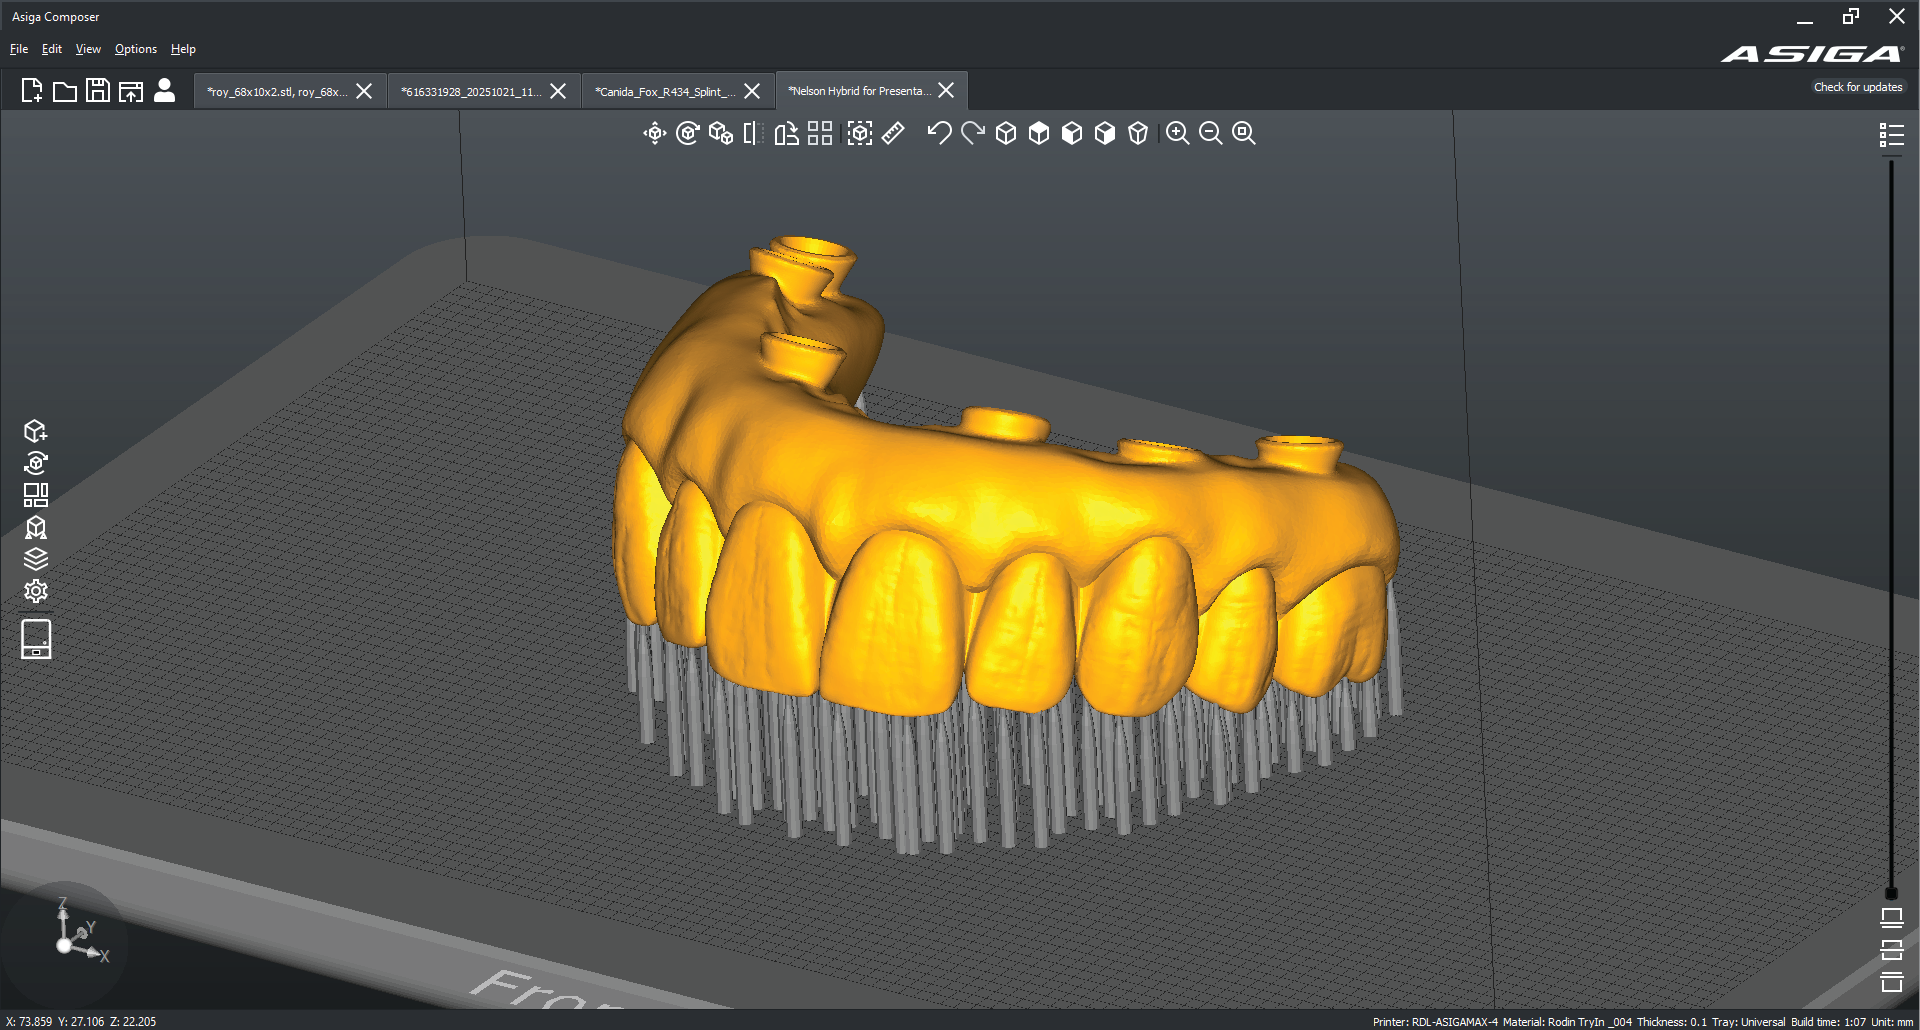
The finalized STL was imported into Asiga Composer 2.0 and printed on one of our four UVMax printers. Using Asiga’s automatic orientation feature, we optimized the hybrid’s placement and printed it with Pac-Dent’s Rodin Try-In resin. The Rodin family of resins has become a vital part of our printed resin offerings, thanks to Asiga’s unfaltering commitment to their open material platform. With Asiga, we have the freedom to ensure the materials we provide are in line with our standards of quality, offering resins we believe are the best for the indication.
After about 45 minutes of print time, the prosthesis was ready for post-processing. We cleaned it with two 2-minute ultrasonic wash cycles, then cured it for 5,000 flashes in the NK-Optik Otoflash unit. Once cured, we smoothed the occlusal supports and lightly polished the surface.
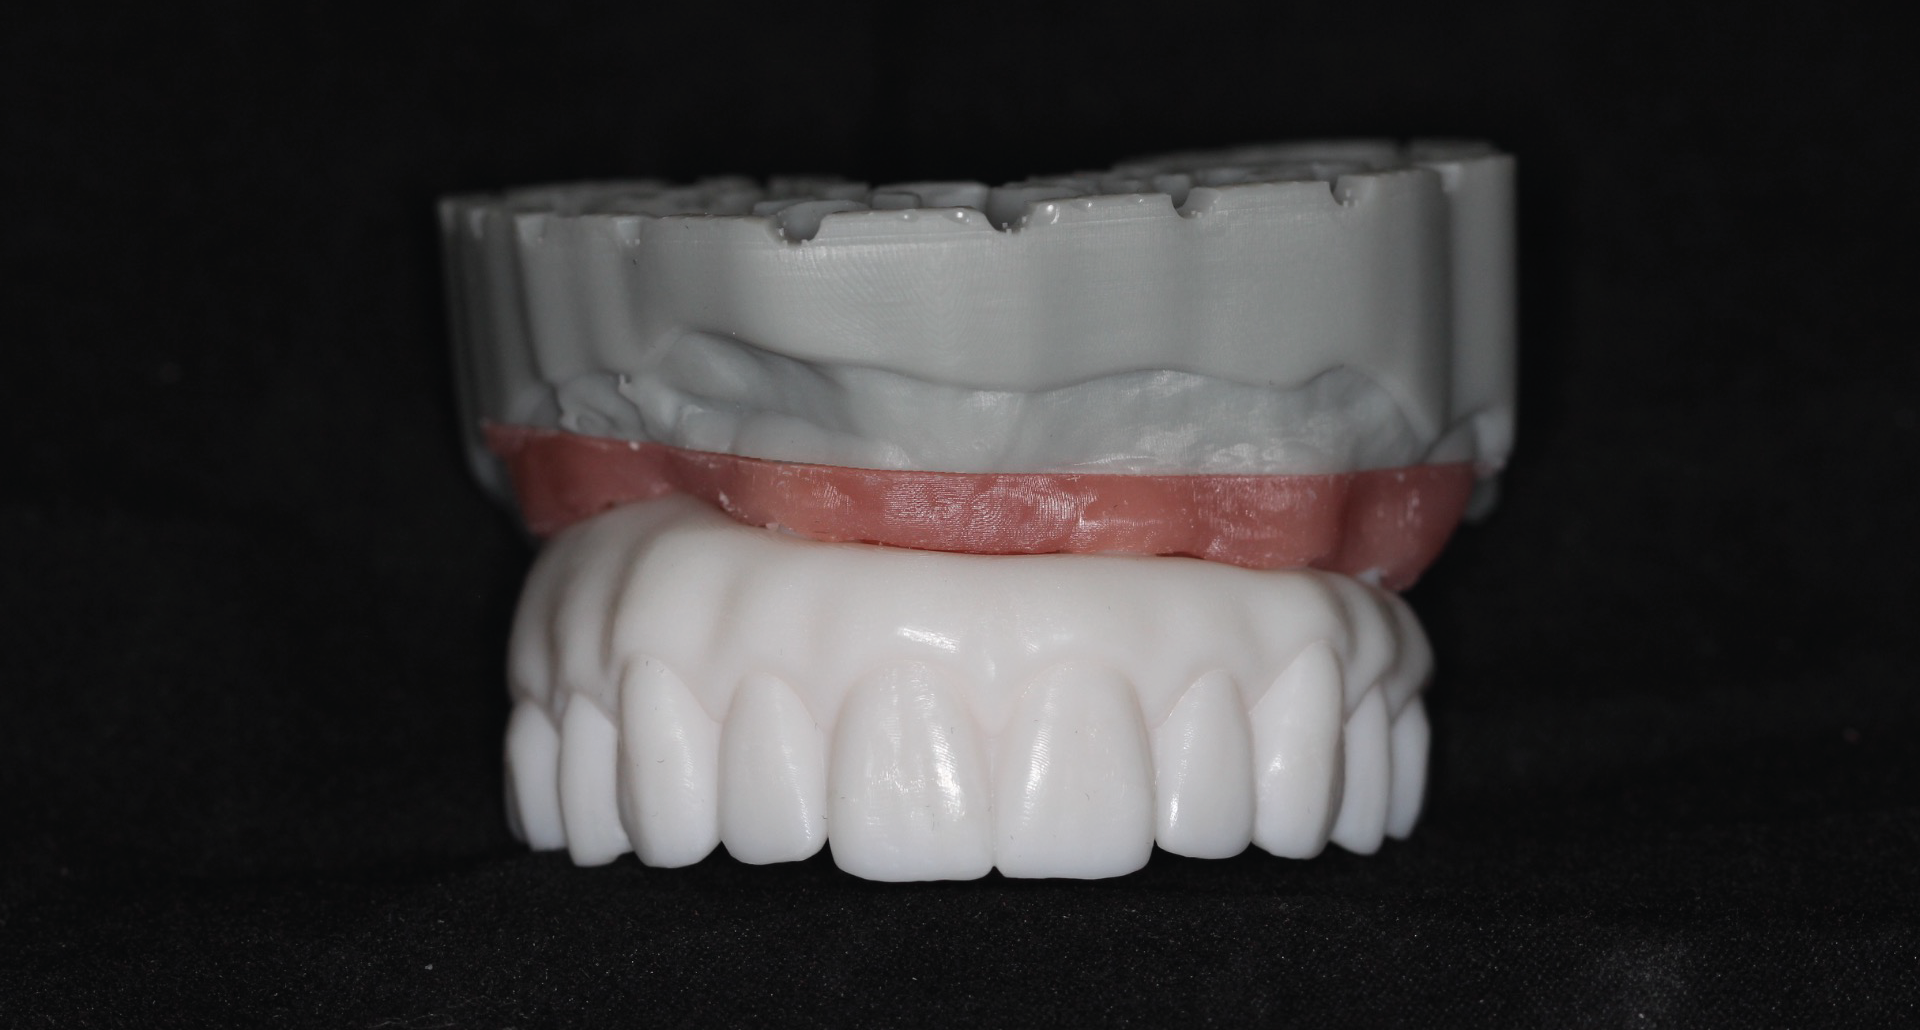
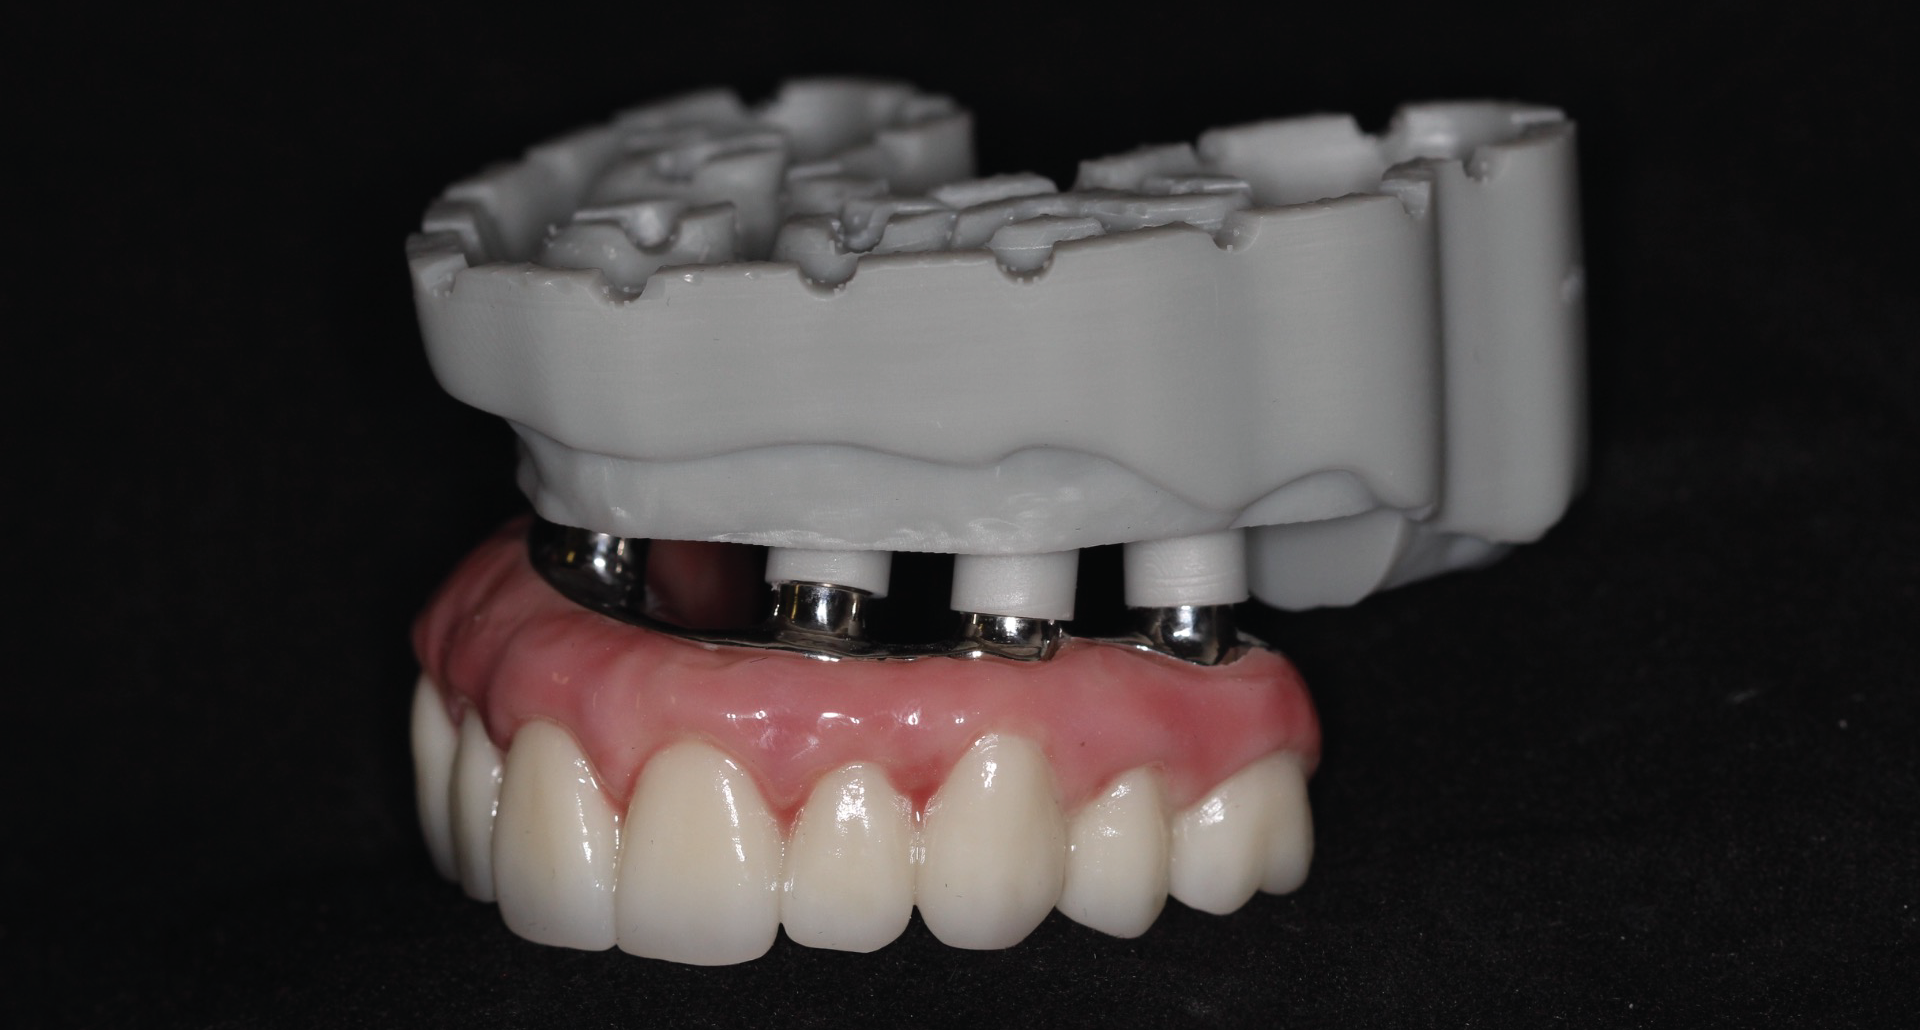
Since the verified model lacked soft tissue data, we couldn’t directly assess tissue pressure. To solve this, we designed a digital implant model and removable gingival mask using the soft tissue scan and implant positions from the stone index. We printed:
– The model on the Asiga Ultra at 50 microns with Whip Mix VeriMODEL Grey resin
– The gingival mask on the UVMax at 100 microns with Whip Mix VeriGUM resin
After post-processing and curing, we inserted digital MUA model analogs into the model and tested the fit. The hybrid seated passively on both the stone and printed models, confirming consistent alignment and tissue adaptation.
Final Outcome
The prototype exhibited excellent fit, function, and esthetics. Both the patient and the clinician were pleased with the result and approved moving forward with the final zirconia restoration.
Conclusion
By merging analog verification steps with digital precision, this workflow bridges the gap between traditional full-arch accuracy and modern efficiency—without relying on photogrammetry. Through careful data alignment, model validation, and precise 3D printing, we successfully repurposed analog components within a digital environment to deliver a predictable and streamlined All-On-X solution.
About the Author
JT Roy is a third-generation lab technician and the Digital Workflow Specialist at Roy Dental Lab, a full-service lab based just outside of Louisville, Kentucky. The grandson of a Removables CDT and the son of the lab manager, he was practically raised in the lab, and as such was exposed to dental technology at a very young age. His passion for dentistry and love of technology has resulted in a drive to integrate foundational dental principles with digital workflows, specifically focusing on implant restorations and removables. He has had the immense privilege of collaborating with several world-class technicians, lecturers, researchers, and clinicians during his career. He and his wife currently reside in New Albany, Indiana.
Share: