












Restoring an Aged Smile with 3D Printing

By Paolo Lubrano, MDT
Patient Presentation
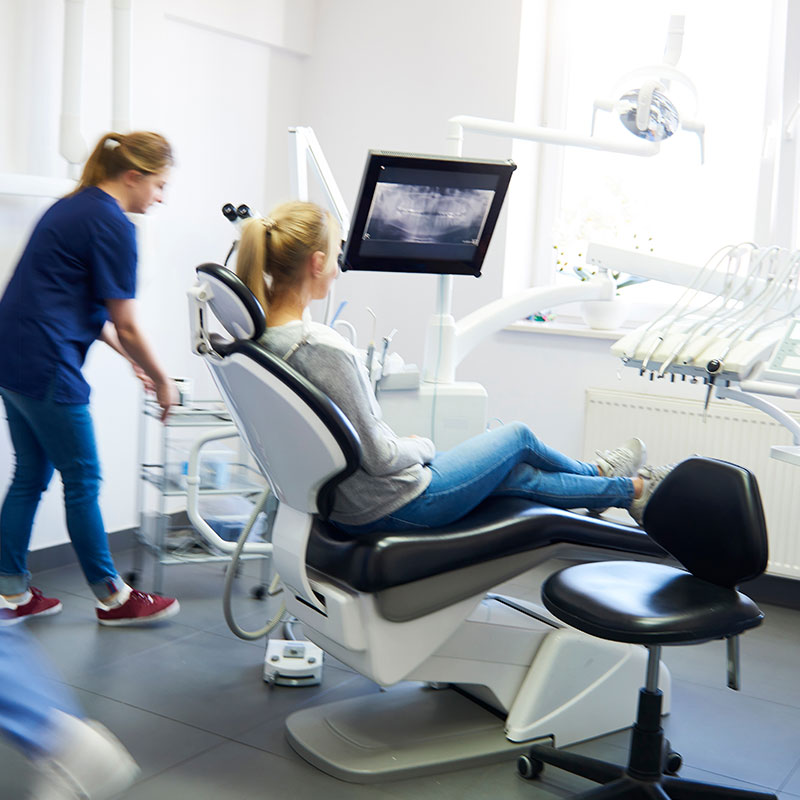
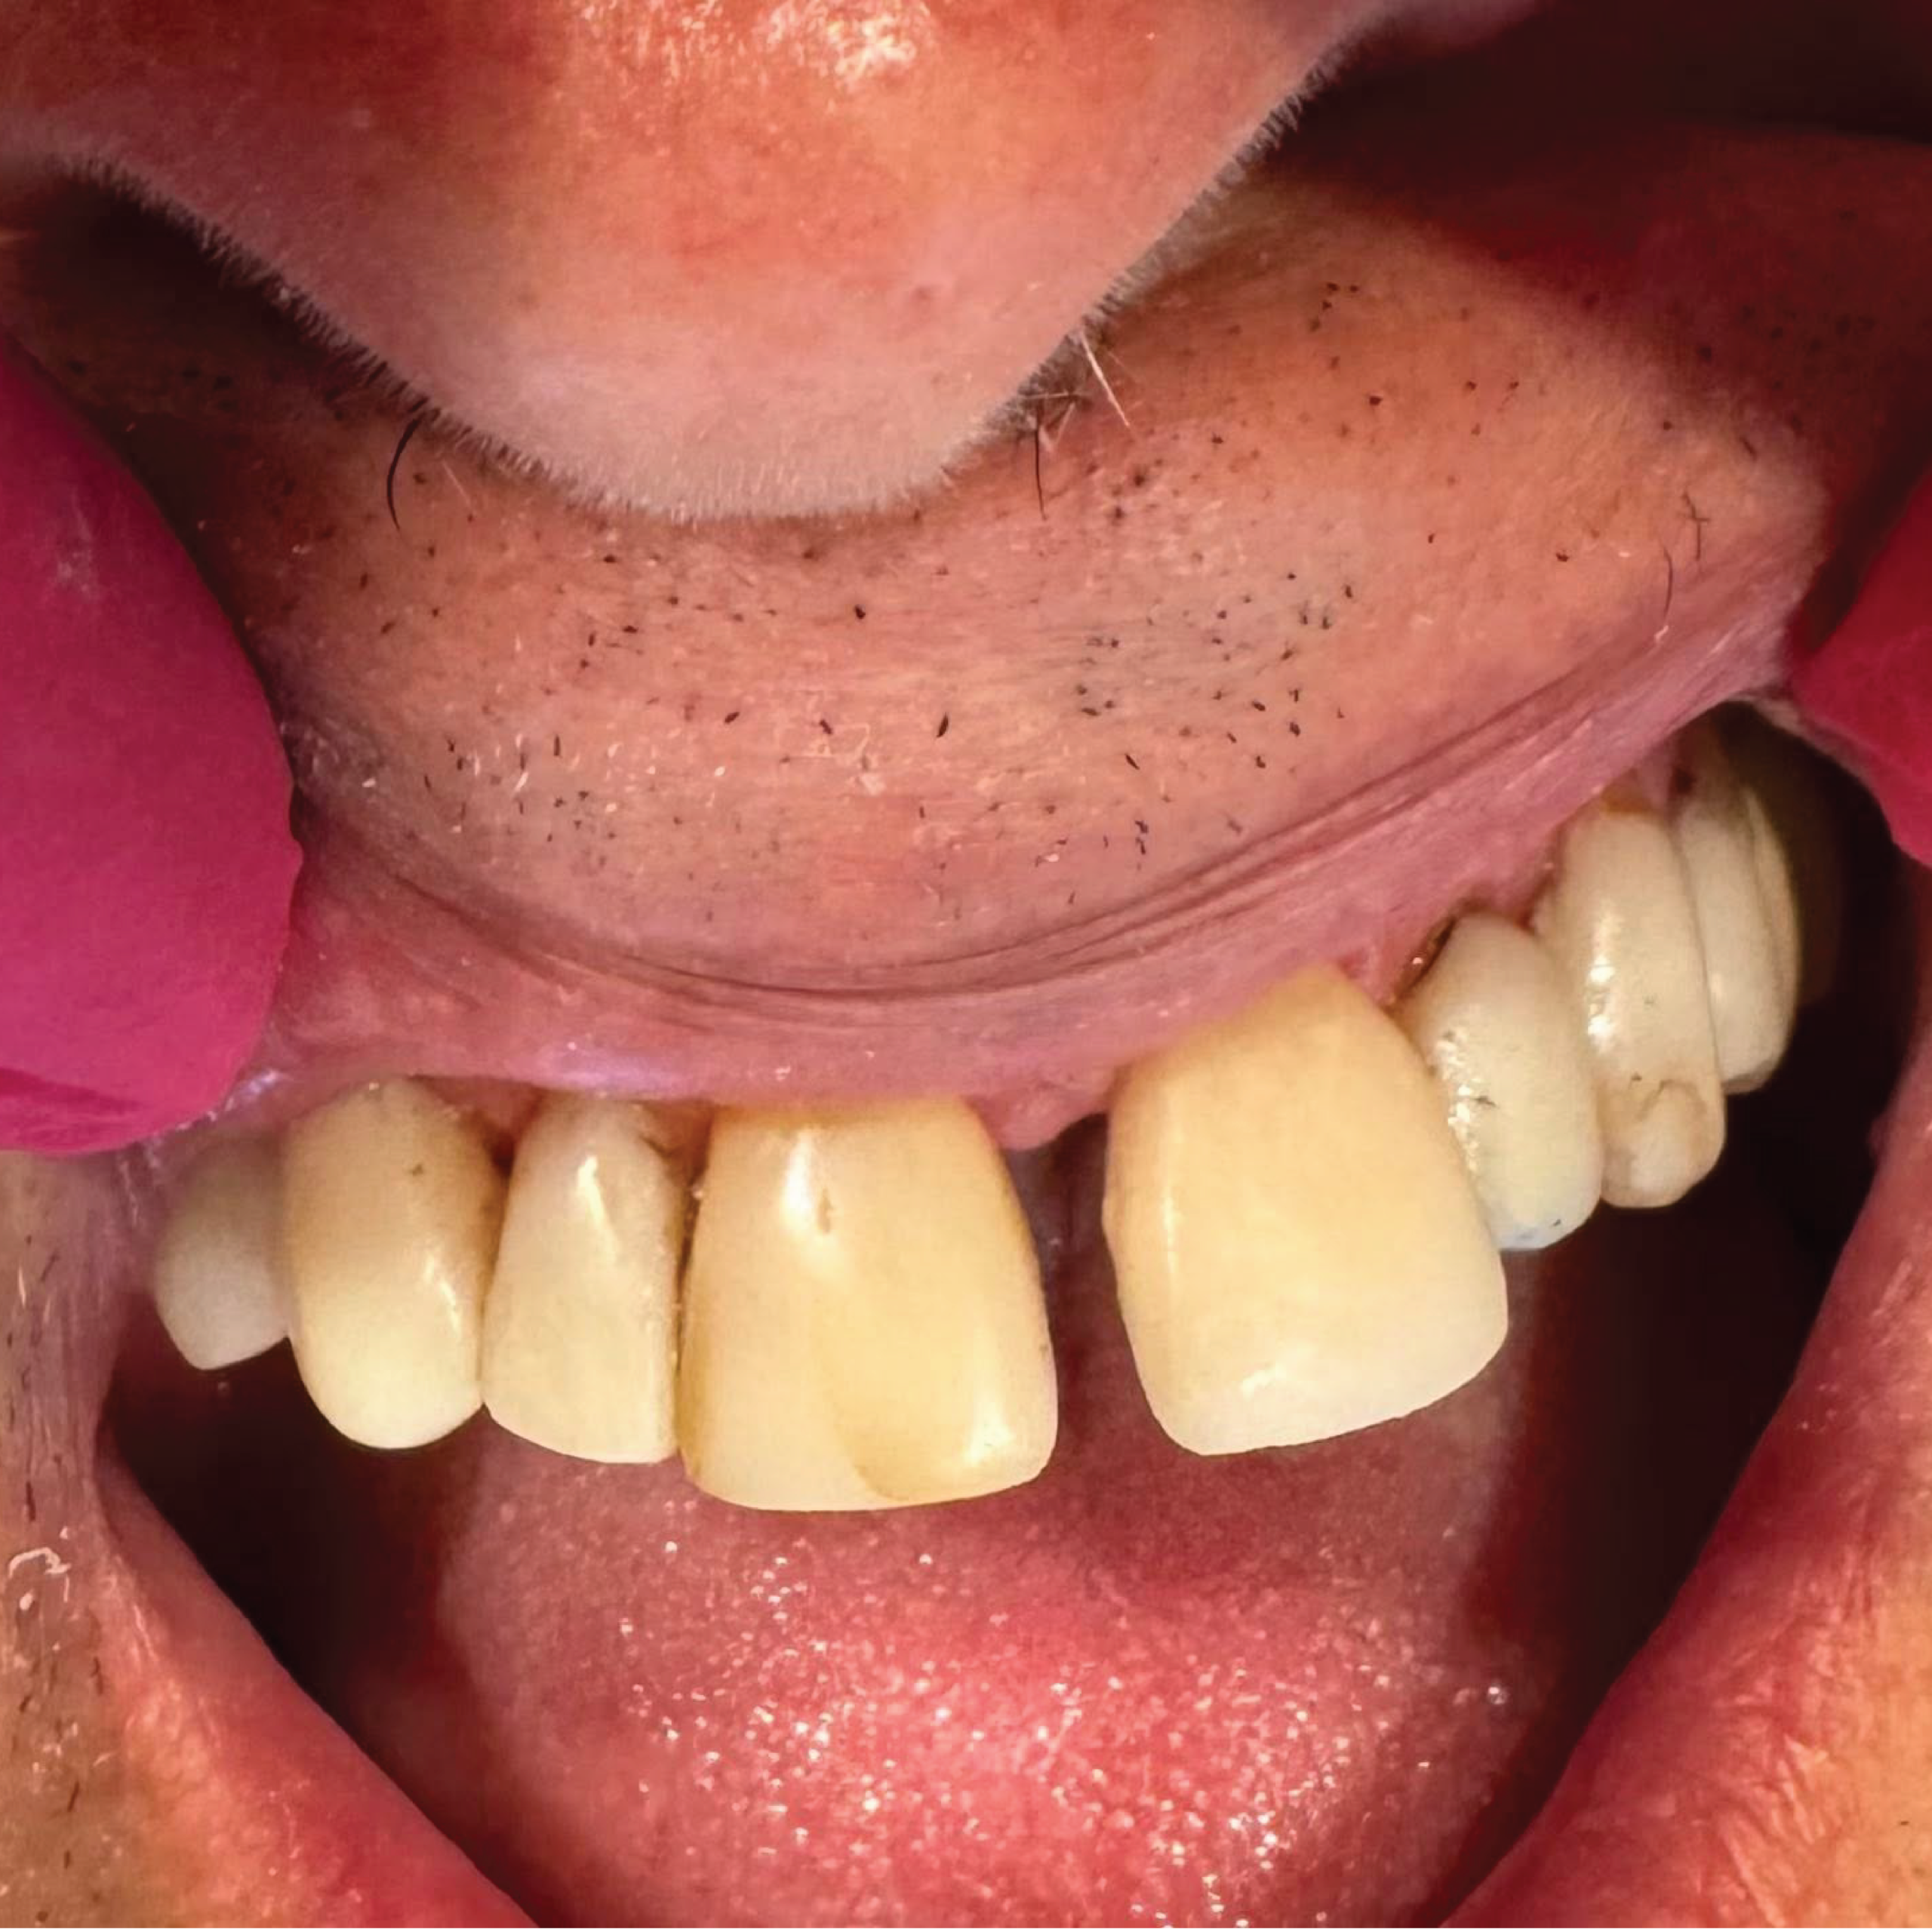
The patient initially presented to the clinic with a primary chief complaint regarding a fractured porcelain veneer on the maxillary left central incisor. Upon clinical examination and review of the patient’s dental history, it was noted that the existing veneers were over 20 years old. This presented a significant restorative challenge, as two decades of natural aging, slight gingival recession, and minor staining had given the surrounding teeth a unique characterisation that is notoriously difficult to replicate with modern, standardised materials. During the initial consultation, various restorative options were discussed in detail, including a traditional lithium disilicate veneer and a modern 3D-printed ceramic veneer. The inherent limitations of shade matching with lithium disilicate were a major focal point of the conversation; because the adjacent restorations had aged significantly, a brand-new ceramic ingot might appear too bright or monochromatic, failing to blend with the weathered aesthetic of the patient’s existing smile. After weighing the benefits of a rapid digital workflow and the ability to hand-characterise the restoration chairside, the patient elected to proceed with a 3D-printed veneer.
Treatment planning
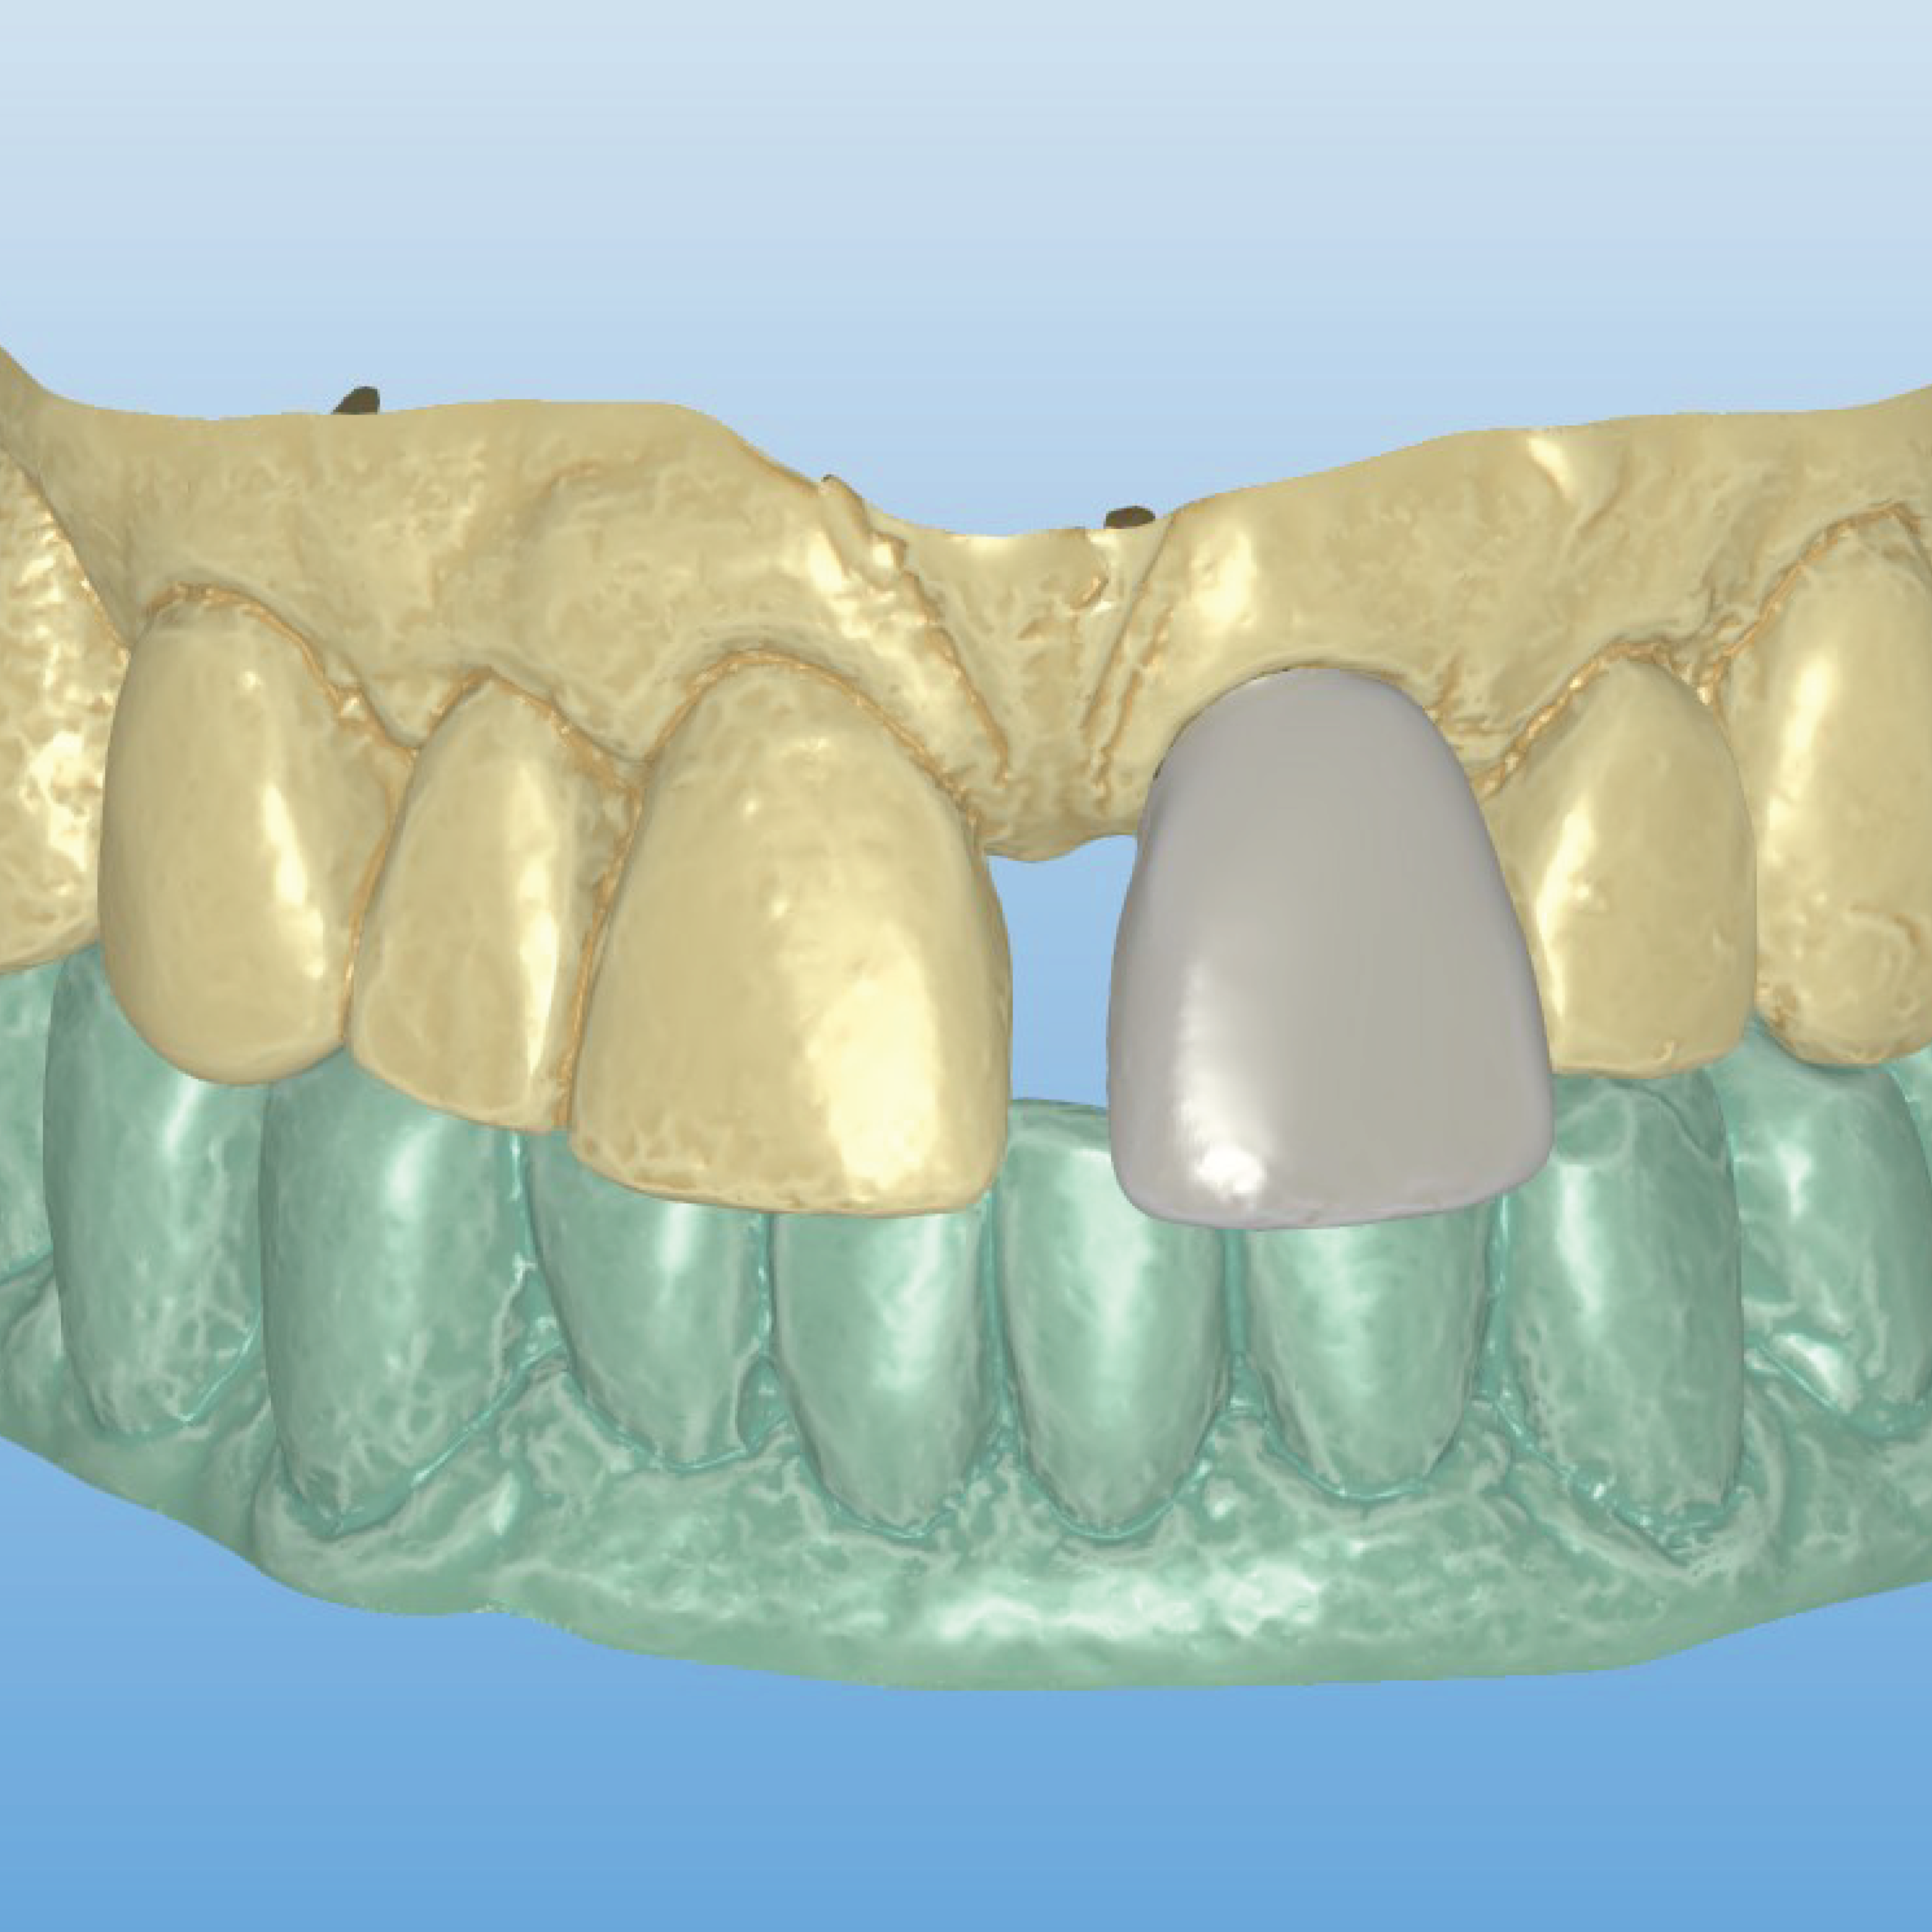
The clinical process began with conservative tooth preparation to remove the fractured material and create a stable bonding surface, followed immediately by digital data acquisition. High-resolution photos were taken to document the preparation and the specific nuances of the surrounding dentition. The tooth was then scanned using a high-precision intraoral scanner to generate a digital impression, which eliminated the need for uncomfortable traditional tray impressions. These digital files were sent to the laboratory software environment to begin the fabrication process. Once the STL files were received and verified for accuracy, they were imported into RealGUIDE CAD software. In this digital environment, the veneer was meticulously designed to match the specific morphology, emergence profile, and incisal edge position of the patient’s existing dentition, ensuring a harmonious fit within the dental arch.
Manufacture
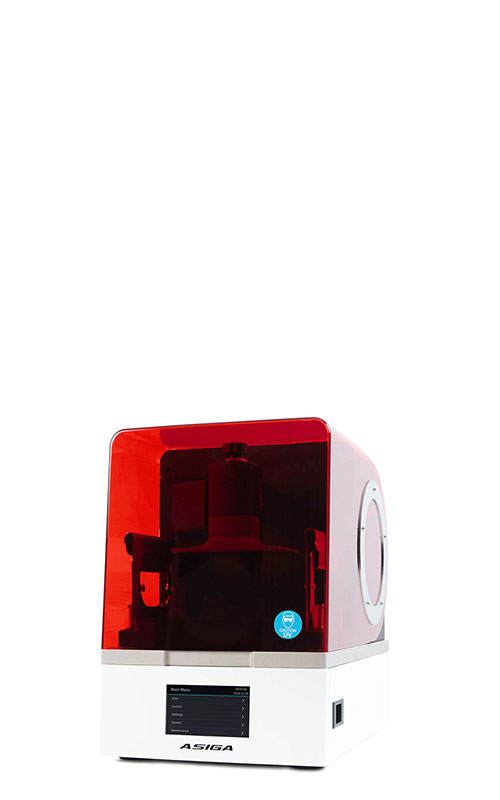
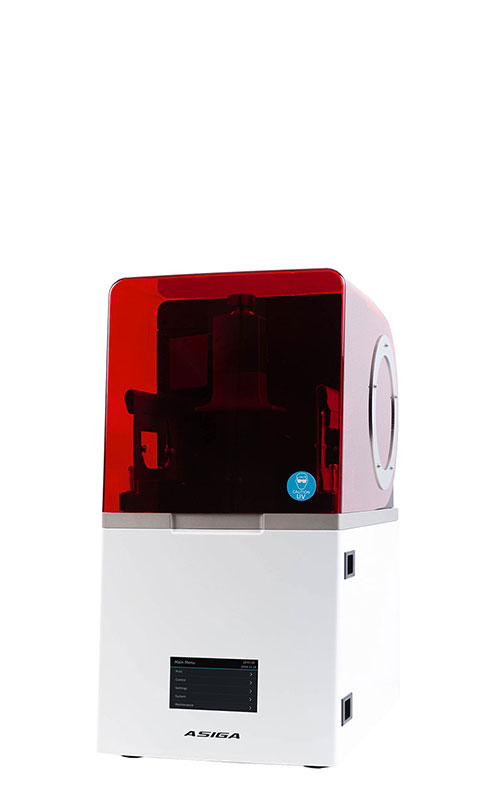
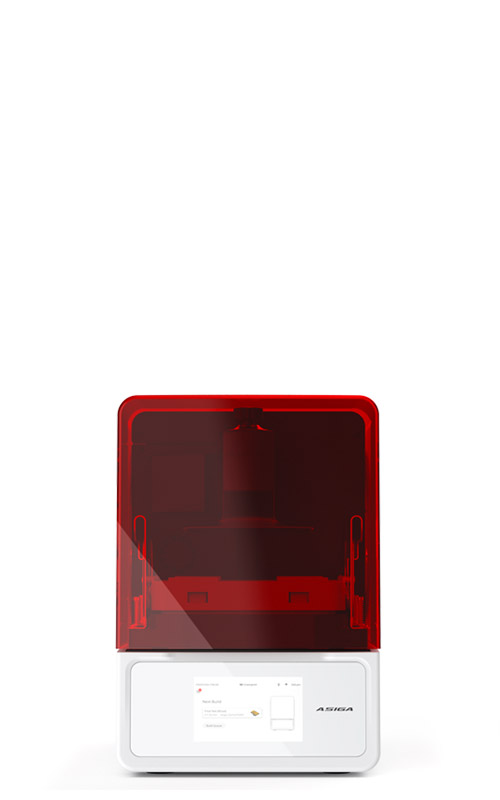
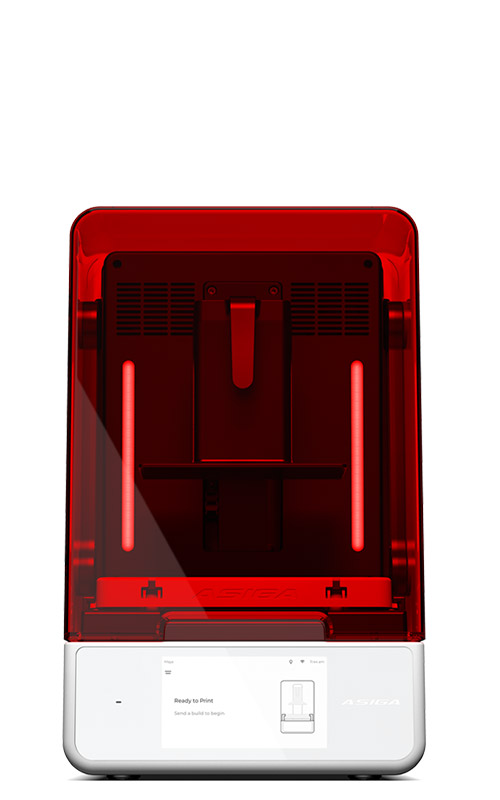
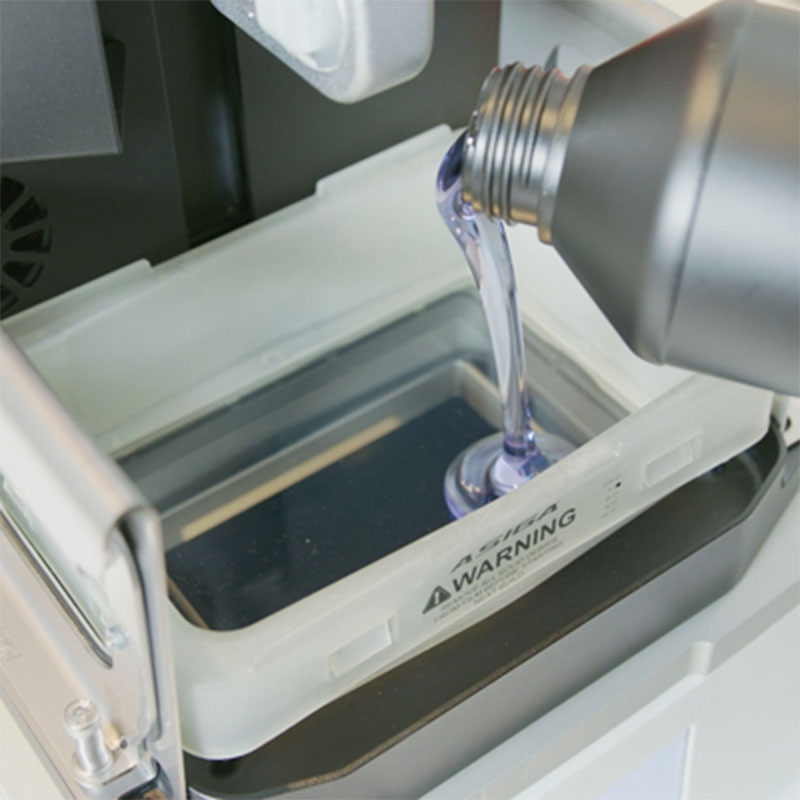
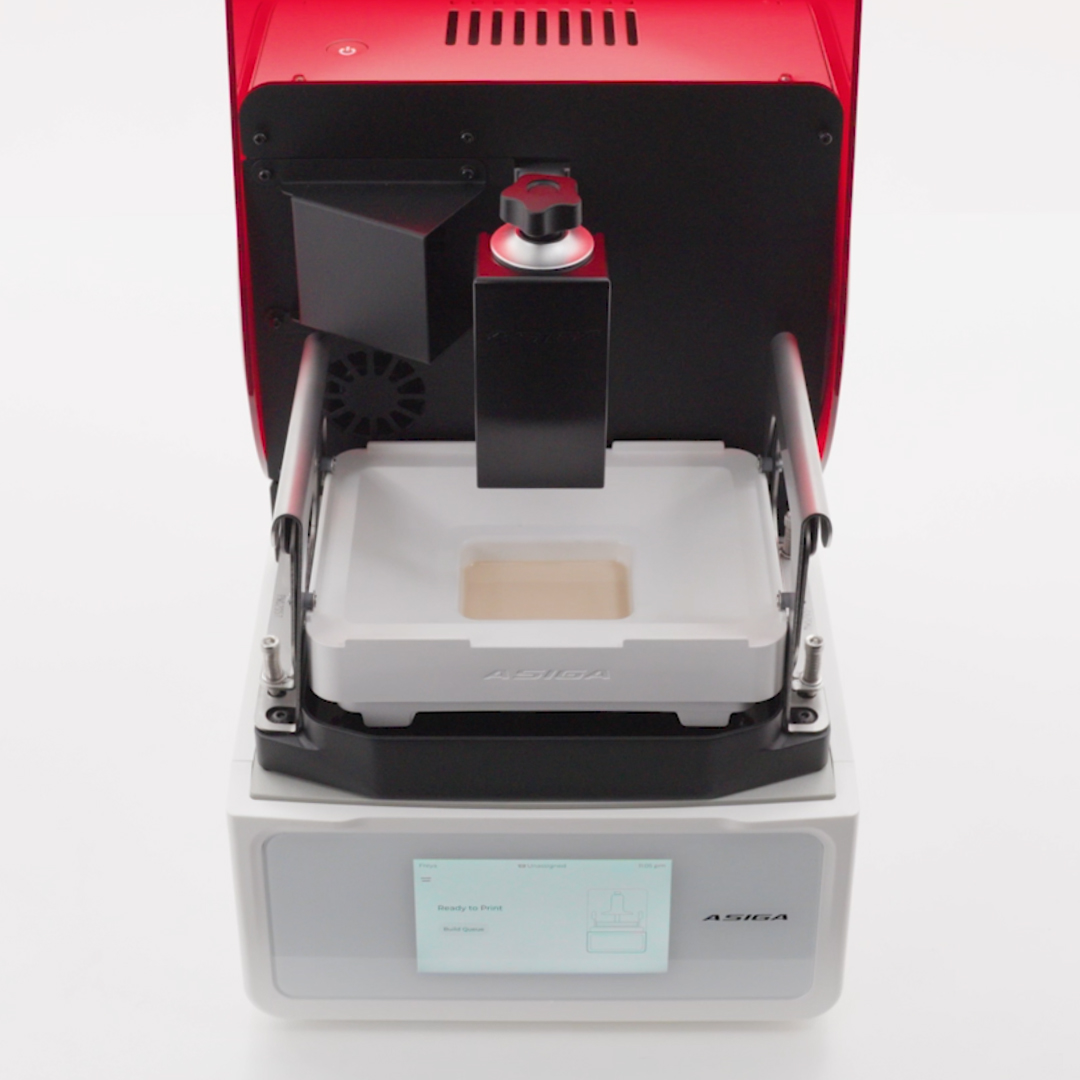
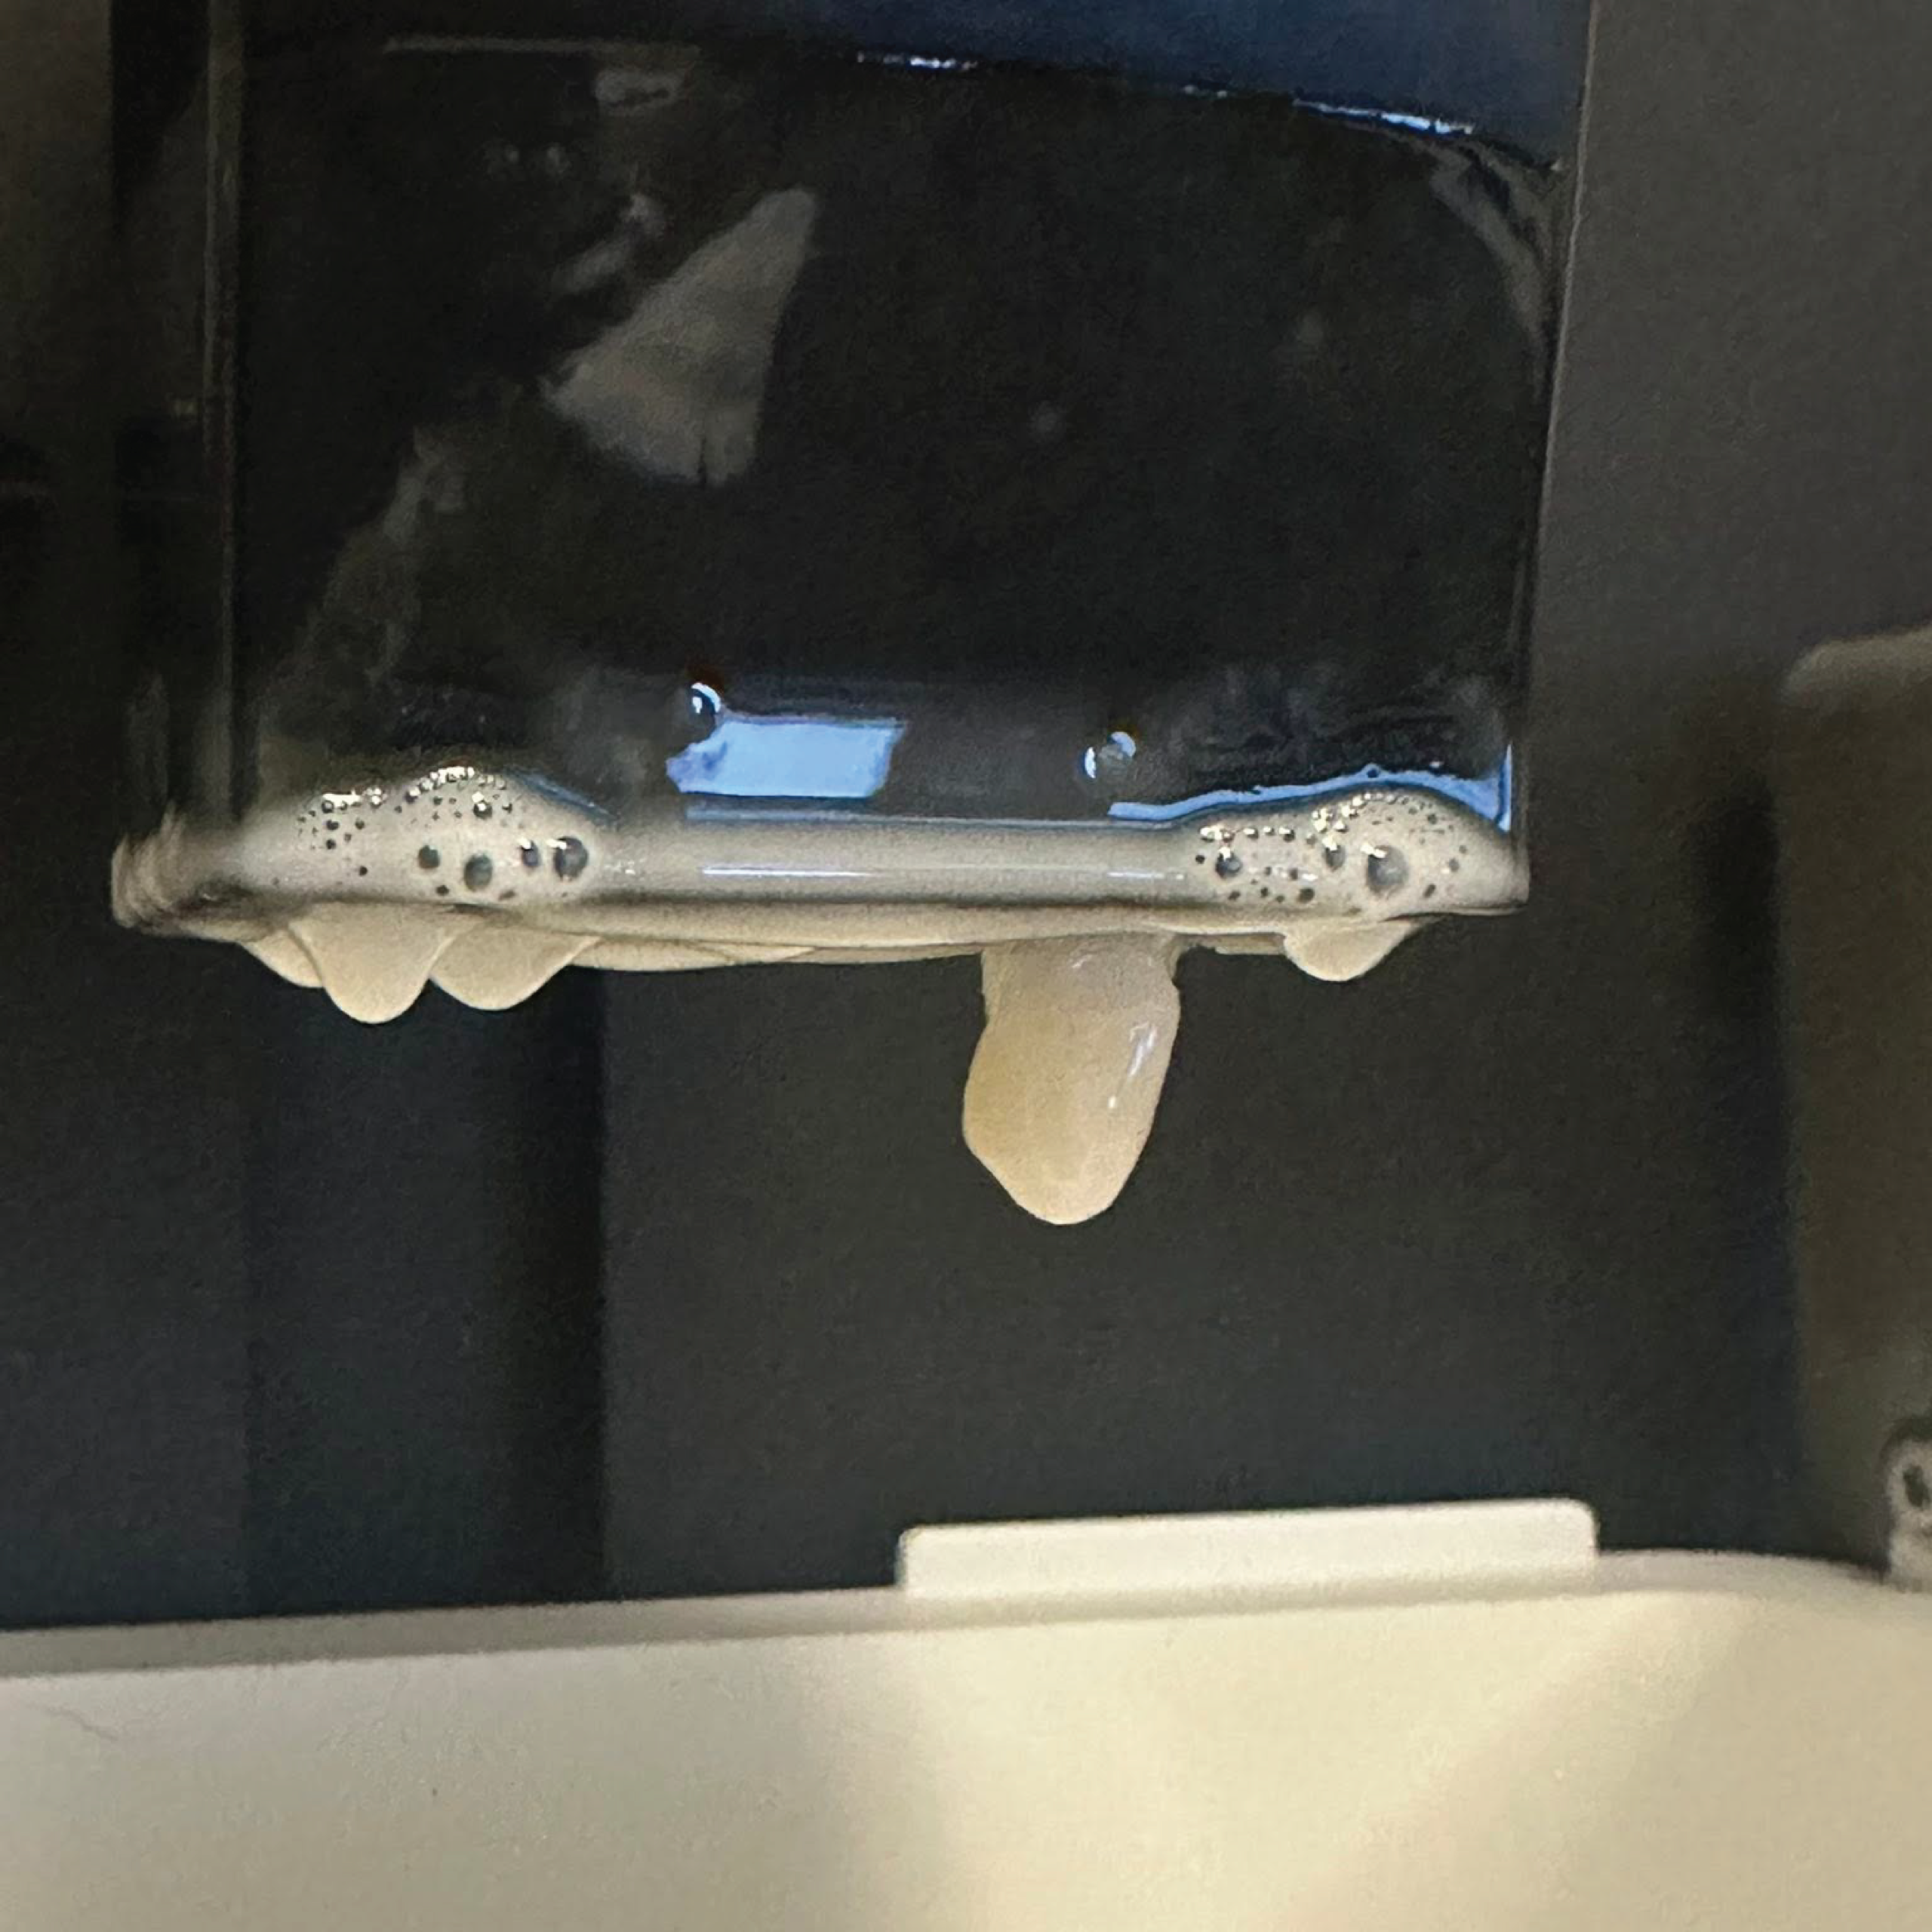
Following the finalisation of the digital design, the fabrication phase moved to 3D printing on the Asiga Max 2 using the specialised Crown Kit accessory. The use of the Max Crown Kit provided a more efficient avenue to produce the restoration both faster and at a reduced material cost. The printing time reduced to 12 minutes and with the Crown Kit tray having a smaller volume, less material was required to run the print saving material inventory costs.
The material selected for this restoration was Rodin RapidCeram from Pac Dent in Shade A2. This specific material is a high-speed ceramic resin characterised by a filler content of over 50%, providing the necessary physical properties for long-term durability and wear resistance in the aesthetic zone.
Once the print was finished, the restoration underwent a rigorous post-processing protocol to ensure biocompatibility and structural integrity. It was first washed for two minutes in Rodin Universal Cleaner, an IPA-free solution designed to remove residual uncured resin without compromising the matrix of the material, and then thoroughly air-dried.
Characterisation for the perfect shade match
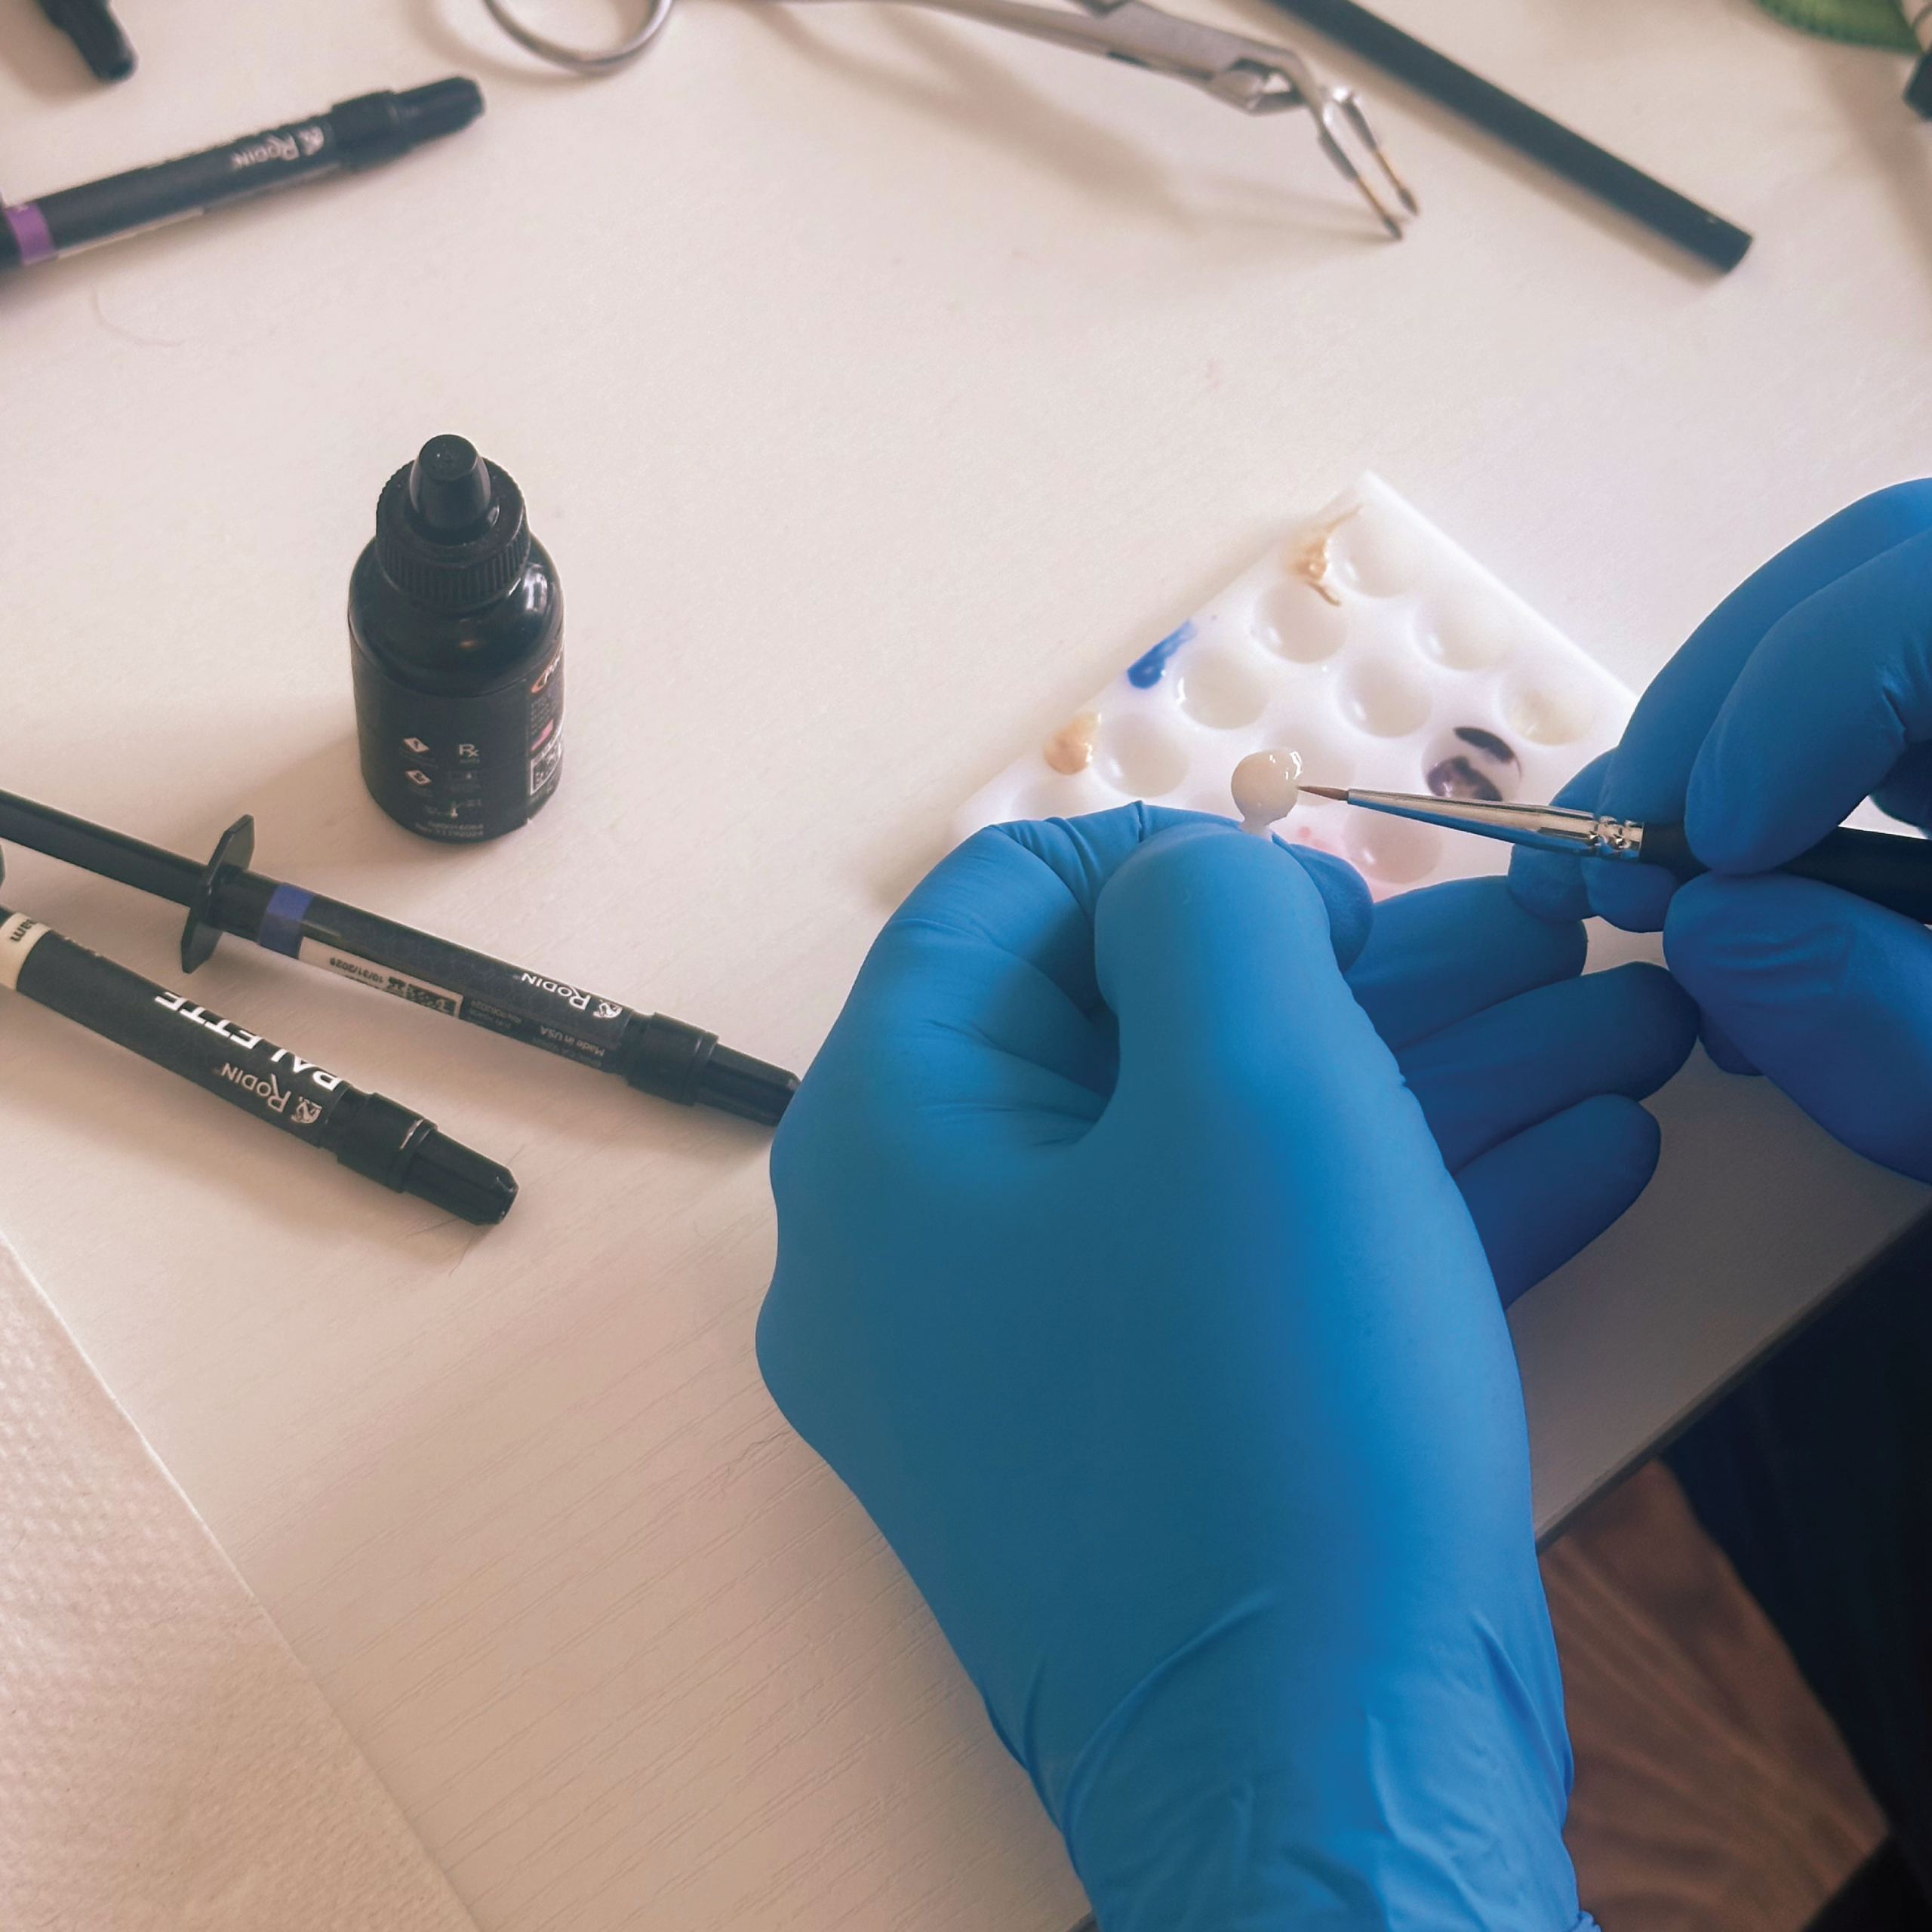
The aesthetic refinement of the restoration was the next critical step, as the goal was to transition the base A2 shade to a more aged A3 appearance to match the patient’s 20-year-old smile. The restoration was artistically characterised using the Rodin Palette 2.0 staining system, which allowed for the addition of cervical warmth and subtle incisal translucency. To seal the characterisation and provide a high-luster finish, an N₂-Free glaze was applied. This modern glazing solution is particularly advantageous because it allows for a complete cure without the need for a nitrogen-rich atmosphere. The veneer was then placed in an Otoflash unit and subjected to 4500 flashes, as per the manufacturer’s recommendations, to achieve a full final cure and ensure the stability of the added pigments.
Finalisation and bonding
The final phase of the treatment involved the delivery and permanent integration of the restoration. The printed veneer was tried in to verify the marginal integrity and the shade match, both of which were found to be excellent. The restoration was then permanently cemented using Panavia V5 cement, adhering to standard bonding protocols that involve meticulous isolation and surface treatment. After the cement was light-cured and the margins were polished, a periapical radiograph was taken. This imaging was essential to confirm the definitive seating of the veneer and to ensure that no excess cement remained in the interproximal or subgingival spaces, which could otherwise lead to gingival inflammation. The final result was a seamless integration that respected the aged aesthetic of the patient’s existing dental work while restoring full function and confidence.
About the Author

Paolo Lubrano is a master ceramist who graduated from dental school at Universita’ degli studi di Perugia in 2010. After working in the clinical area of dentistry, Paolo fell in love with the artistry of the lab business.
His passion for ceramics and lab work grew as he learned more about implants and the digital workflow, and he has taken many courses over the past 10 years to develop his craft, which also led to involvement in guided surgery for simple and complex cases.
Outside of work, Paolo enjoys competing in Ironman triathlons and spending time with his girlfriend and three dogs.
Share: