


A new era of splint production has arrived.
Written by Matthias Zimmerer, Application Engineer, CDT, certified exocad trainer, Schütz Dental
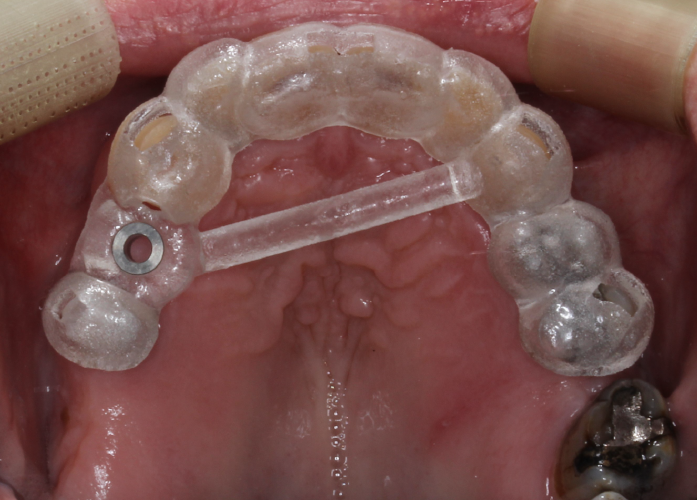
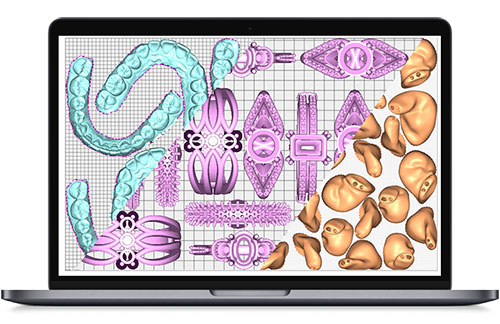
3D printing is quite possibly the main manufacturing process used for splints today. 3D printed splint materials are tough with some being hard & rigid and others softer with a memory for patient compliance and comfort. The output will vary from printer to printer but all 3D printed splints must go through a polishing process to bring them to a gloss finish. So, regardless of how smooth the parts are after printing there is always the need for manual surface polishing (or should I say “was”).
Looking back to how I used to manufacture splints makes me wonder what I would have done with all that time I could have saved in polishing.
Polishing is a time consuming process and if like me, you take your time and care to achieve a high gloss finish then we share the same view that this will always be the first evaluation checkpoint on whether the product has been manufactured to a high quality or not.
The second evaluation checkpoint is patient fit. Polishing removes material and thus alters the surfacing of the splint away from patient geometry. To manufacture a true-to-CAD splint and then manually adjust the surfacing to get to that desired glossy finish always left me feeling that the splint was no longer a true representation of my carefully thought through CAD design but now a unique creation of its own.
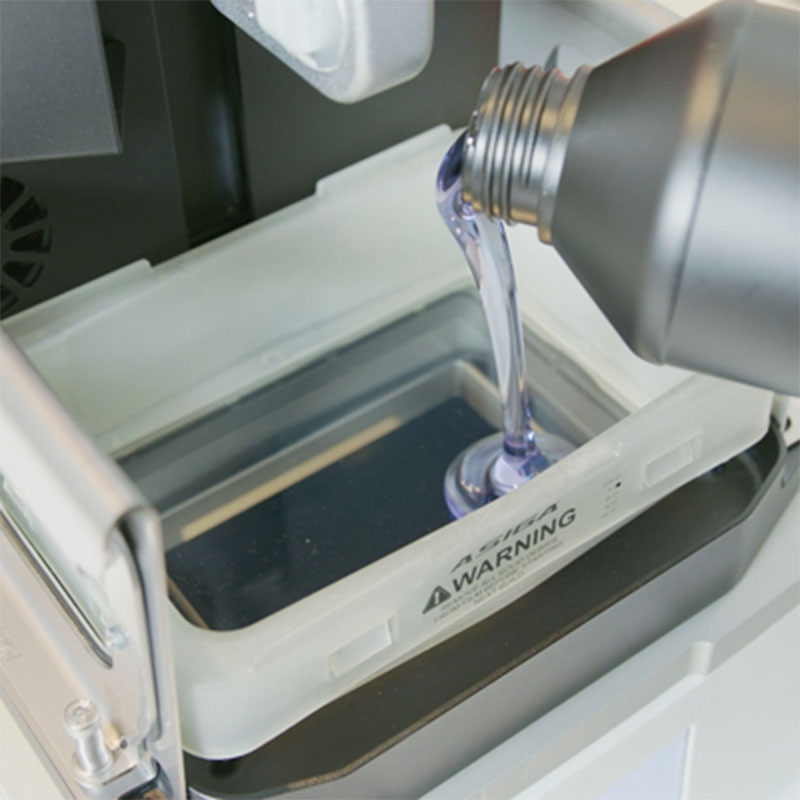
My splint production took an enormous leap forward when Asiga contacted me to tell me about their new UltraGLOSS™ trays.
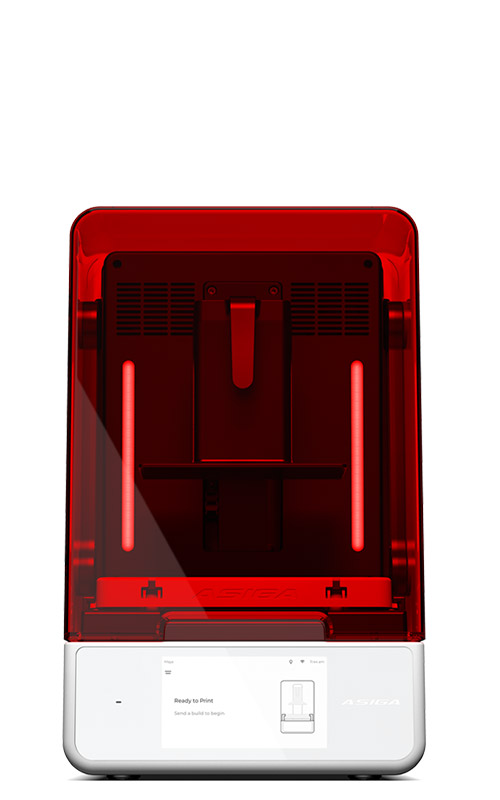
UltraGLOSS™ material trays
At first I thought that Asiga was exaggerating but they have never oversold any aspect of their products so maybe what they were telling me was true. They told me that all I needed to do was to change the resin tray to a new tray and I will print with a glossy finish on my splints.
I have been 3D printing and designing digitally for many years and as an Exocad trainer I see lots of technology and user hacks to improve the output. I was sceptical at first but I was happy to give it a go so they sent me some UltraGLOSS™ trays.
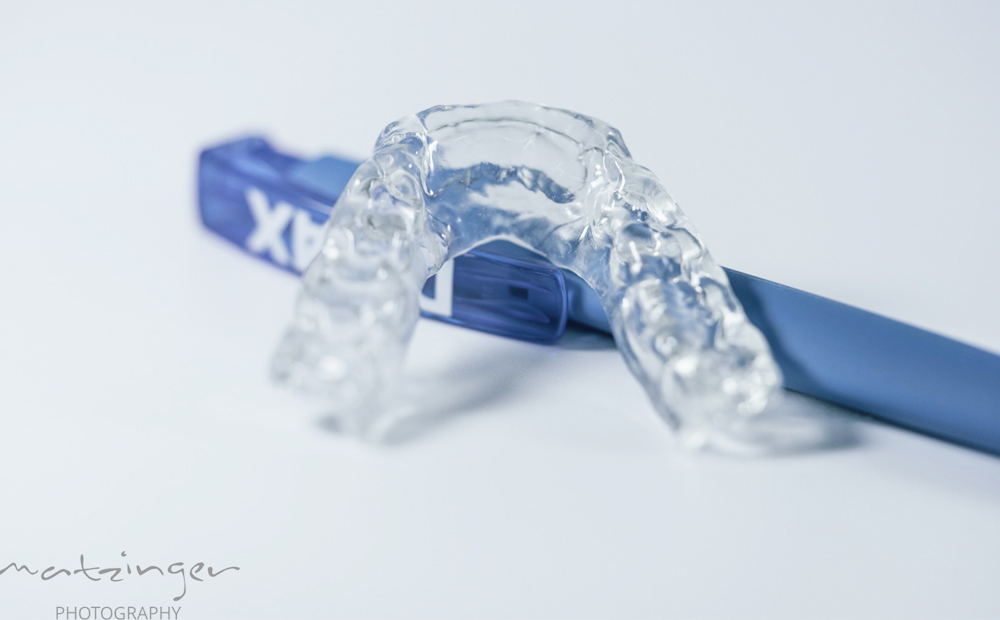
The UltraGLOSS™ trays arrived and I ran a print with the new Detax Freeprint Splintmaster TAFF material.
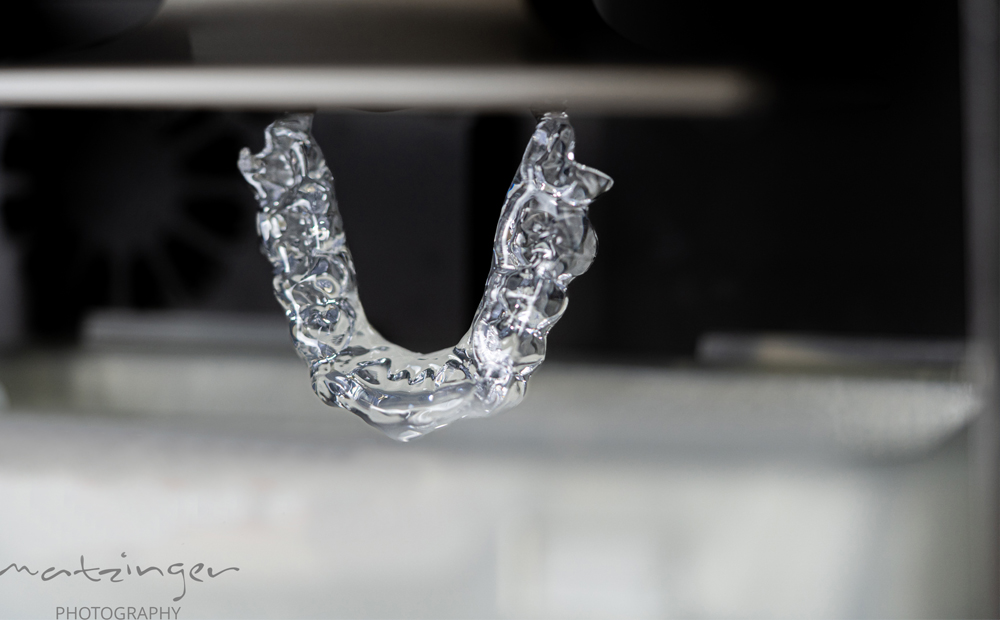
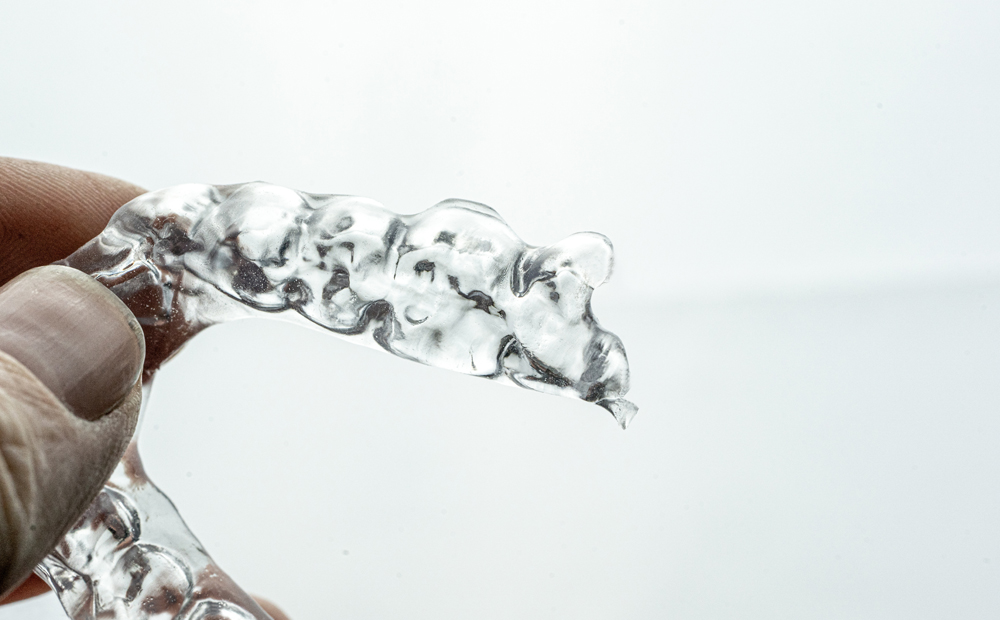
The parts were glossy out of the resin but this is nothing new although they did appear different. The real shock came after the washing the splints in IPA. It was a surreal experience, the splints had retained the glossy surface and more so after post curing in my NK Optik Otoflash. Unbelievable.

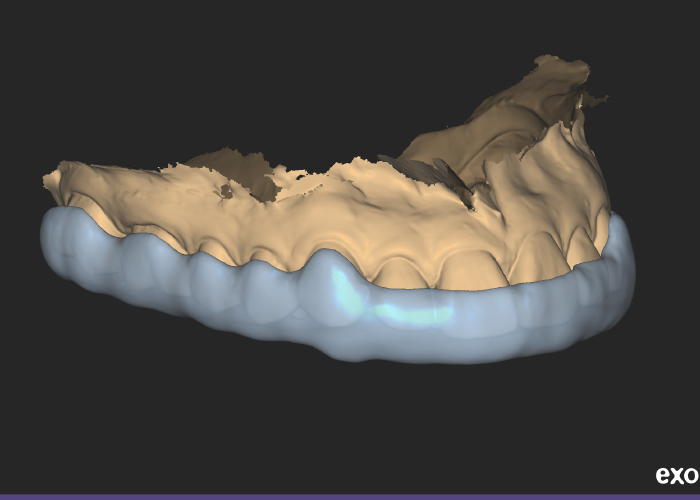
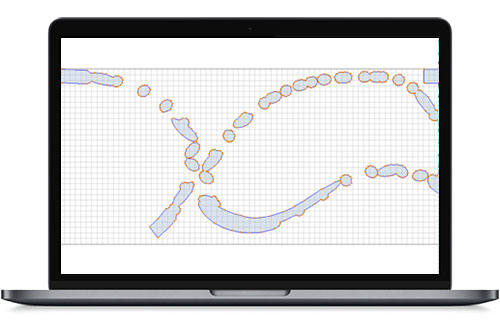
The results were so impressive it made me look into optimising further to reduce support points from the splint while printing.
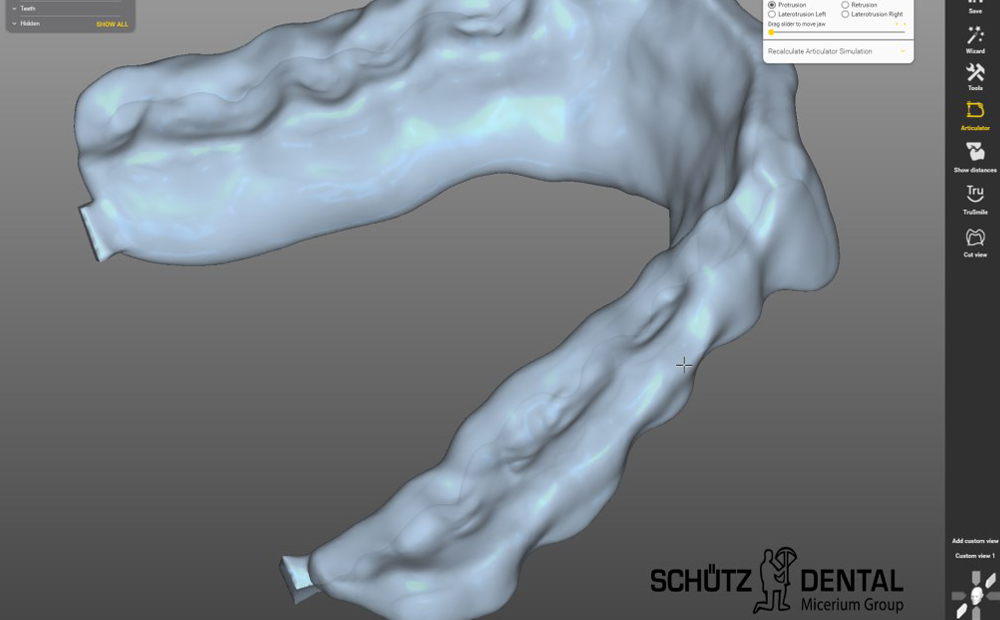
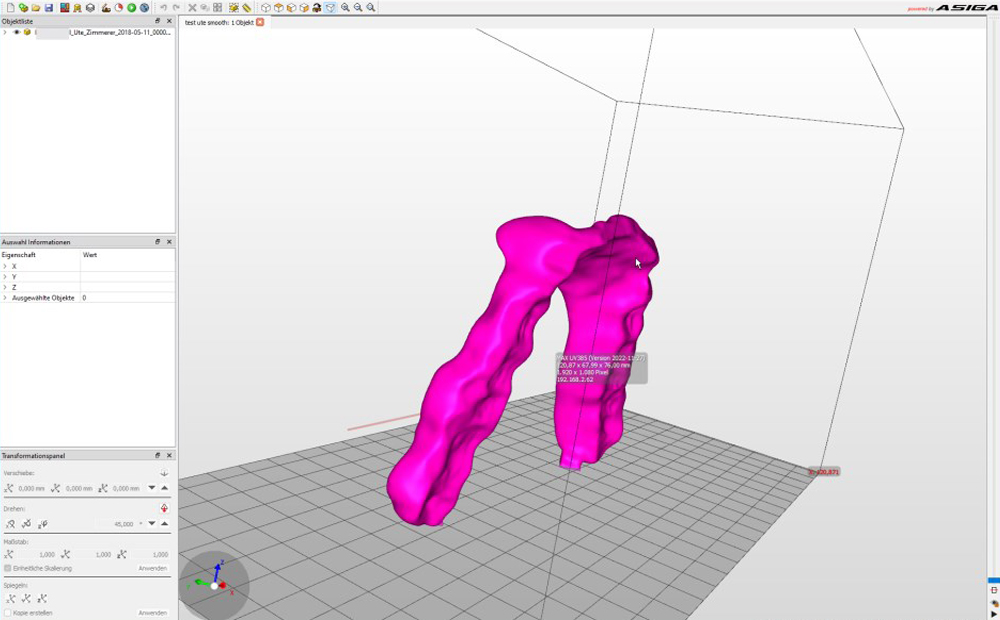
After a couple of trials, I now 3D print splints at an angle of 10 degrees from vertical on two small connection points to anchor the splint to the build platform. The anchor points can be added in exocad (or your preferred design program) or, alternatively in Composer using the sprue function in the ‘Add support’ dialog. Printing at this angle also removes the need for support points in most cases.
Digital dentistry has been in my blood for many years now and I have not seen a technology development quite like this since I started 3D printing. In-fact I would refer to this as being the most disruptive development in dentistry this past decade.
All I did was change the resin tray to Asiga’s UltraGLOSS™ tray and I started to produce glossy splints direct from the printer. If I want to print models with a matt surface then I just change the tray back to their standard tray.
Remove the need for manual polishing, increase productivity and most important of all, retain geometry compliance for patient comfort and fit with Asiga’s new UltraGLOSS™ trays.
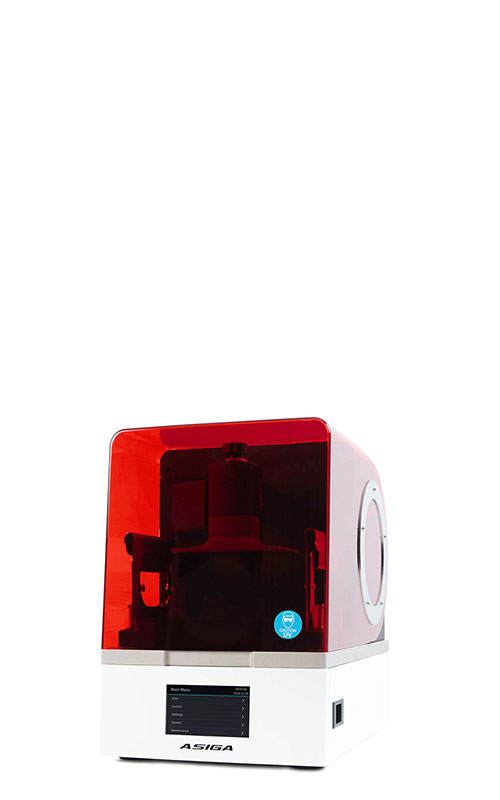
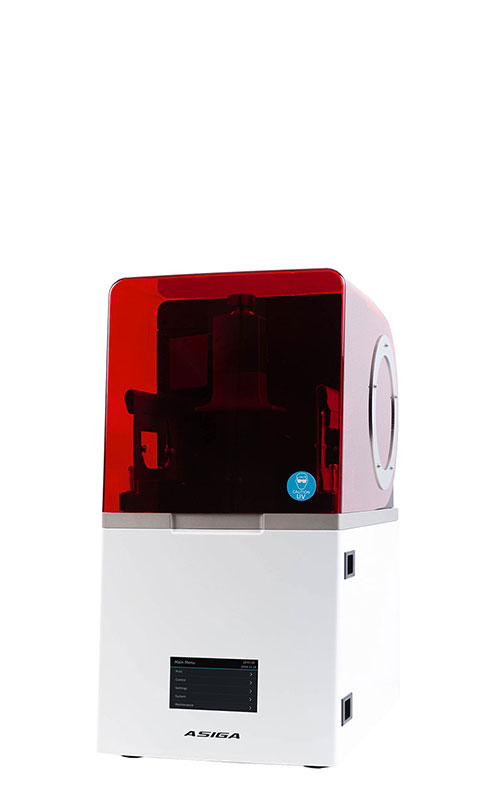
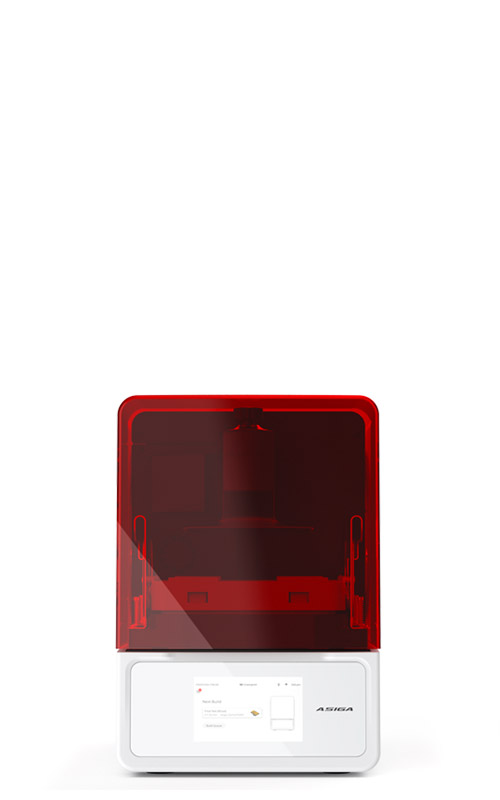
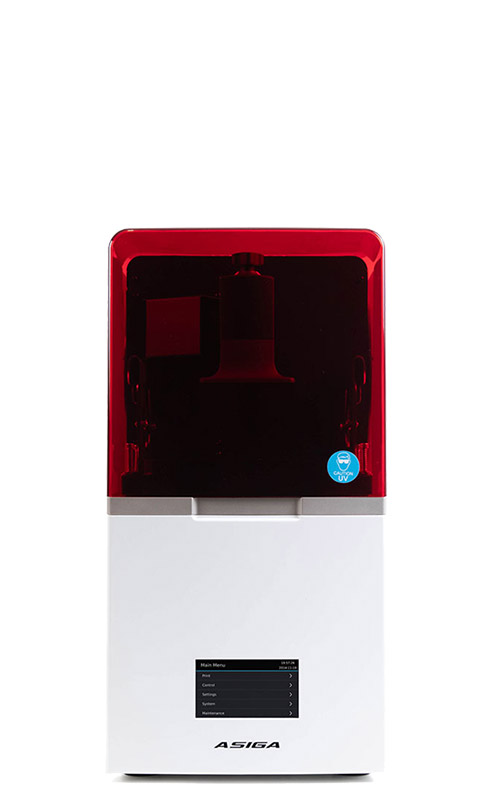
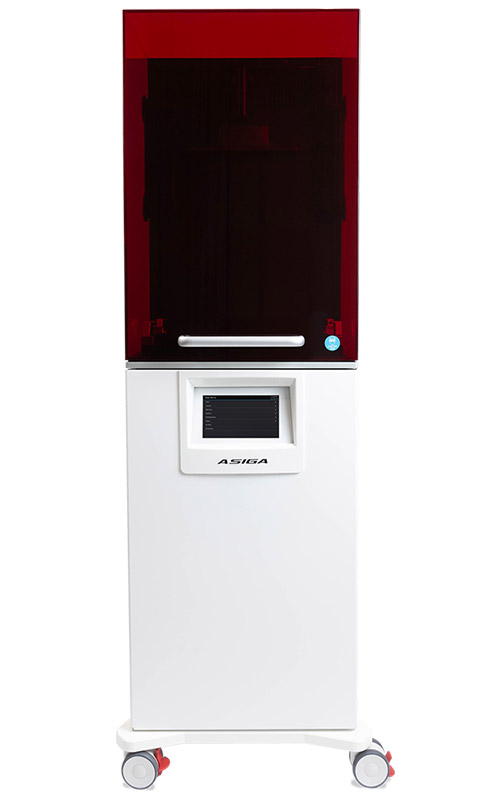
3D printer: Asiga MAX UV
3D printing material: Detax Freeprint Splintmaster TAFF
Washing: IPA 98%+
Curing: NK Optik Otoflash G171
More information on UltraGLOSS™ >
Share: