




Accessorise to Optimise: The Ultimate Guide to Asiga Material Trays
By Dr. Andrew Ip, AI3D
Welcome, weary traveller!
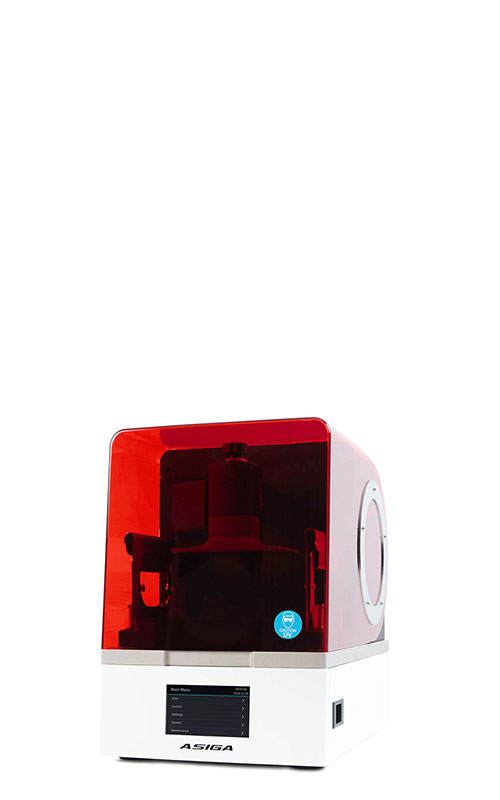
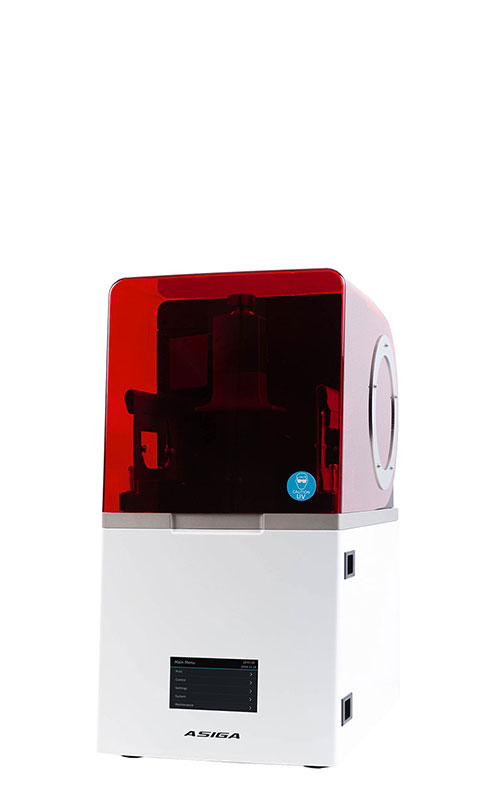
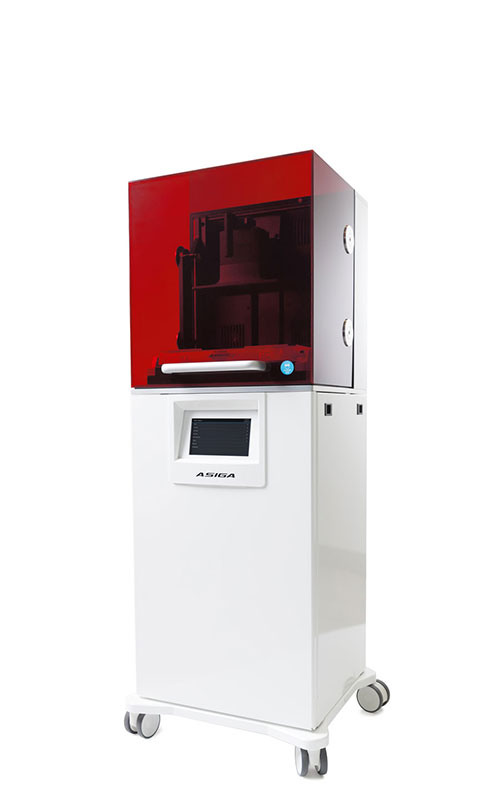
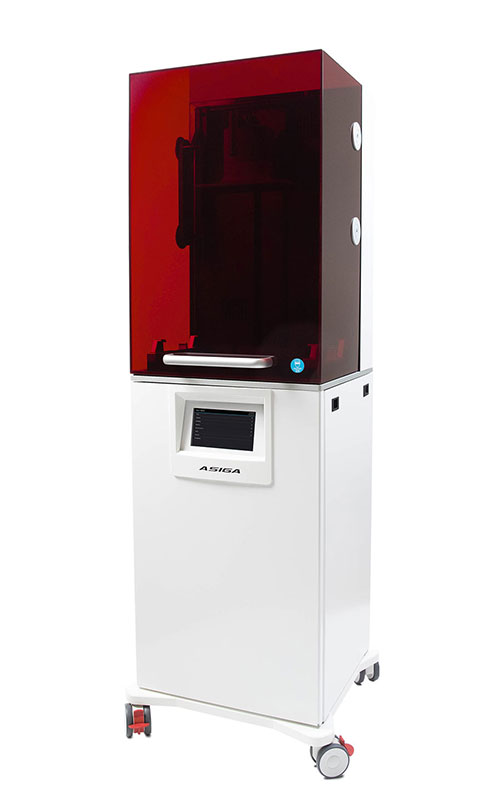
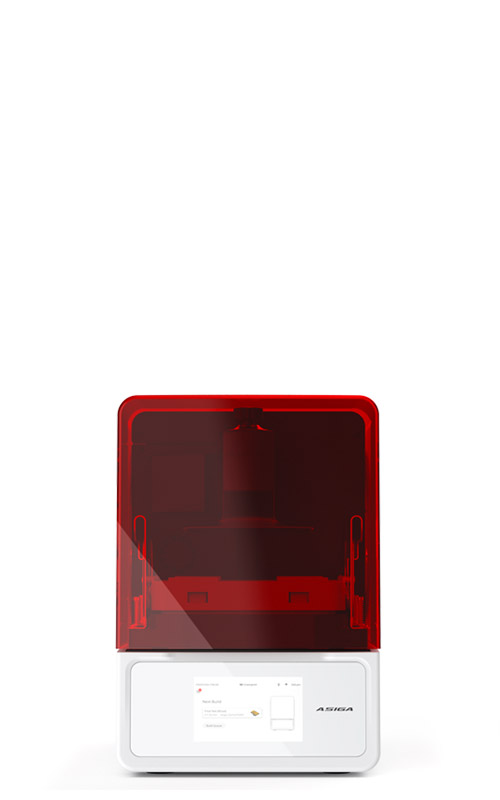
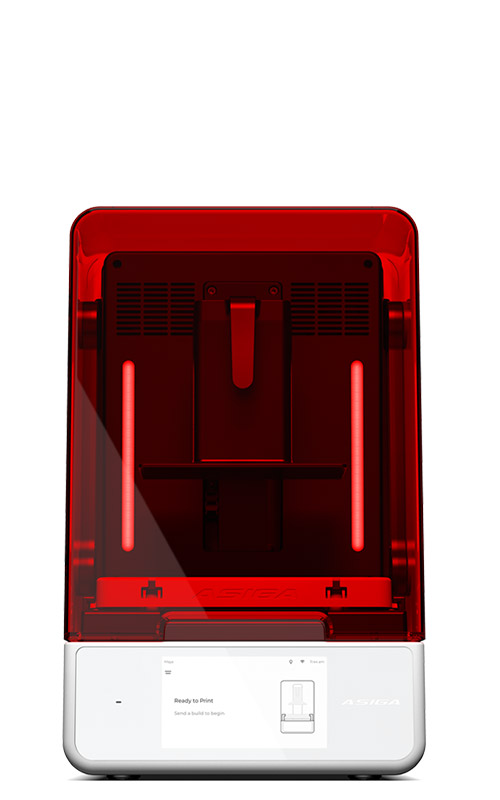
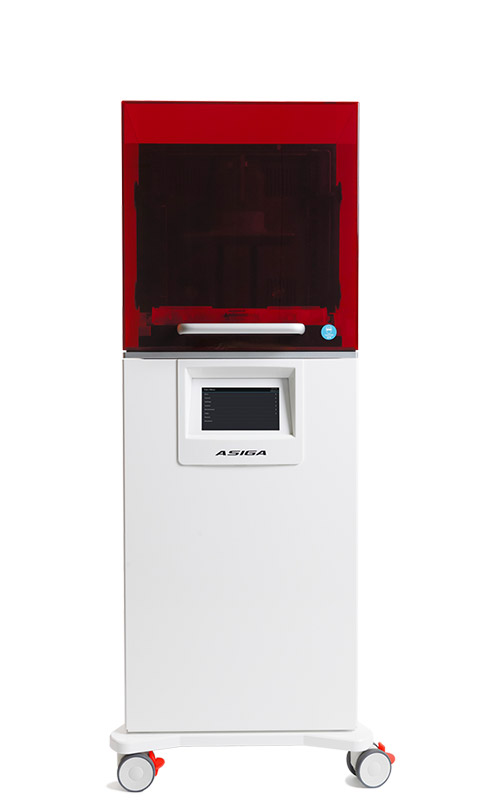
Perhaps you may have stumbled on this page while looking for information on the Asiga Max 2… or maybe your friendly neighbourhood distributor has forwarded you this link… or perhaps you’ve just signed off on a purchase of a brand new Asiga unit. It matters not! What matters is that you’re about to embark on what will be a wonderful and long-lasting journey with your brand new Asiga Max 2!
But where do we start? What are these things called “trays” and why do I need so many of them? Worry not, as all will be explained – let us talk about printer accessories.
"One printer with the functionality of several."
The Universal tray.
Tried and true.
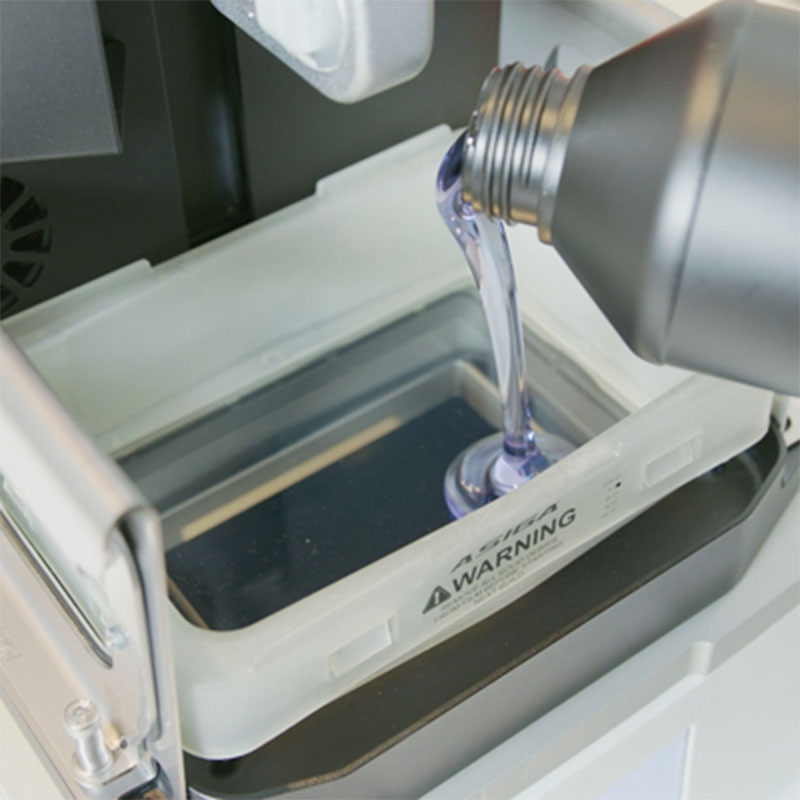
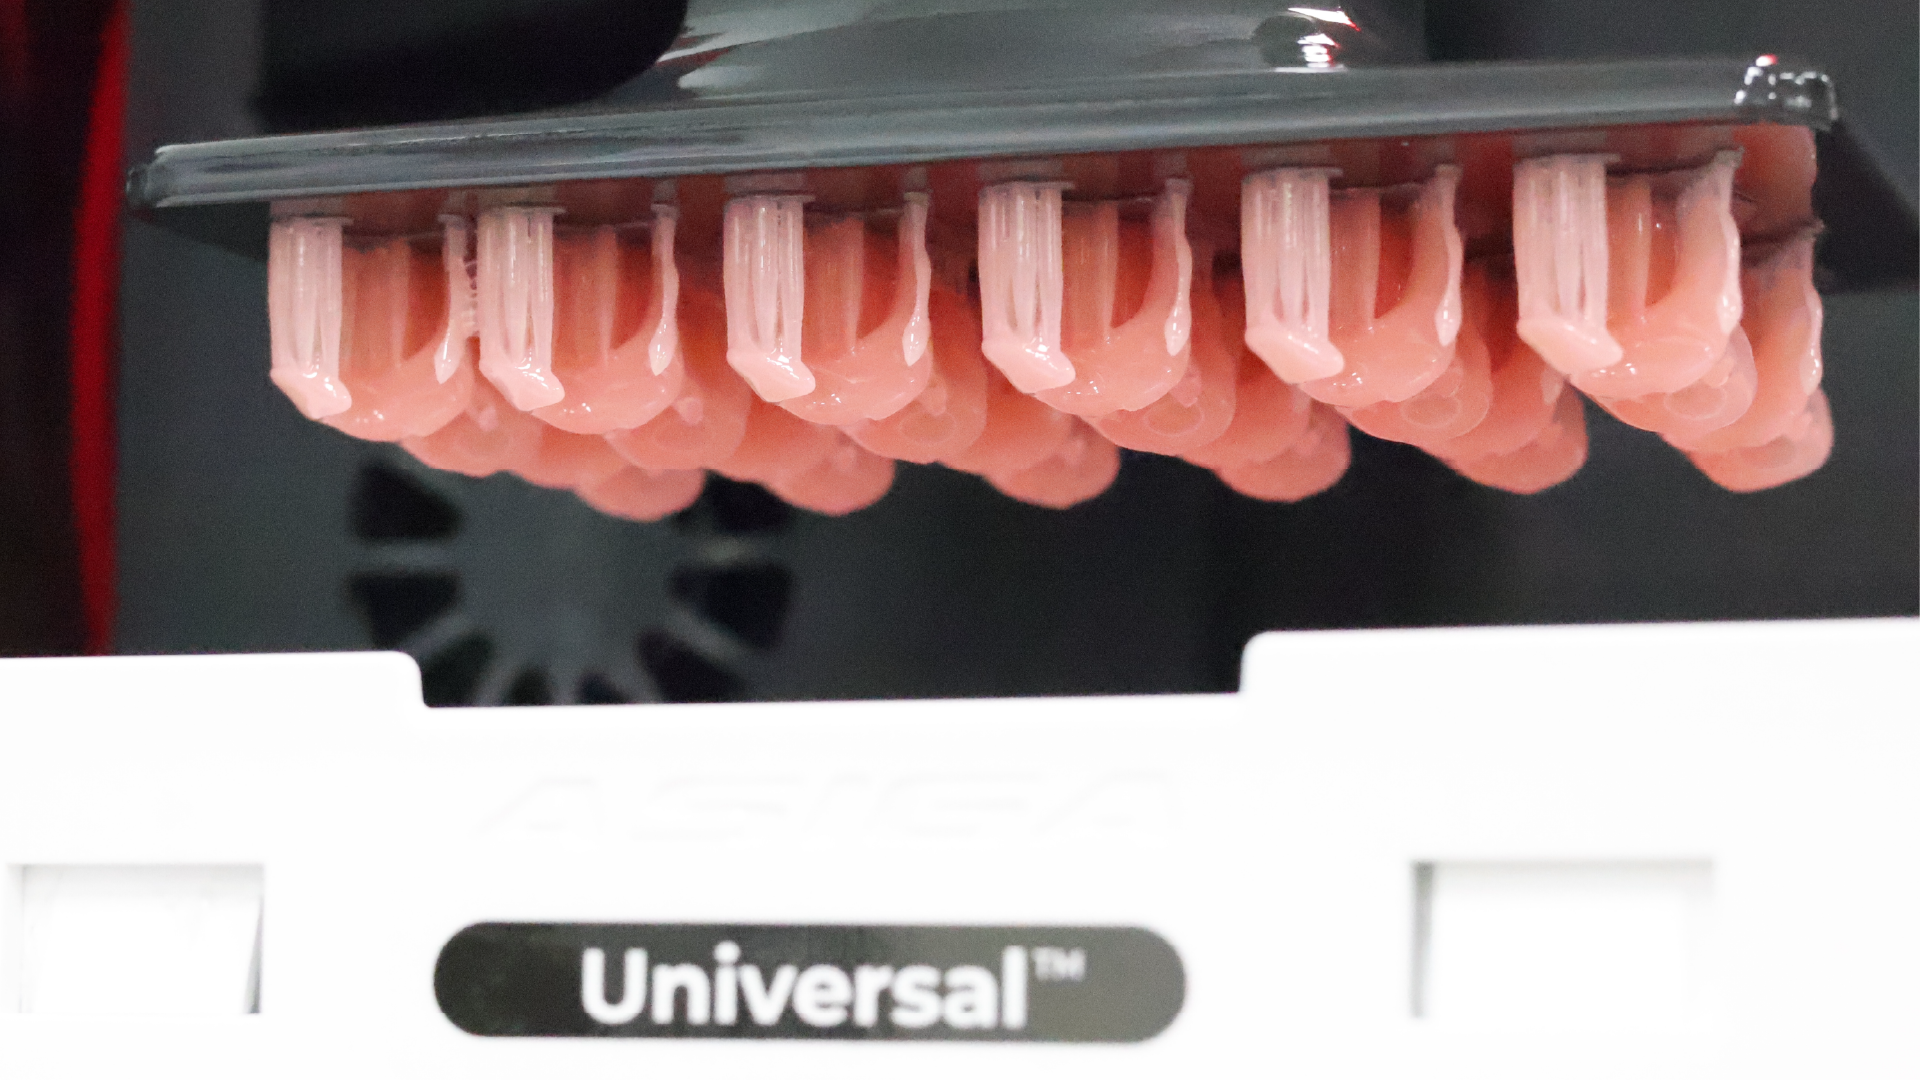
The Universal tray: your standard vat for your not-so-standard dental 3d printer
The Universal tray comes standard with your Asiga Max 2. This all-rounder will be used for most of your printing needs depending on your volume, whether models, denture bases, denture, try-ins etc. It can be used for more-or-less all your printing needs but we do recommend that you have a dedicated tray per material that you use, mixing and matching resins with the same tray is no fun and predisposes the film at the base to potential damage.
The Universal tray comes in 1L, 2L and 5L variants, depending on how often you would prefer to renew your trays. For novices I recommend sticking to the 1L variant until you are confident you can achieve consistent print success without user-based failures.
The UltraGLOSS tray.
A glass-like finish fresh from the build plate.
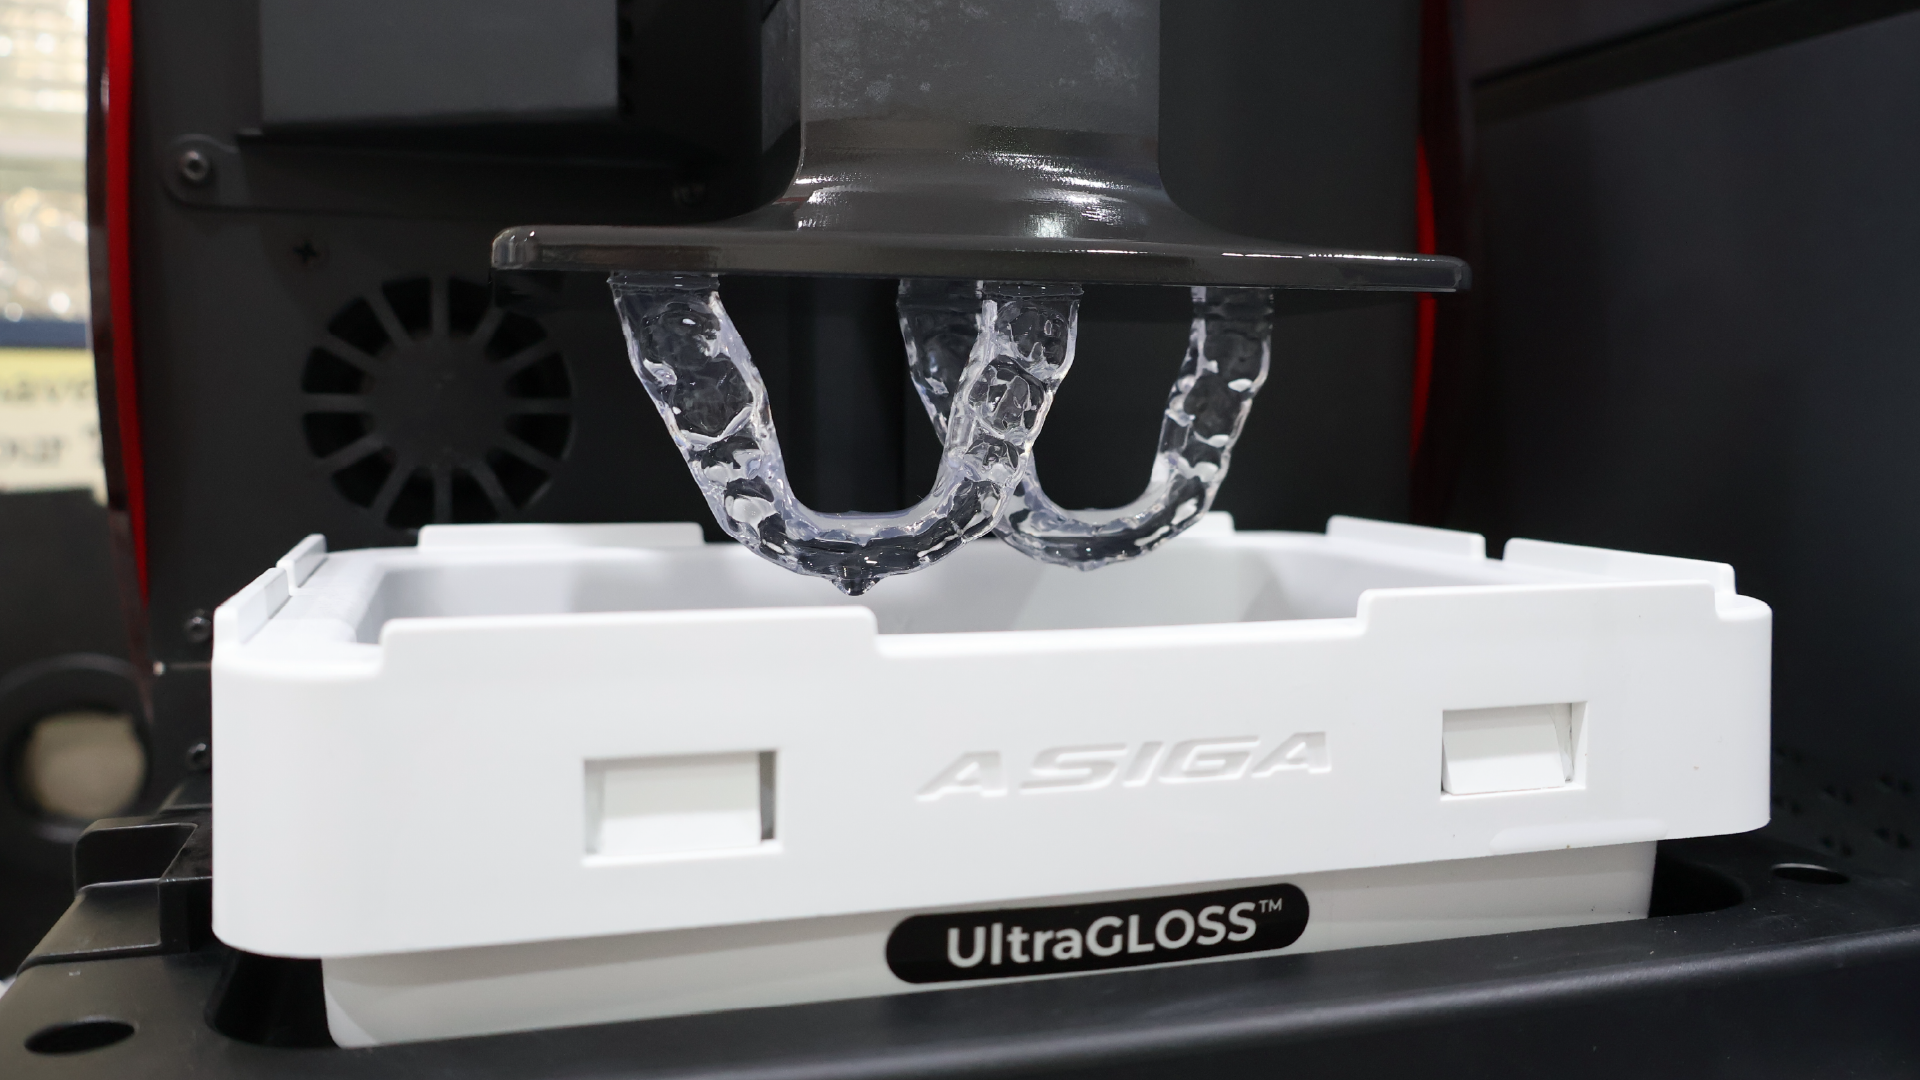
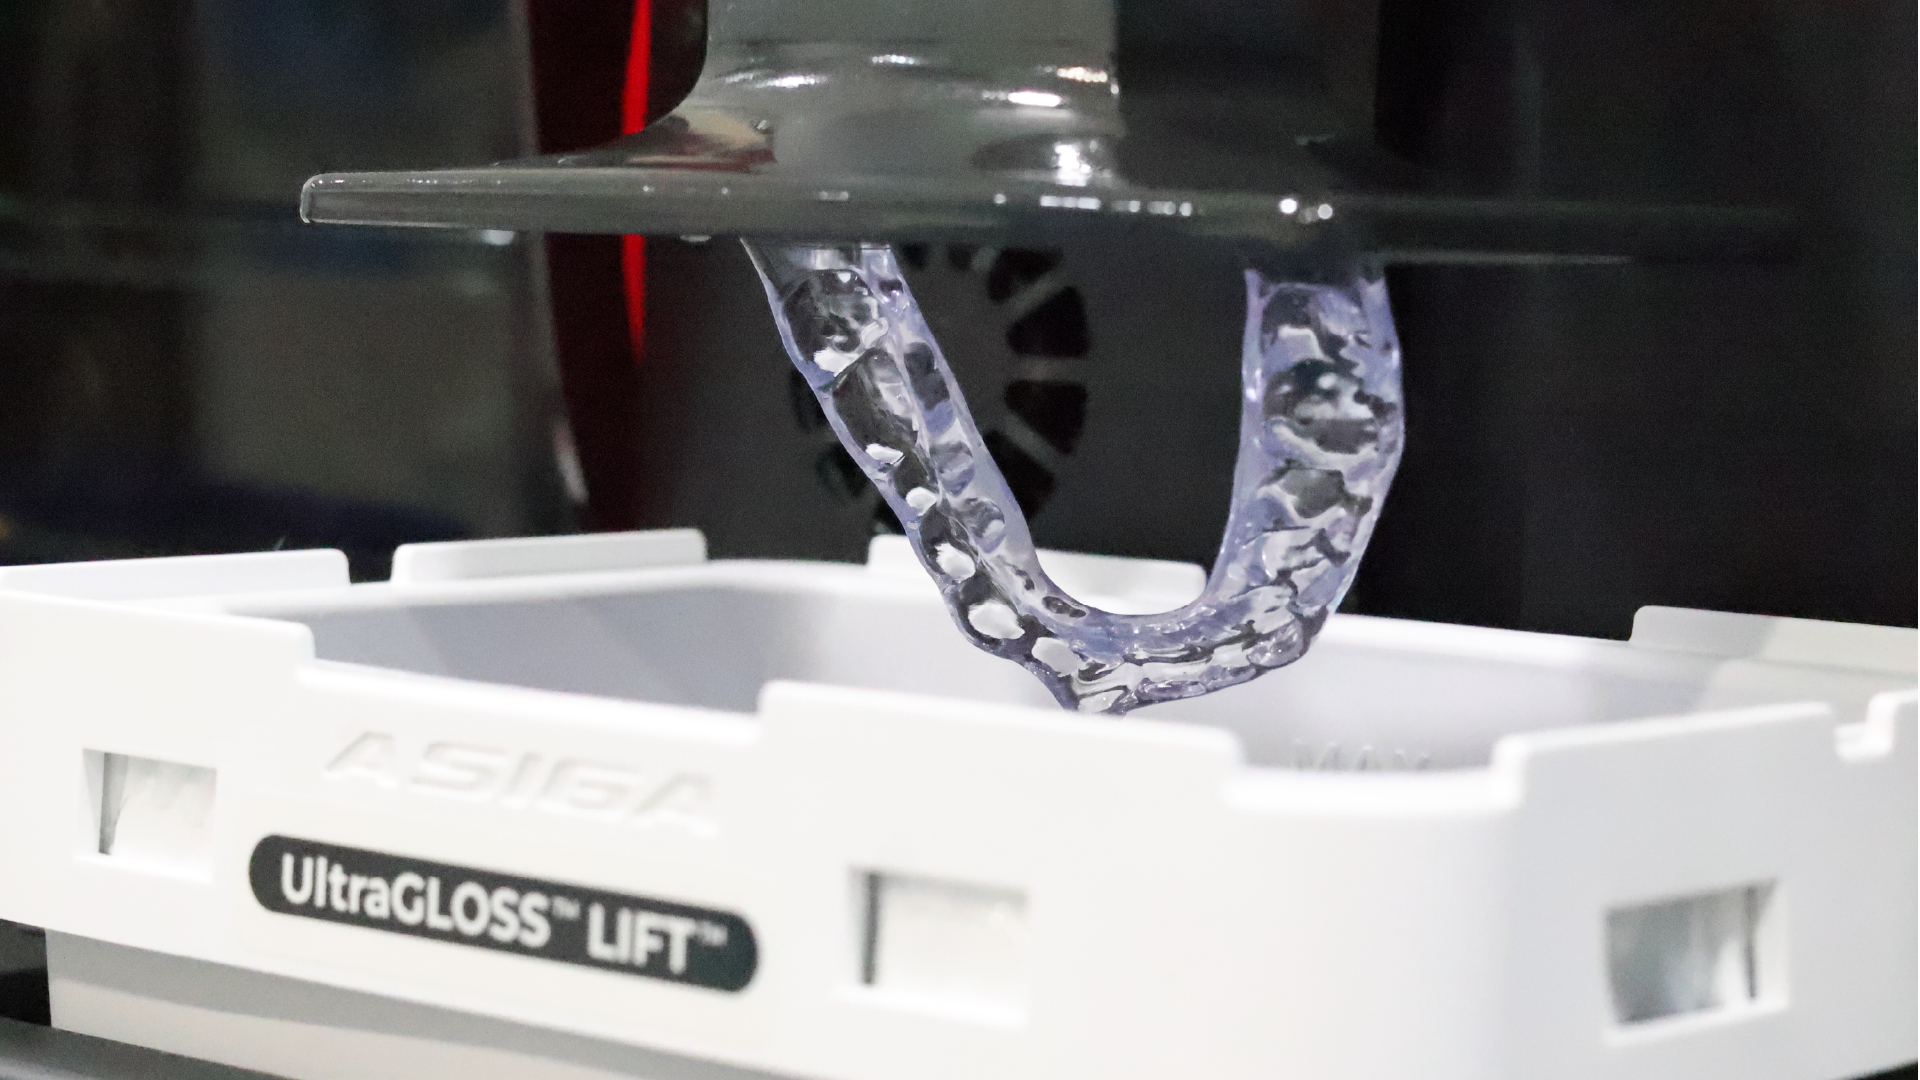
The UltraGLOSS tray is your friend for nightguard/splint printing
Anyone who prints nightguards and splints knows that some post-print processing is required to get that nice glassy finish after printing. The UltraGLOSS utilises a specialised film at its base to “smoothen” the light as it passes through, similar as to how a polarised filter can reduce the harshness of light when taking a photo.
We can use this technology to significantly reduce the post-processing required when printing certain appliances such as splints, nightguards and even surgical guides. This is a must-have for users who plan on printing clear appliances often.
LIFT™ trays.
Lifting nightguards to new heights.
LIFT™ or otherwise known has Liquid Interface Film Technology™ material trays maintain a layer of unpolymerised liquid resin at the curing interface (a cure-free zone). This liquid interface reduces peeling forces, allowing smaller separation distances, faster printing times, and longer tray life.
TLDR: this tray allows for faster printing times, and it lasts longer. Combining this with UltraGLOSS technology means that vertical printing of nightguards and splints can take substantially less time. A highly recommended accessory for nightguard/splint printing.
The Crown Kit.
The King of small-unit printing.
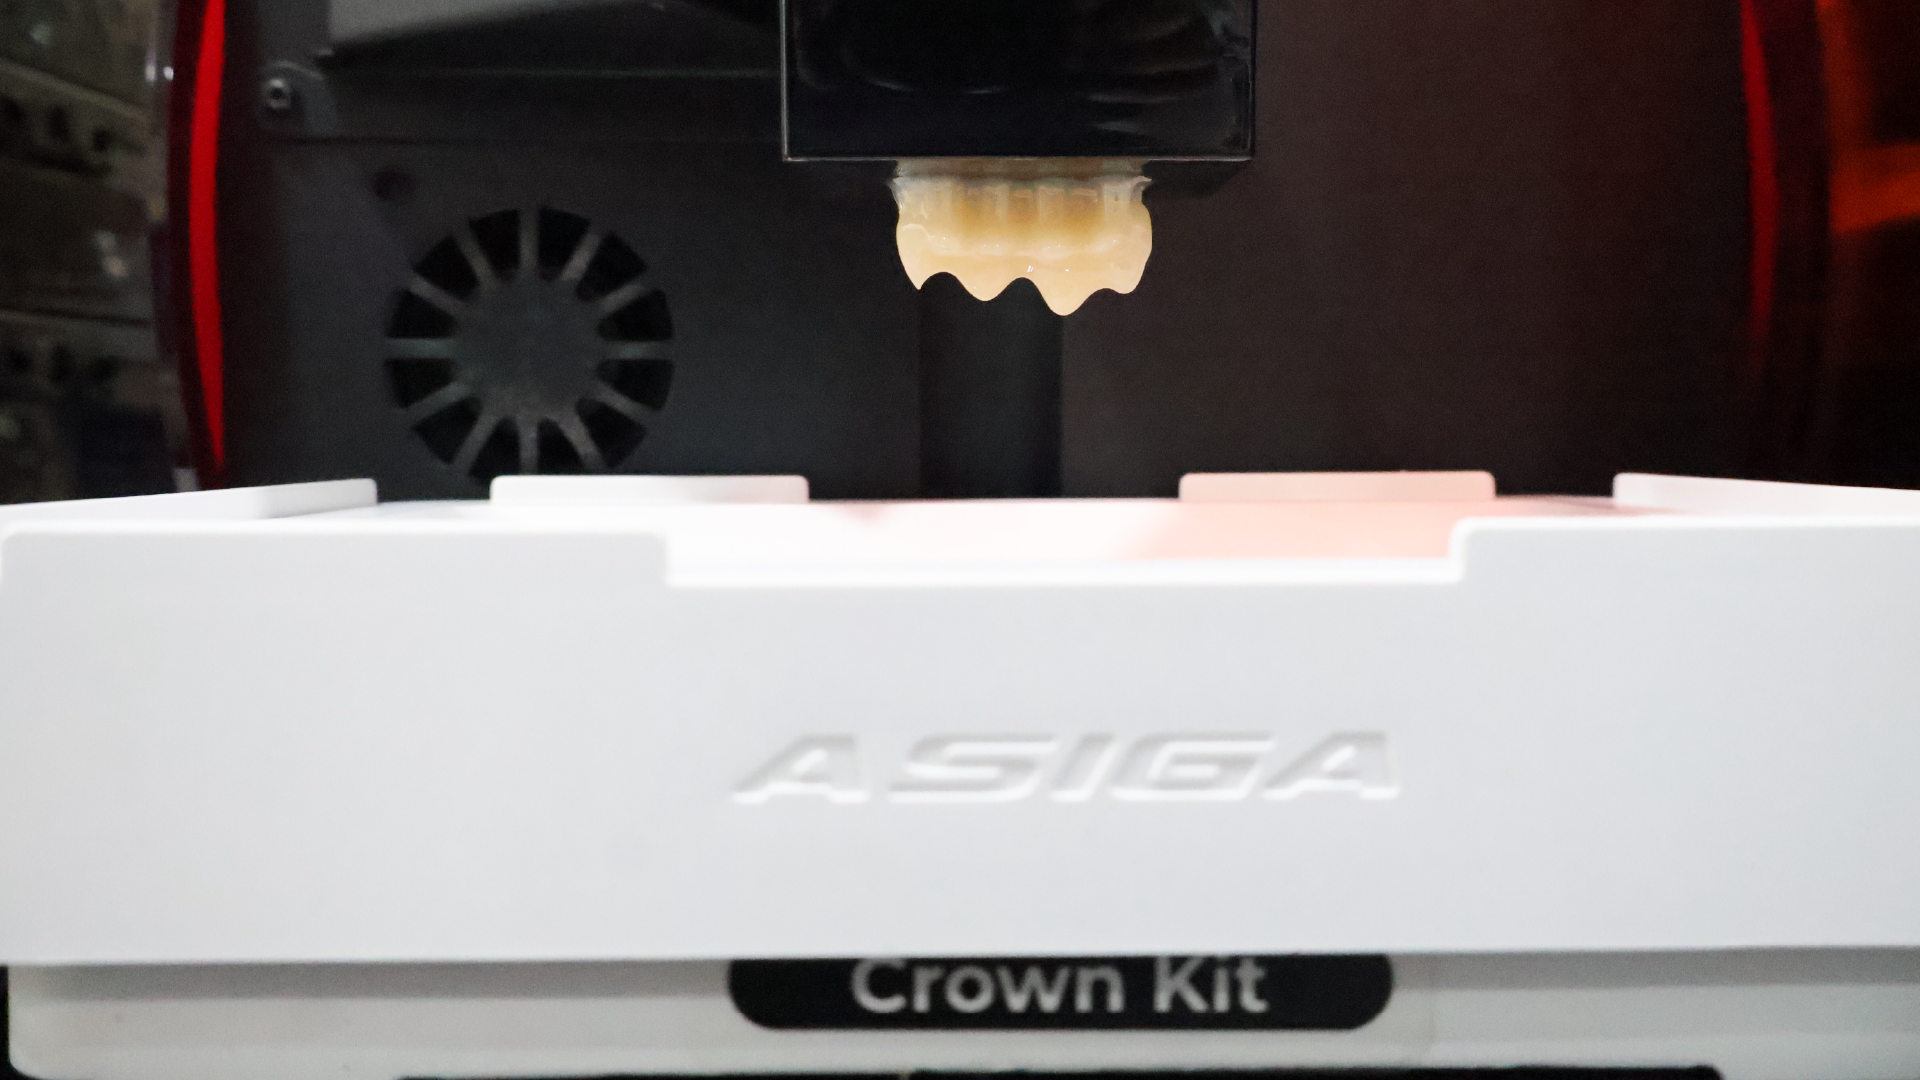
Whether it’s several veneers or some denture teeth, the Crown Kit is a must-have for a couple of reasons:
- Prints are faster
- There is reduced wastage
- Smaller bottles of resin can be purchased, reducing startup costs
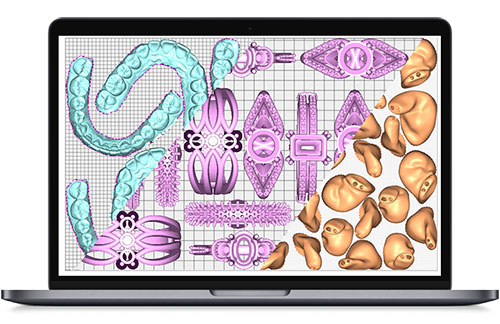
The kit comes with a small build platform paired with a similarly small material tray. This allows for reduced time required between layers to allow for resin to relevel. Just stock additional material trays for different materials and even different shades!
PrintPods™
Lightning-fast printed composites using the same printer.
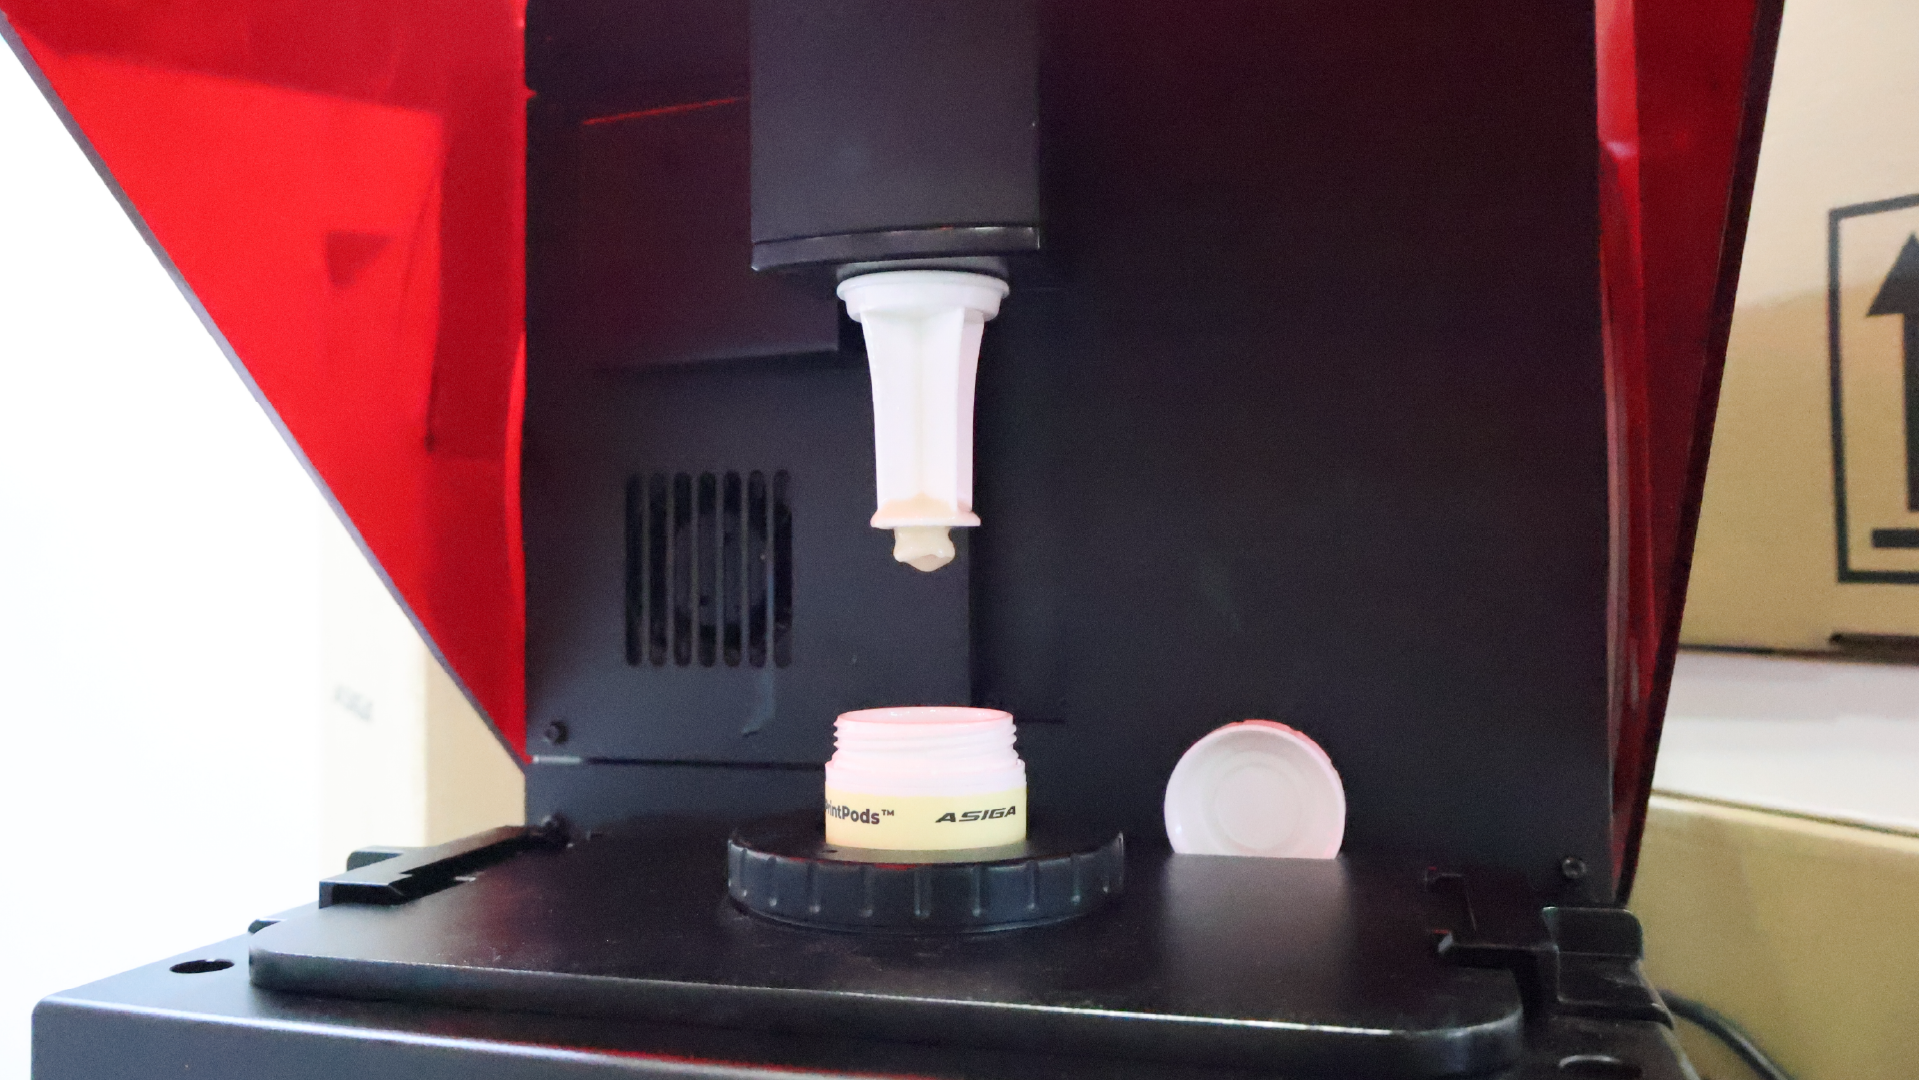
You can use the same Asiga Max 2 you know and love for same-day or even same-appointment 3D printed restorations
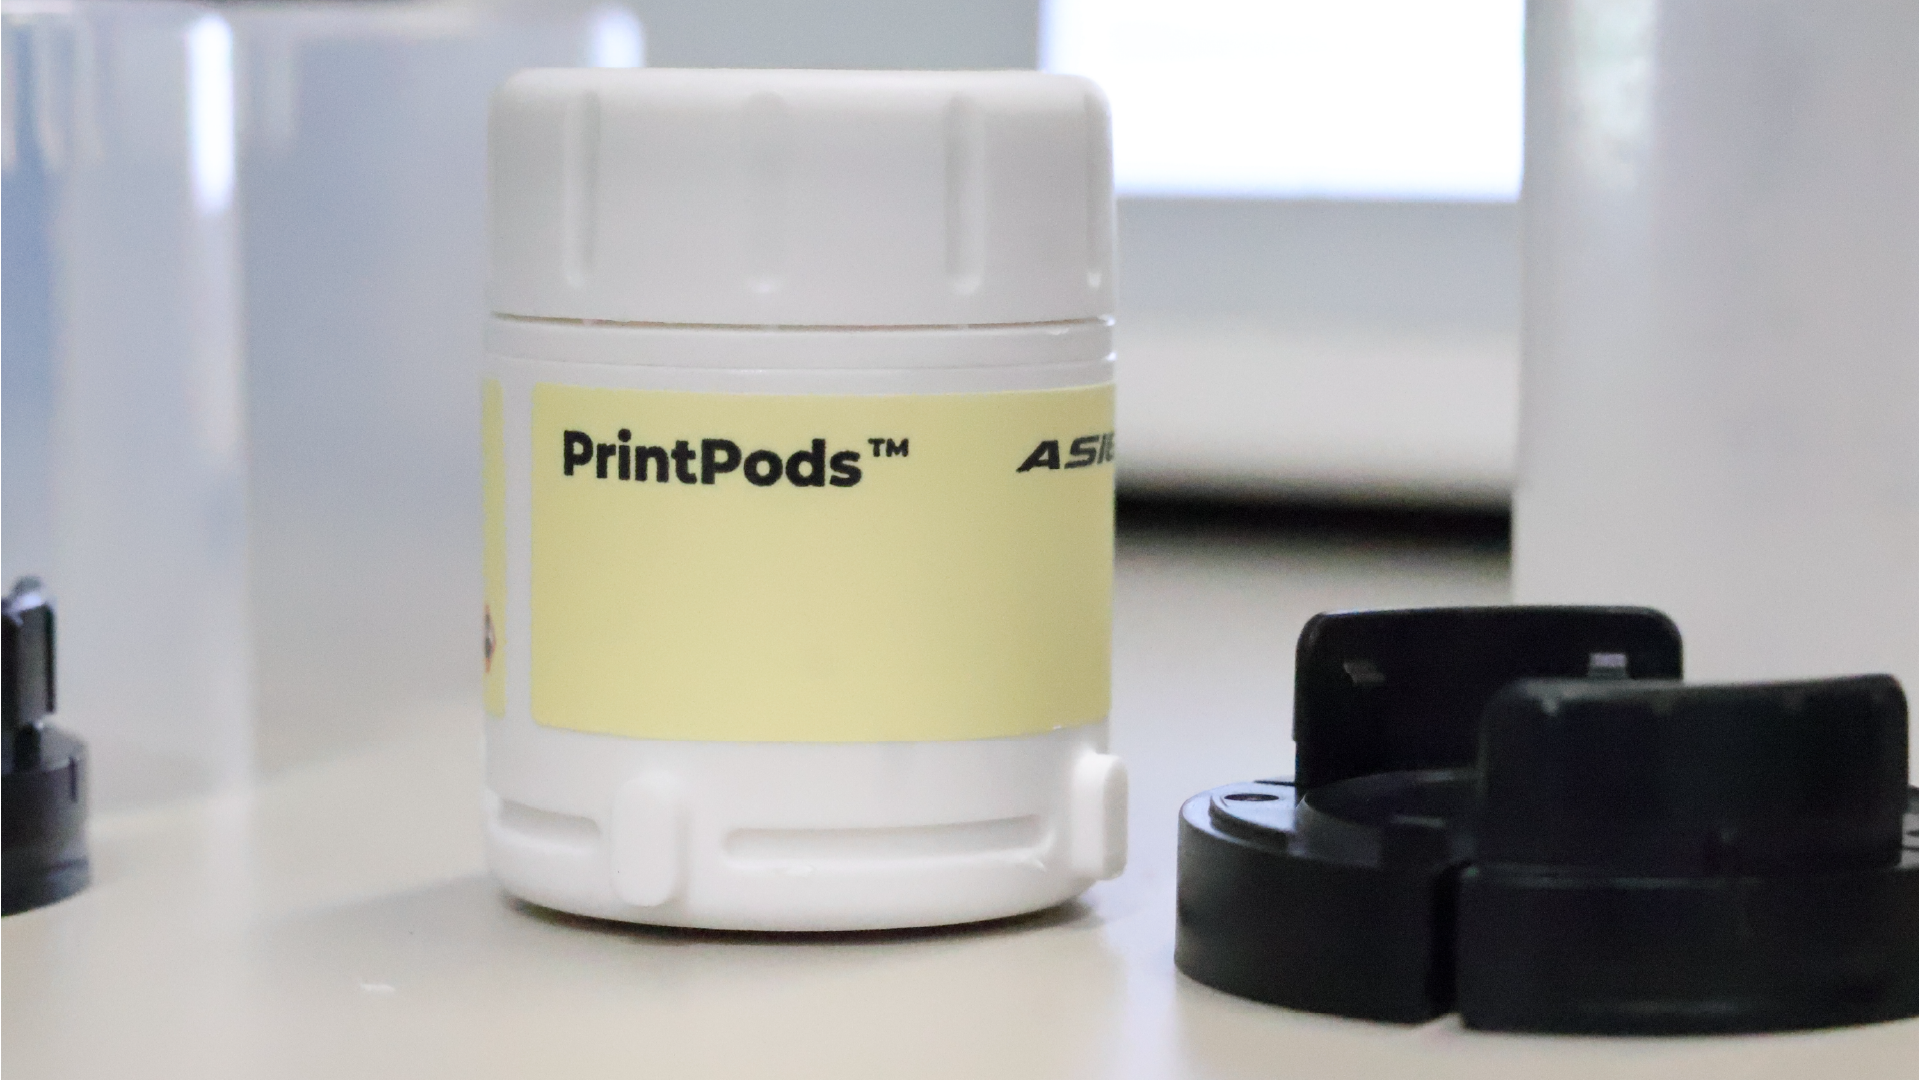
Rather than purchasing a different printer dedicated to rapid printing of composites, the PrintPod system will allow users to print these restorations in less than 15 minutes consistently and easily using pods pre-filled with a material of their choice.
Not a one-and-done dispensed system, these pods are useable to the last drop, allowing users to maximise each and every one to its limits. Talk about ROI!
The accessory is super easy to swap in-and-out. The best thing is that you can still use your existing Asiga Max 2 hardware for nightguards, dentures, models, surgical guides, etc., but now add 3D printed restorations processed within minutes to that list.
About the Author
Handy Andy is a Sydney-based private general dentist who presents regularly on dental 3D printing. What started off as a hobby several years ago has now become a full-time passion for Dr Andrew Ip, a Sydney-based general dentist with a special interest in digital dentistry.
His passion has taken him all around the world from the US, Europe, Asia and of course across Australia. He also runs an increasingly popular Youtube channel that showcases easy-to-follow dental design tutorials.
From simple models to printing zirconia, Dr Ip has printed almost all printable dental applications available in the global market and is proud to have operated close to 30 different 3D printers in his career, a number that will inevitably increase.
Dr Ip has been teaching dentists, technicians and their support staff how to integrate additive technologies to their workplaces for several years and is a speaker for several digital dentistry-related companies. His knowledge is based on true hands-on experience. When he’s not designing a surgical guide, printing a splint or polishing a printed crown, you can find him glued to a screen designing printable table organisers or nesting a helmet for his cats in a slicer.”
Share: