








3D Printing Custom Cranial Implants with Asiga
By Rosa Sanchez Valenciano, Prosthetist
Background
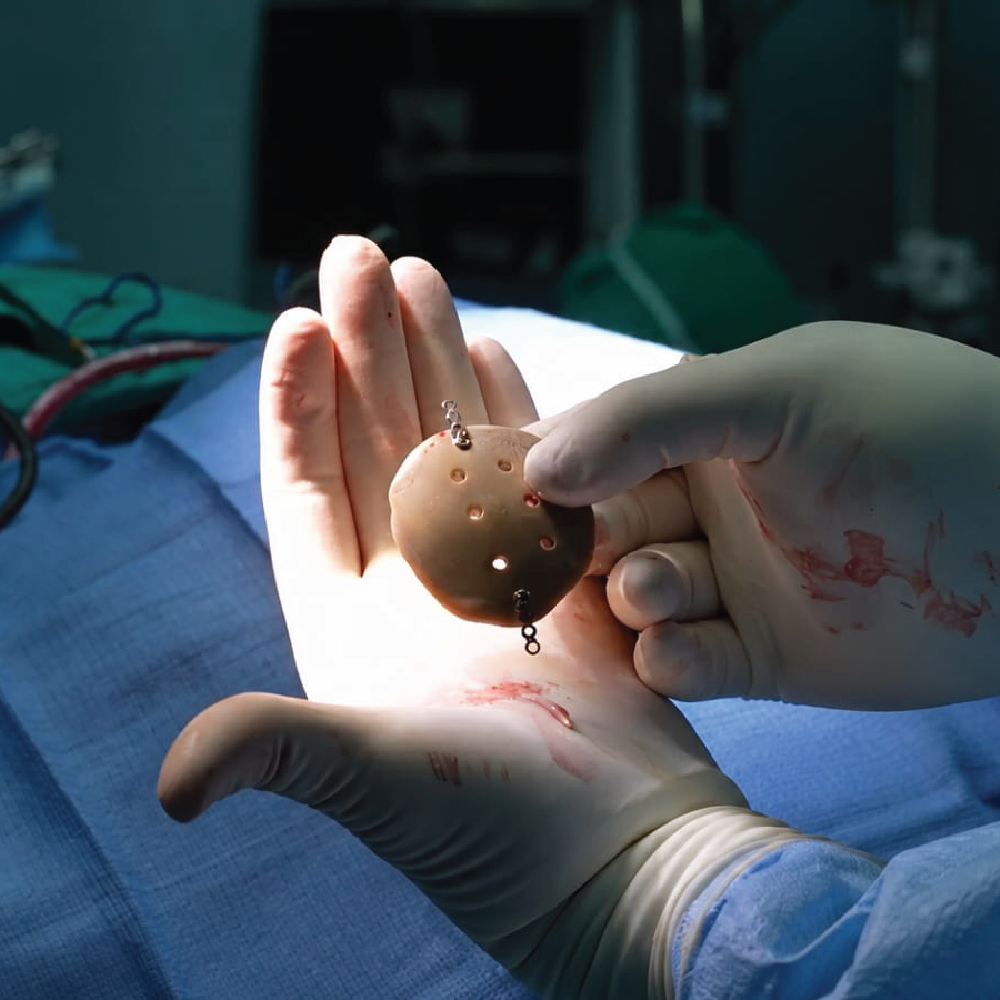
This case represents an important milestone for public healthcare in Costa Rica: the successful planning and implantation of a custom cranial prosthesis developed through an in-house workflow within the Costa Rican Social Security Fund (CCSS).
The achievement was based on an integrated process combining medical imaging, biomedical engineering, additive manufacturing and close collaboration between engineers and neurosurgeons.
High-precision resin 3D printing supported the planning and validation stages before the definitive implant was manufactured.
Clinical challenge
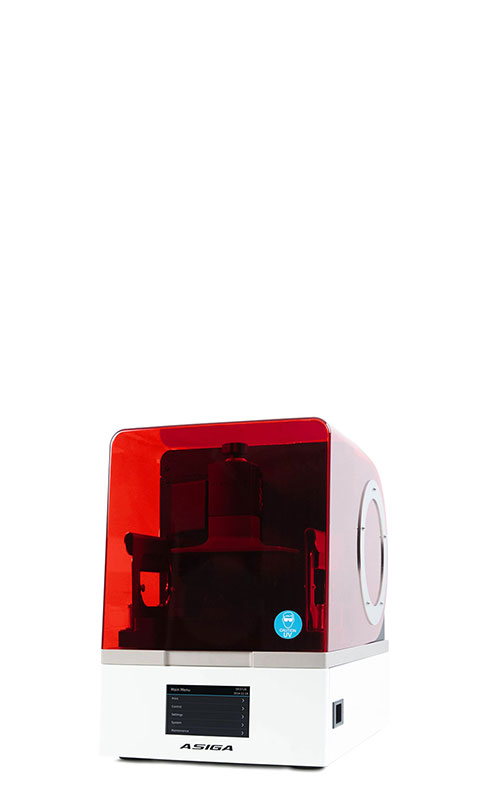
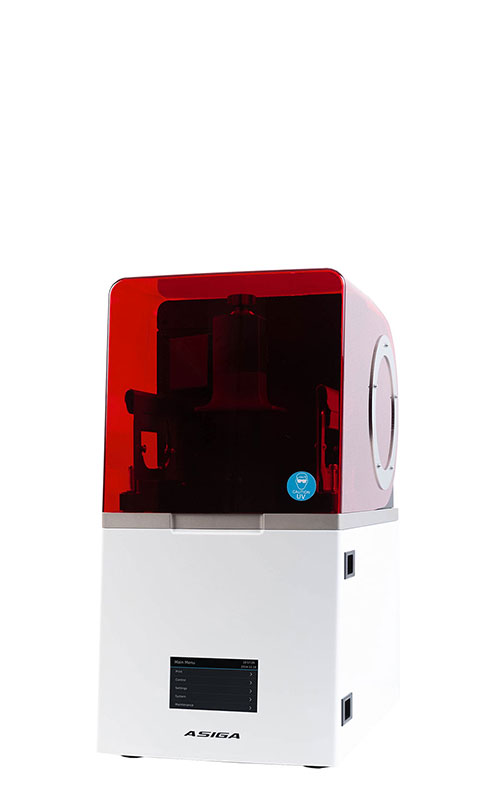
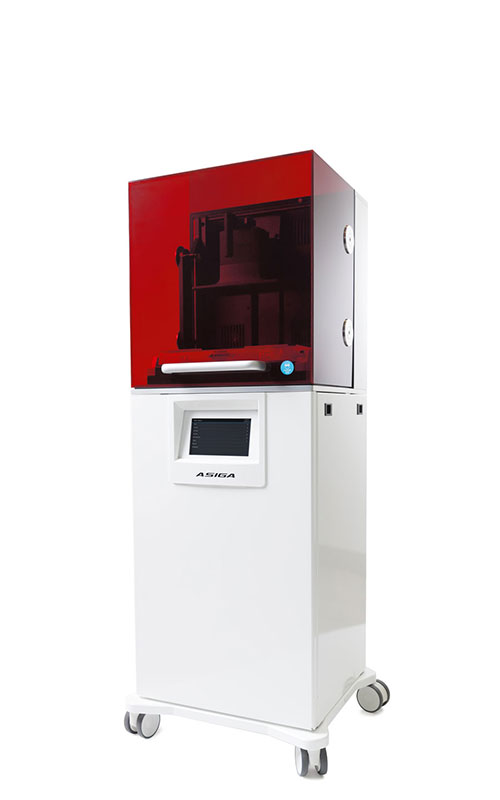
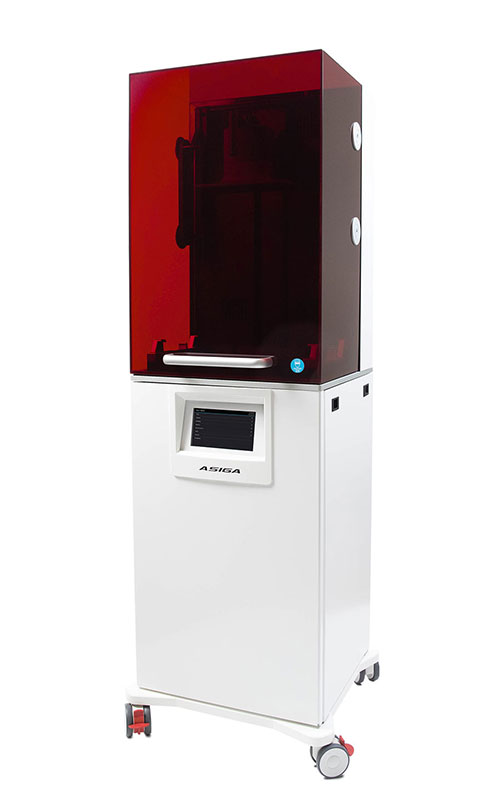
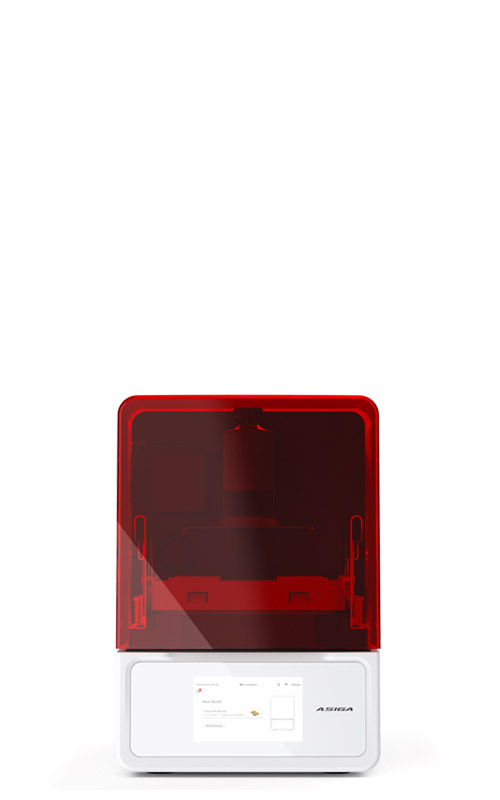
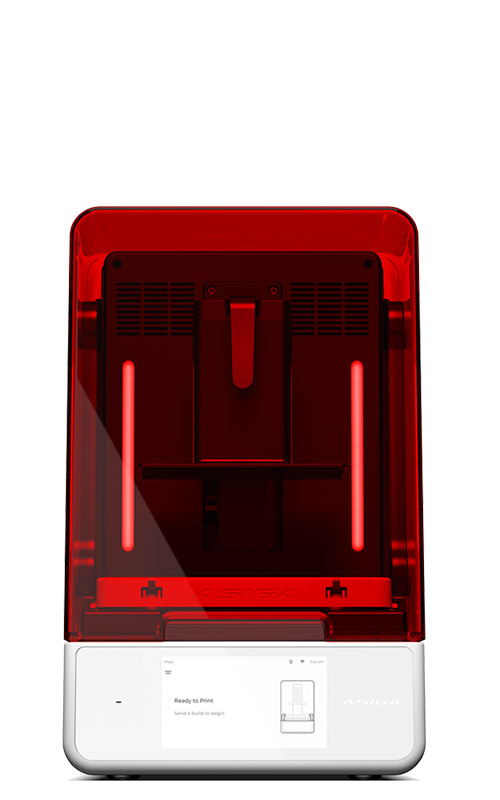
Patient-specific cranial reconstruction demands accurate reproduction of complex skull geometry. The implant design must closely follow the remaining anatomy so that contours, edge transitions, and the relationship between the prosthesis and existing bone can all be evaluated before surgery. To strengthen this verification process, the team used the Asiga Ultra with Asiga DentaMODEL to produce accurate patient-specific anatomical models. Keystone KeyPrint KeyGuide, a third-party material, was used for selected planning and guide components.
To strengthen this verification process, the team used the Asiga Ultra with Asiga DentaMODEL to produce accurate patient-specific anatomical models, while Keystone KeyPrint KeyGuide was used as a third-party material for selected planning and guide components.
From medical imaging to a physical validation model
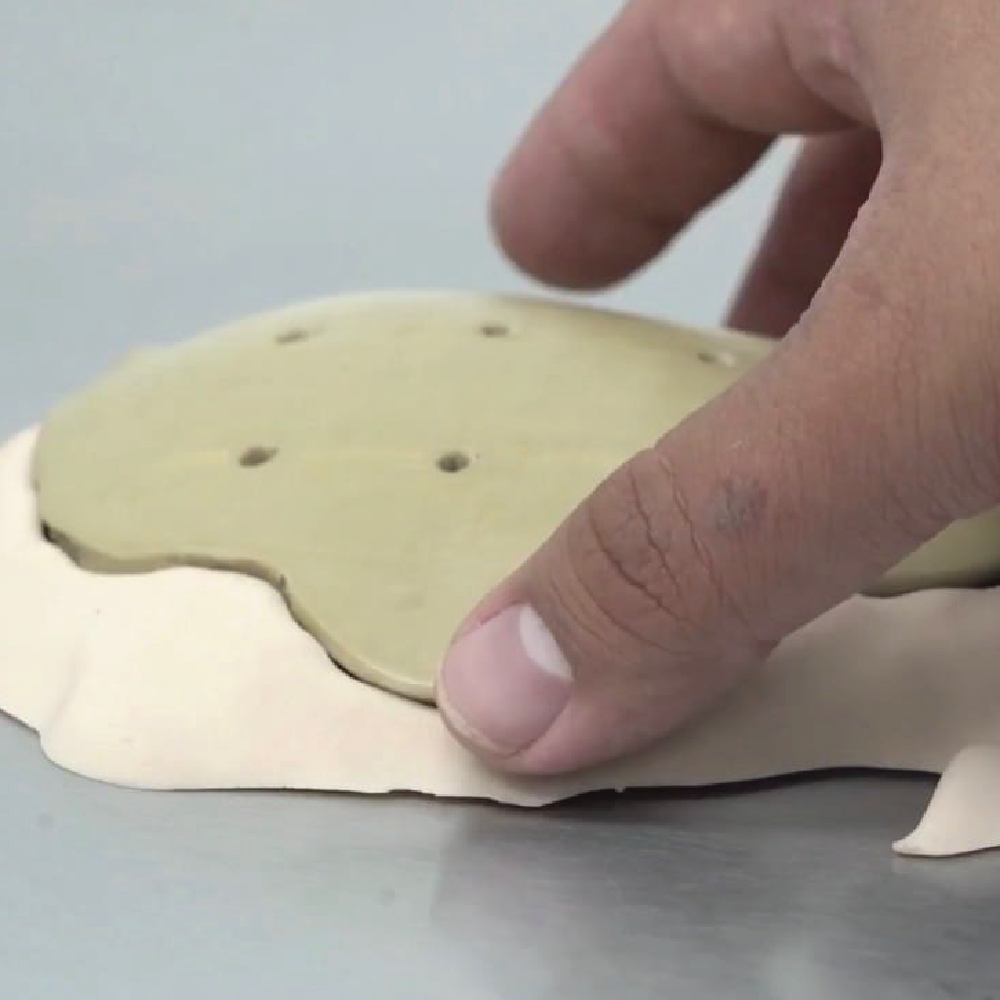
The workflow began with CT imaging to capture the patient’s anatomy and defect. The relevant cranial anatomy was then segmented from the imaging data, and a digital reconstruction of the skull and defect was generated. From there, the patient-specific implant was designed and reviewed digitally. Once the design was ready, the team printed anatomical models on the Asiga Ultra using DentaMODEL, while the selected planning and guide components were produced with KeyPrint KeyGuide. Engineers and surgeons then inspected fit, contour, and geometry on the physical models before definitive manufacturing.
The role of Asiga and Keystone
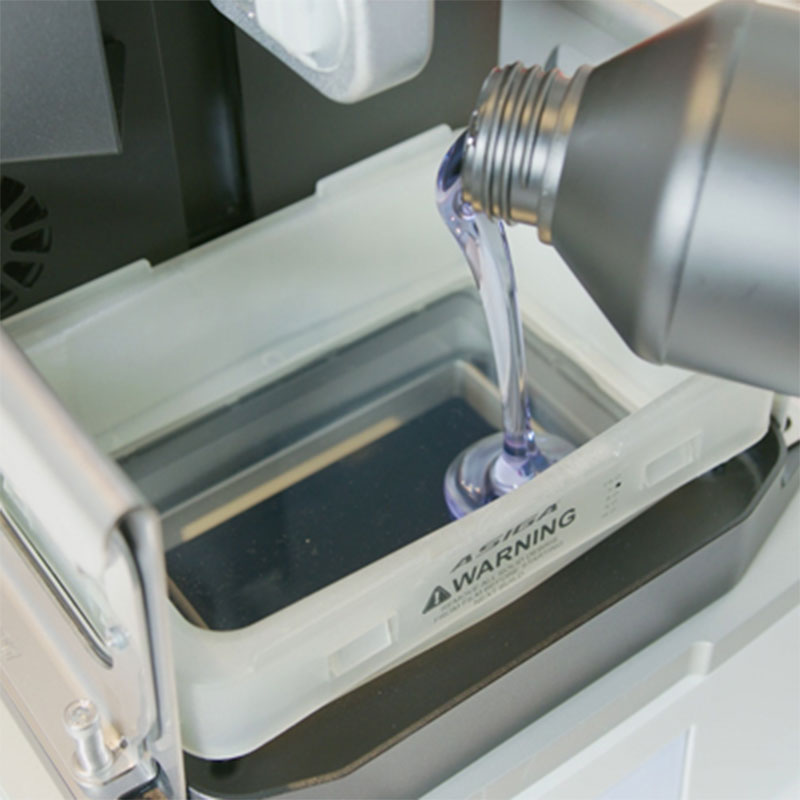
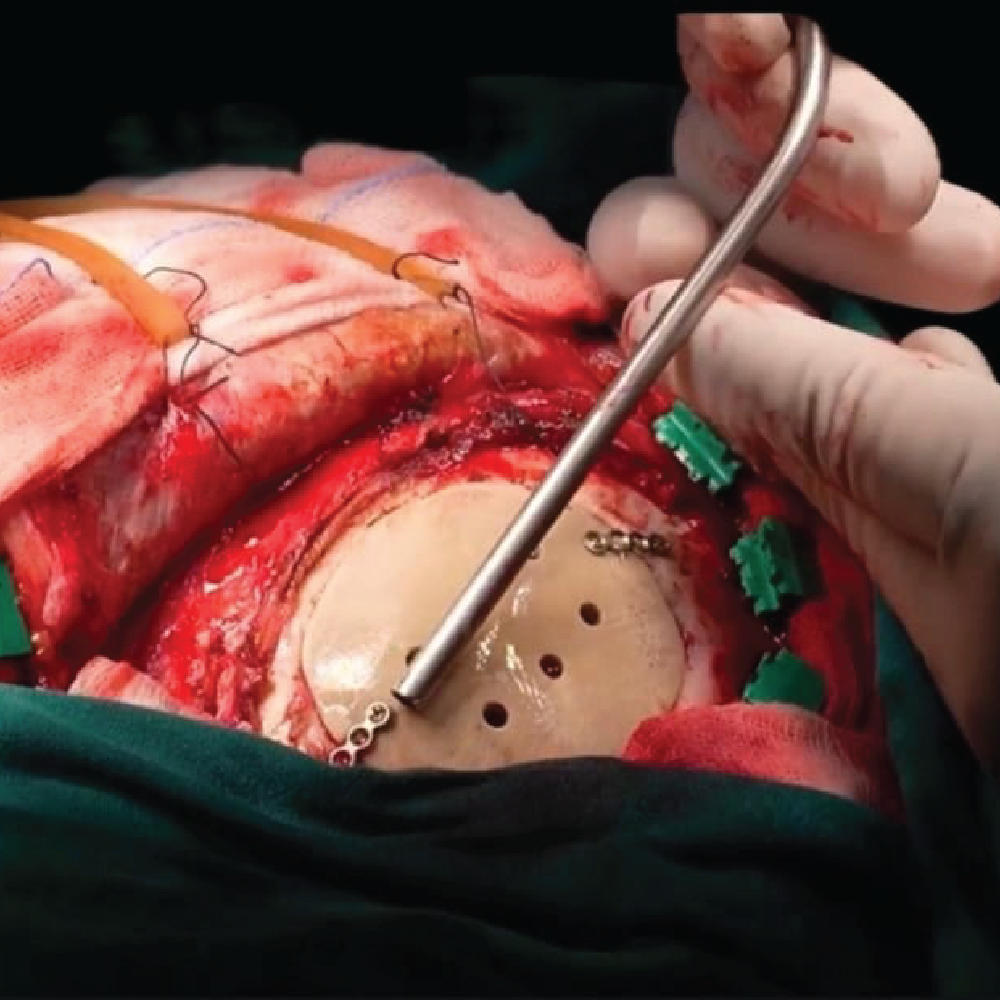
In this process, the Asiga Ultra served as a high-precision validation platform, allowing the team to quickly convert patient-specific digital data into detailed physical models and planning components that could be handled, inspected, and discussed by engineering and clinical personnel. DentaMODEL was used for the anatomical models and physical design verification, and KeyPrint KeyGuide fit into the same workflow for its planning and guide components. Together, these materials helped translate the digital plan into tangible references for the clinical team.
A critical element of the project was the direct collaboration between biomedical engineering and neurosurgery. The printed anatomical models gave both disciplines a shared physical reference, making it possible to evaluate the reconstruction beyond the computer screen. The team could physically inspect the model for overall contour, defect boundaries, and design continuity, while the surgical team could offer feedback based on the planned operative approach. This extra verification stage proved especially valuable before final production, helping the team review the geometry of the defect, confirm anatomical continuity, identify possible adjustments, and build confidence in the planned reconstruction.
Conclusion
In the end, the Asiga Ultra, Asiga DentaMODEL, and Keystone KeyPrint KeyGuide contributed directly to the planning and validation process for this case. DentaMODEL enabled accurate anatomical models for physical design verification, and KeyPrint KeyGuide supported selected planning and guide components. These physical references helped the team evaluate the proposed reconstruction, better understand the patient-specific anatomy, and strengthen communication between engineering and neurosurgery before the definitive implant reached the patient.
Share: